Custom Tool Creation - Agentic AI User Guide
Custom tool integration with Agent in Agentic AI
A Custom Tool is a user-defined extension that enhances an AI agent's functionality. Unlike prebuilt tools available in standard catalogs, custom tools are tailored to meet specific requirements
- Click "Add Custom Tool" from the Tool Library.
Figure 1. Add Custom Tool 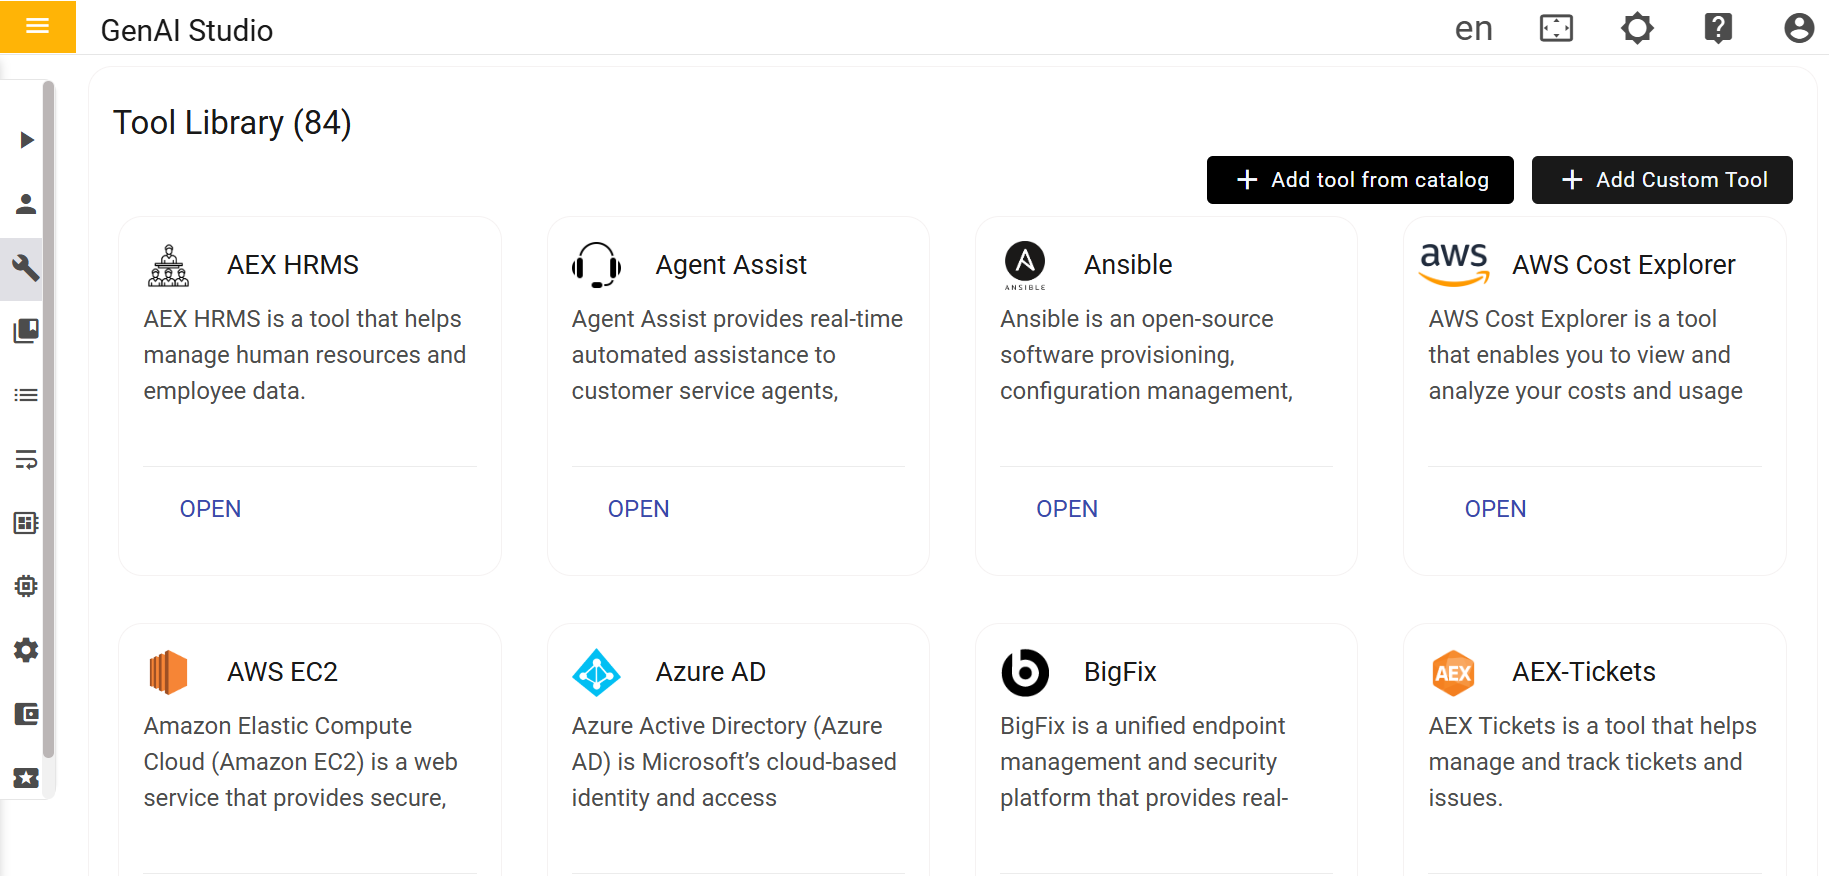
- Fill the required fields click on save
Figure 2. Tool Name and Description 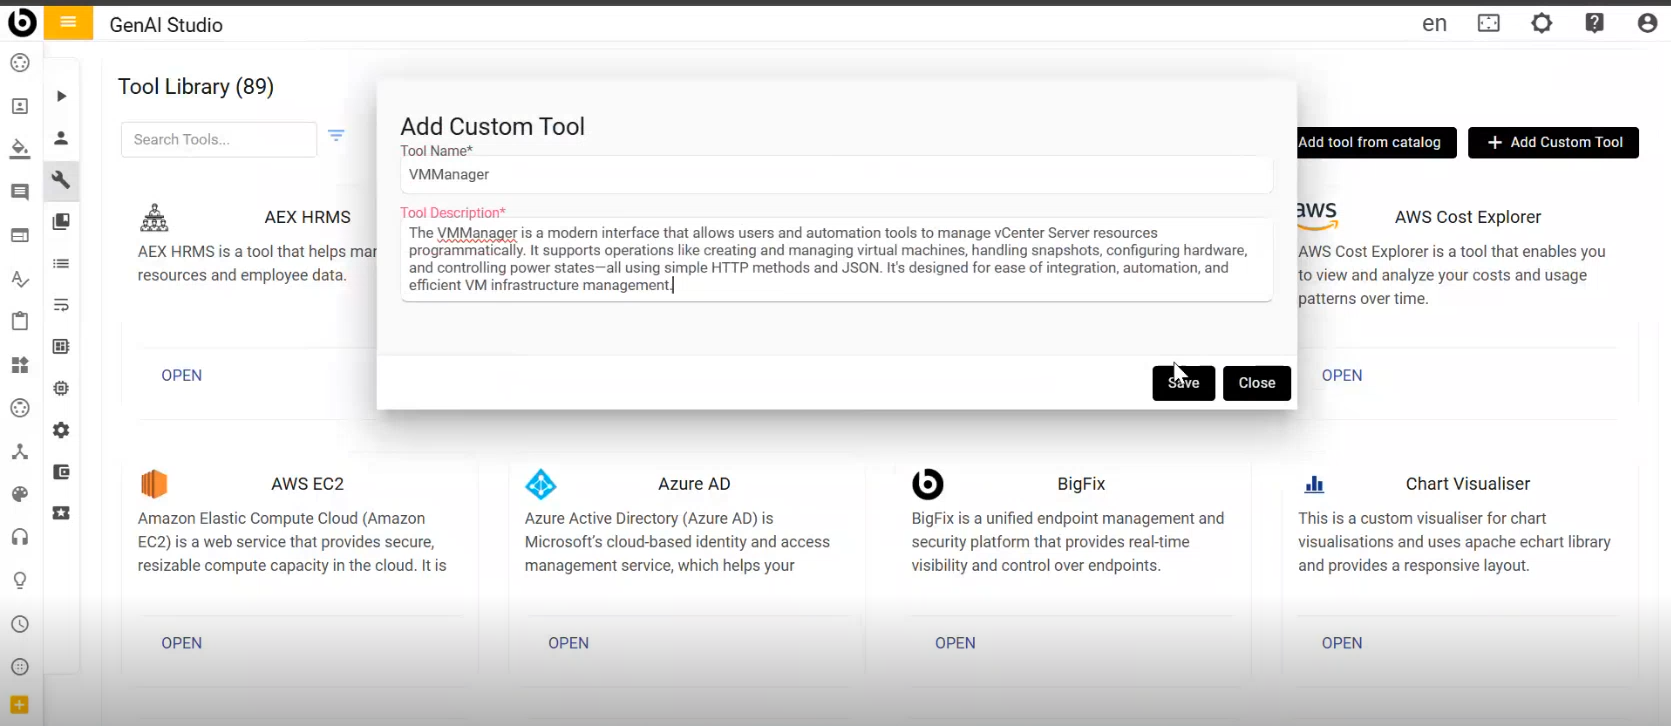
- After Clicking on Save, Tool Saved Successfully message will be displayed
Figure 3. Success Message 
- It will add to the Tools Library list
Figure 4. List of Tools Library 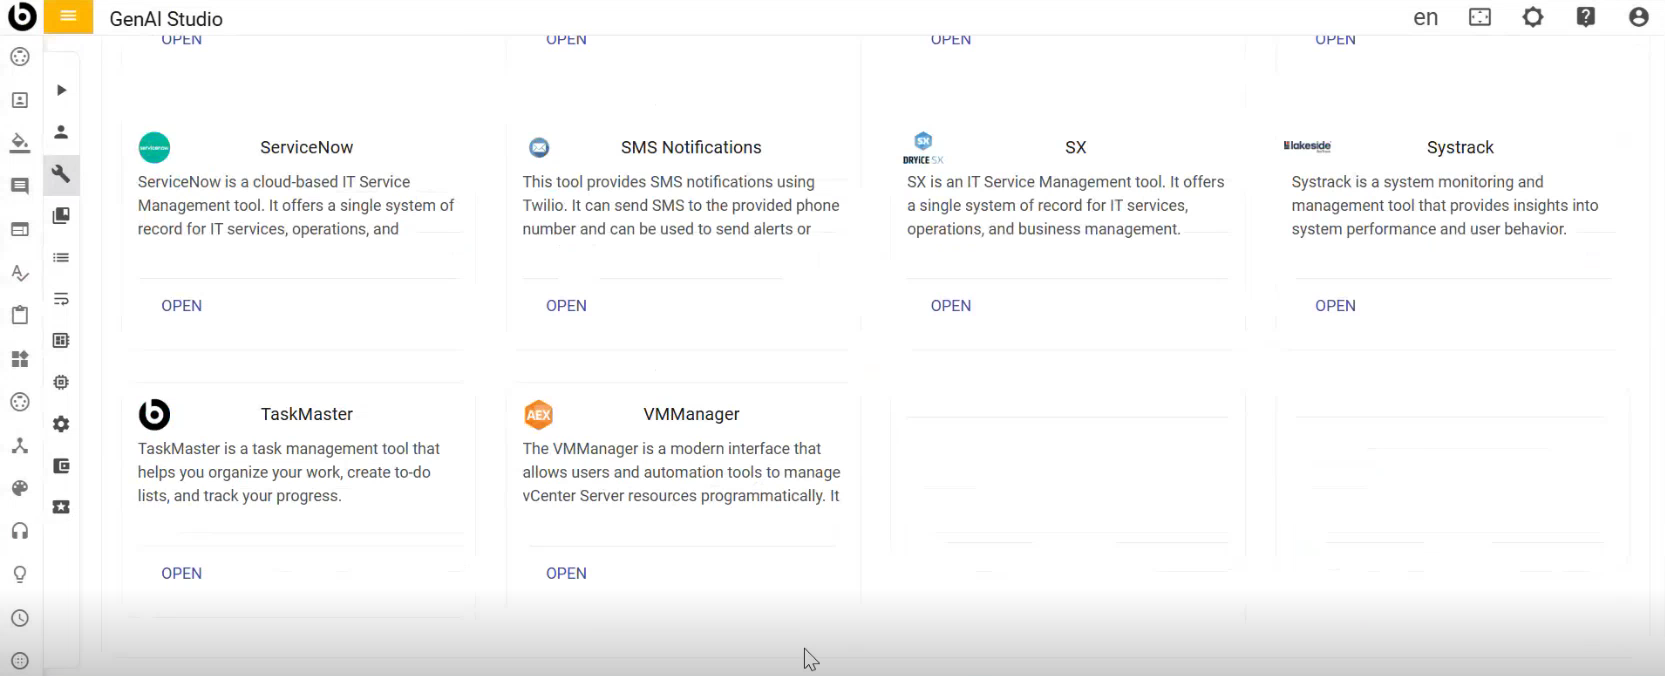
- To create the function which we are adding in tool...while adding function in custom
tool we need to provide a workflow which will execute when that function is called
Figure 5. Workflow Console 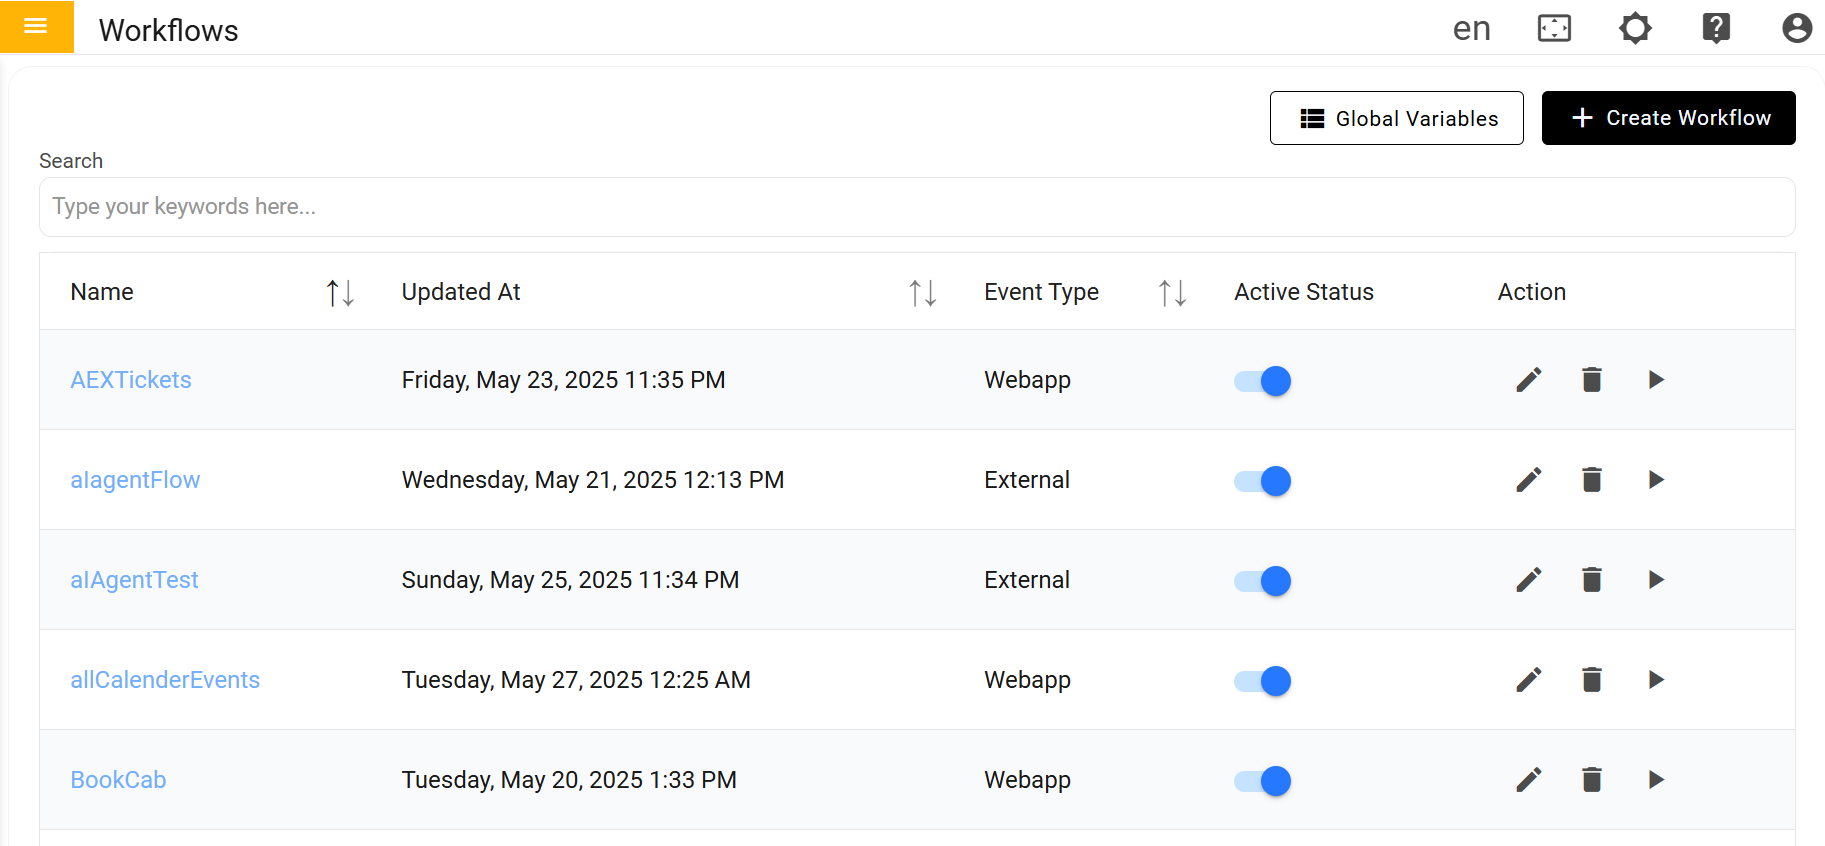
- The workflow which we create will be of web app type only
Figure 6. Select Event Type 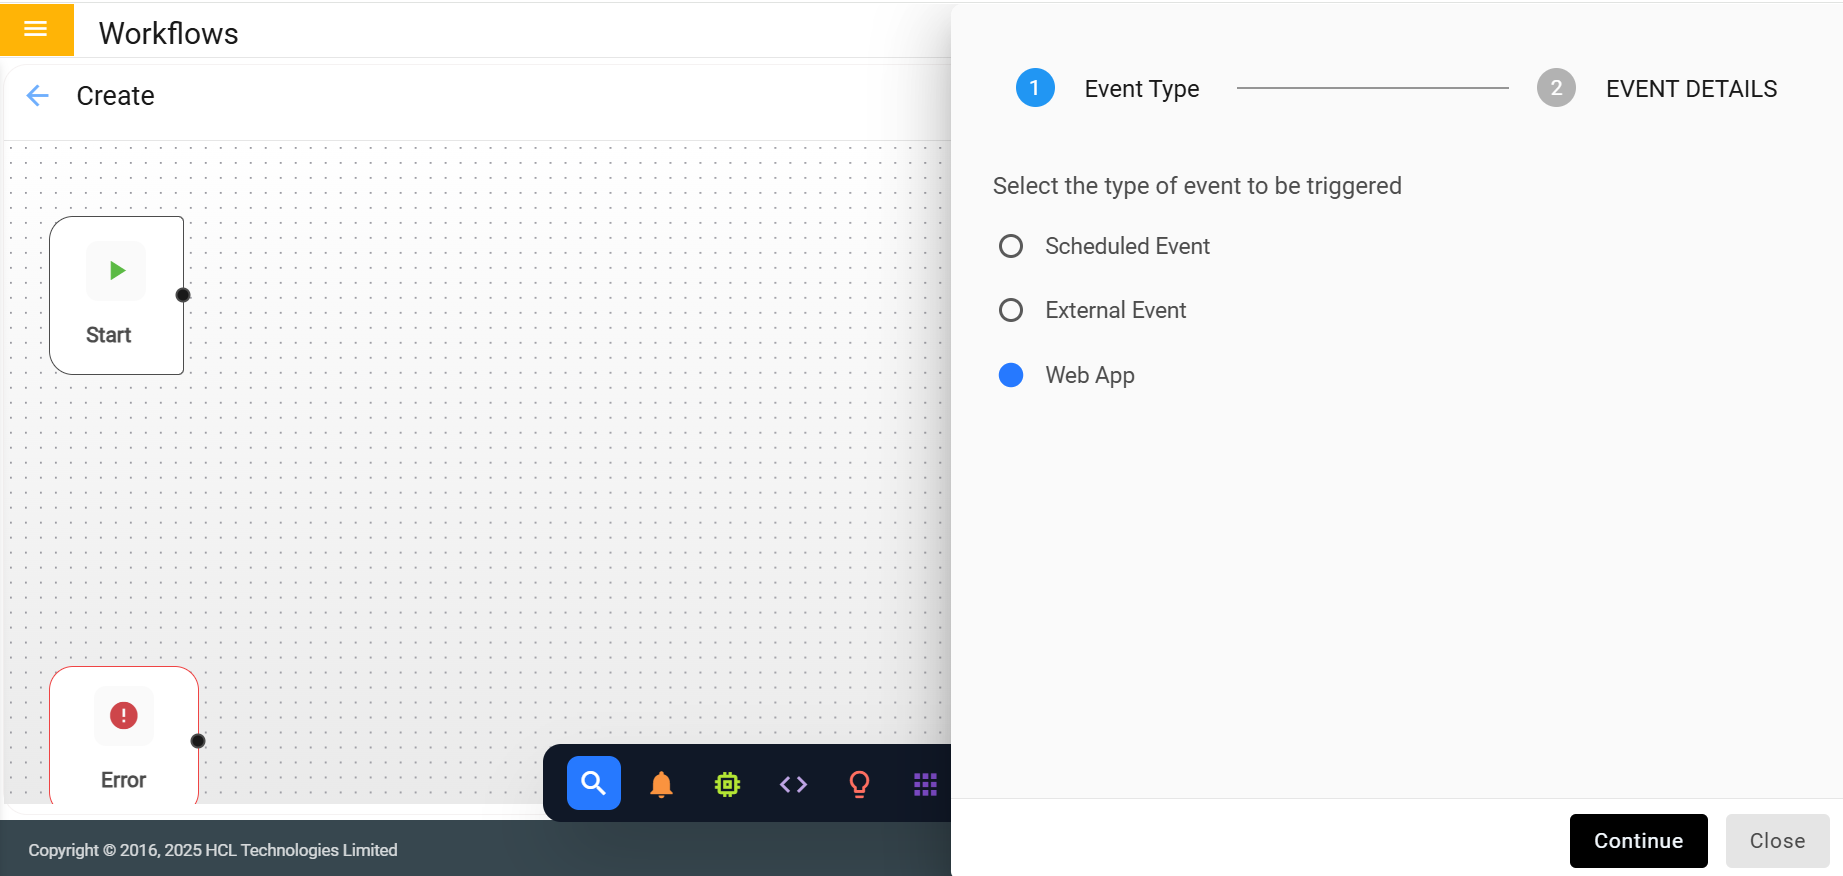
- Fill the required fields click on save
Figure 7. Fill event details 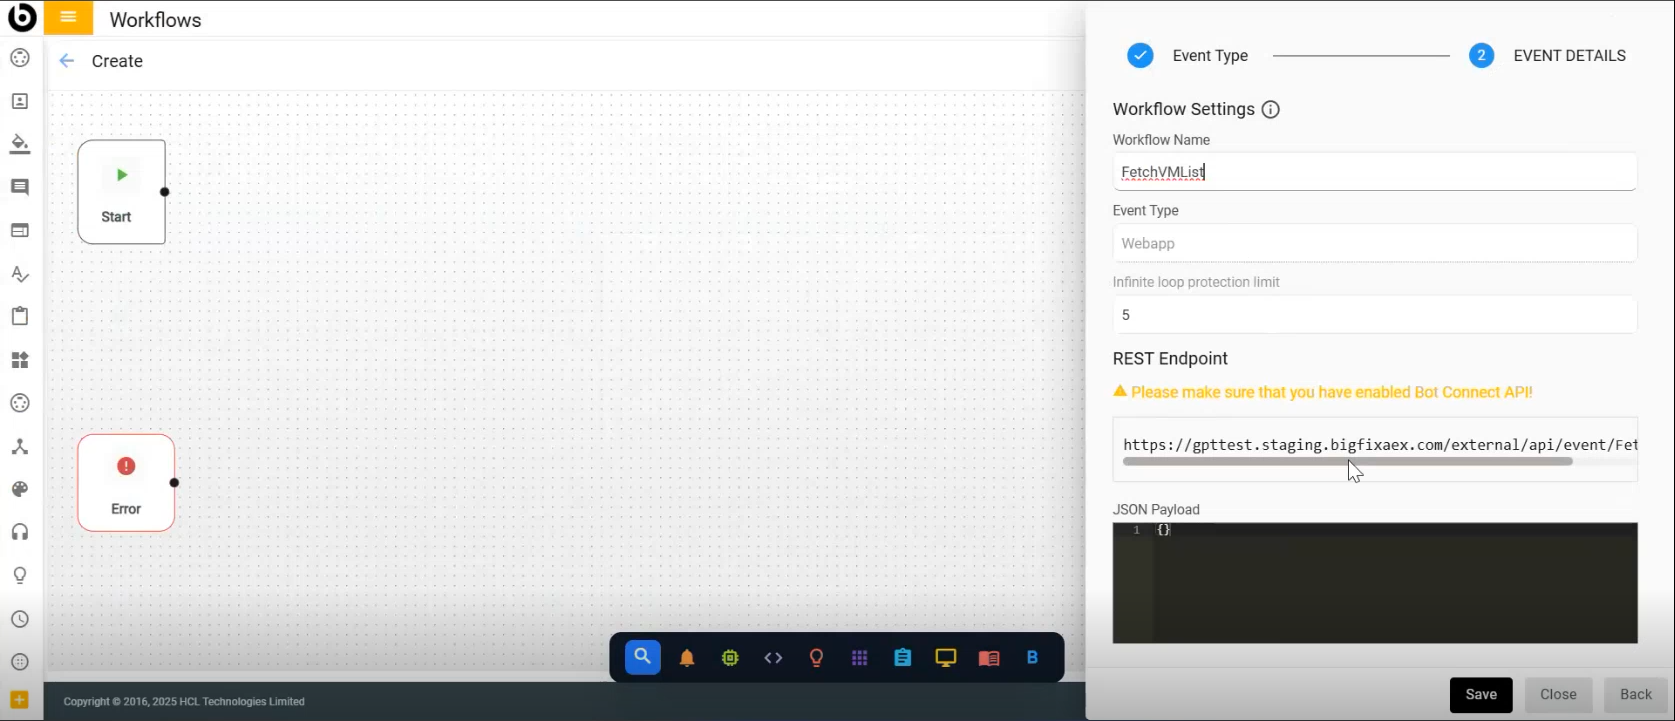
- After Clicking on save, Information saved successfully message will be displayed
Figure 8. Success Message 
- Click on Action node
Figure 9. Action Node 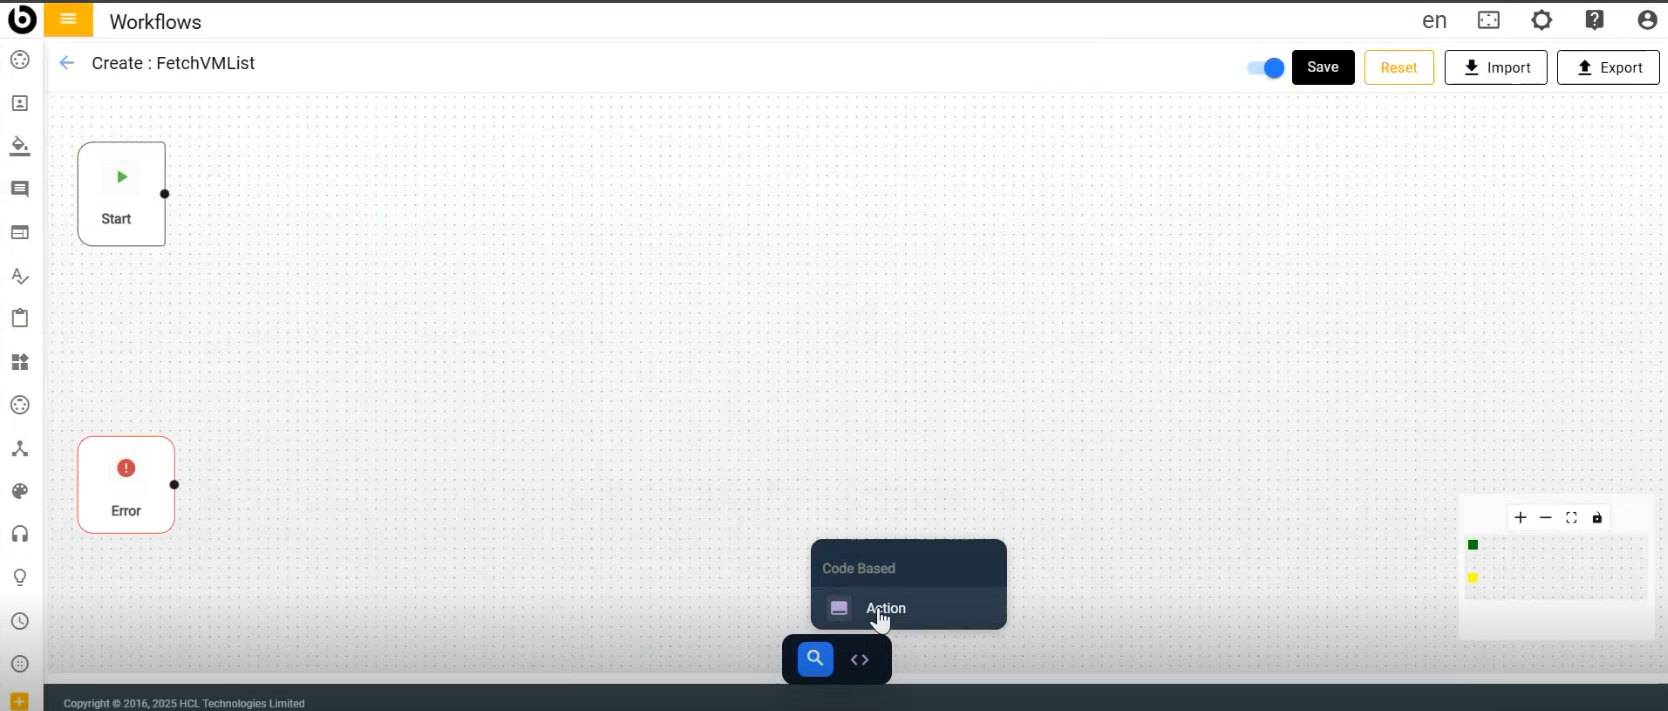
- Select Action from the Dropdown list
Figure 10. Select Action 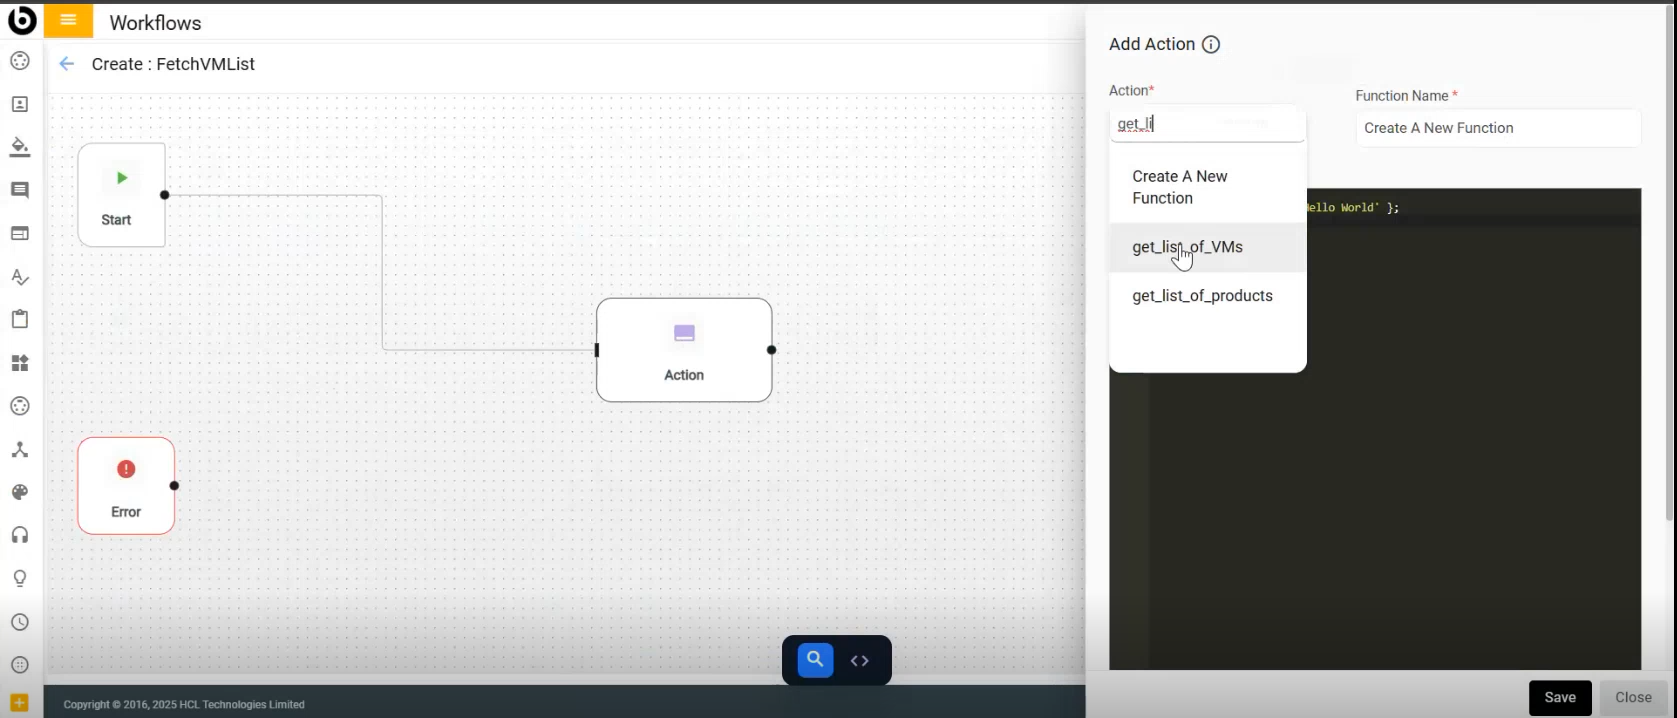
- Click on save, Information saved successfully message will be displayed
- Click save on the workflow page
Figure 11. Save Functions 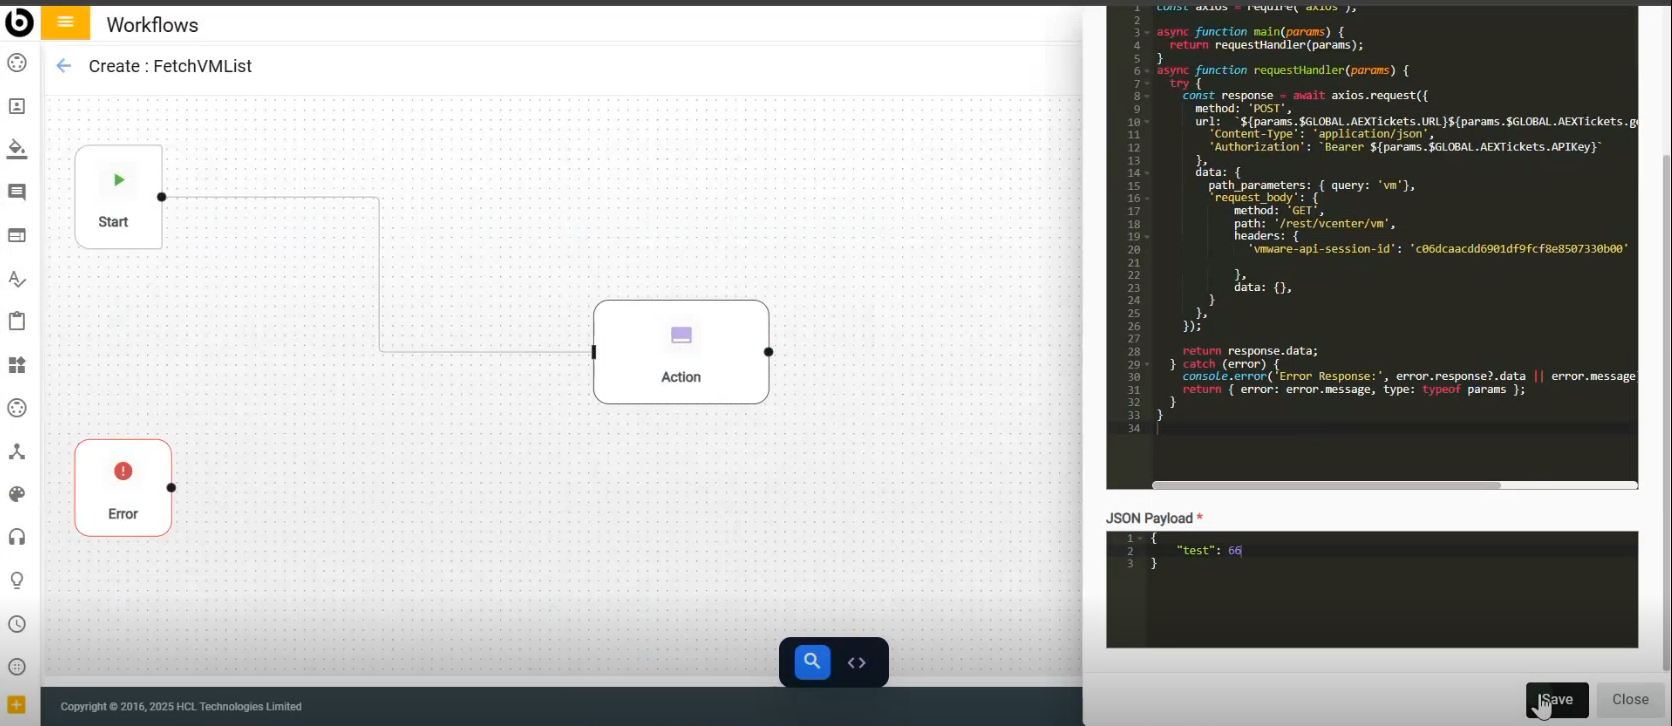
- After Clicking on save, Information saved successfully message will be displayed
Figure 12. Success Message 
- Click save on the workflow page
Figure 13. Save 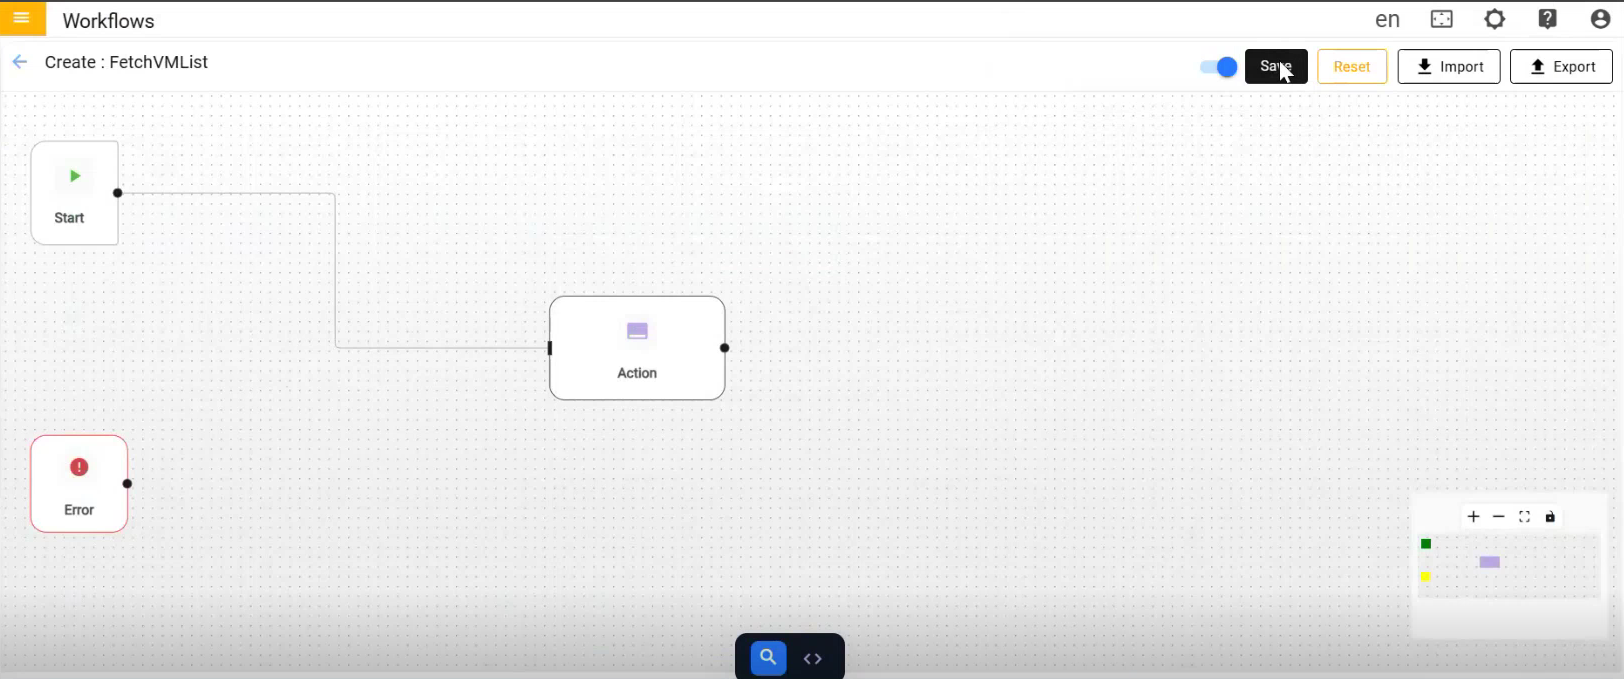
- On clicking on save workflow will be saved
- To Add functions to the tool Library, click on Add Functions
Figure 14. Add Function 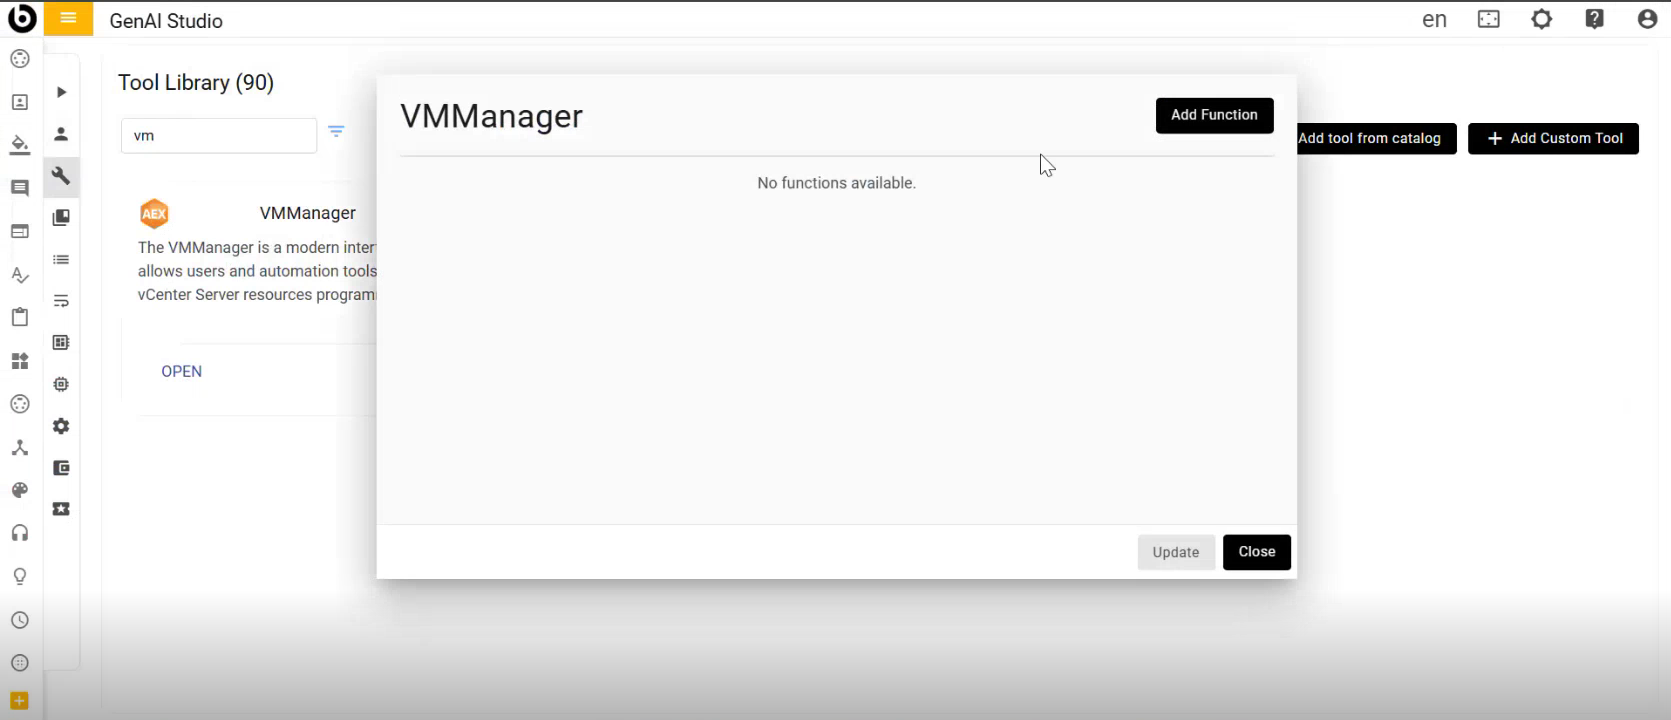
- Fill the required fields and click on Add
Figure 15. Fill Function details 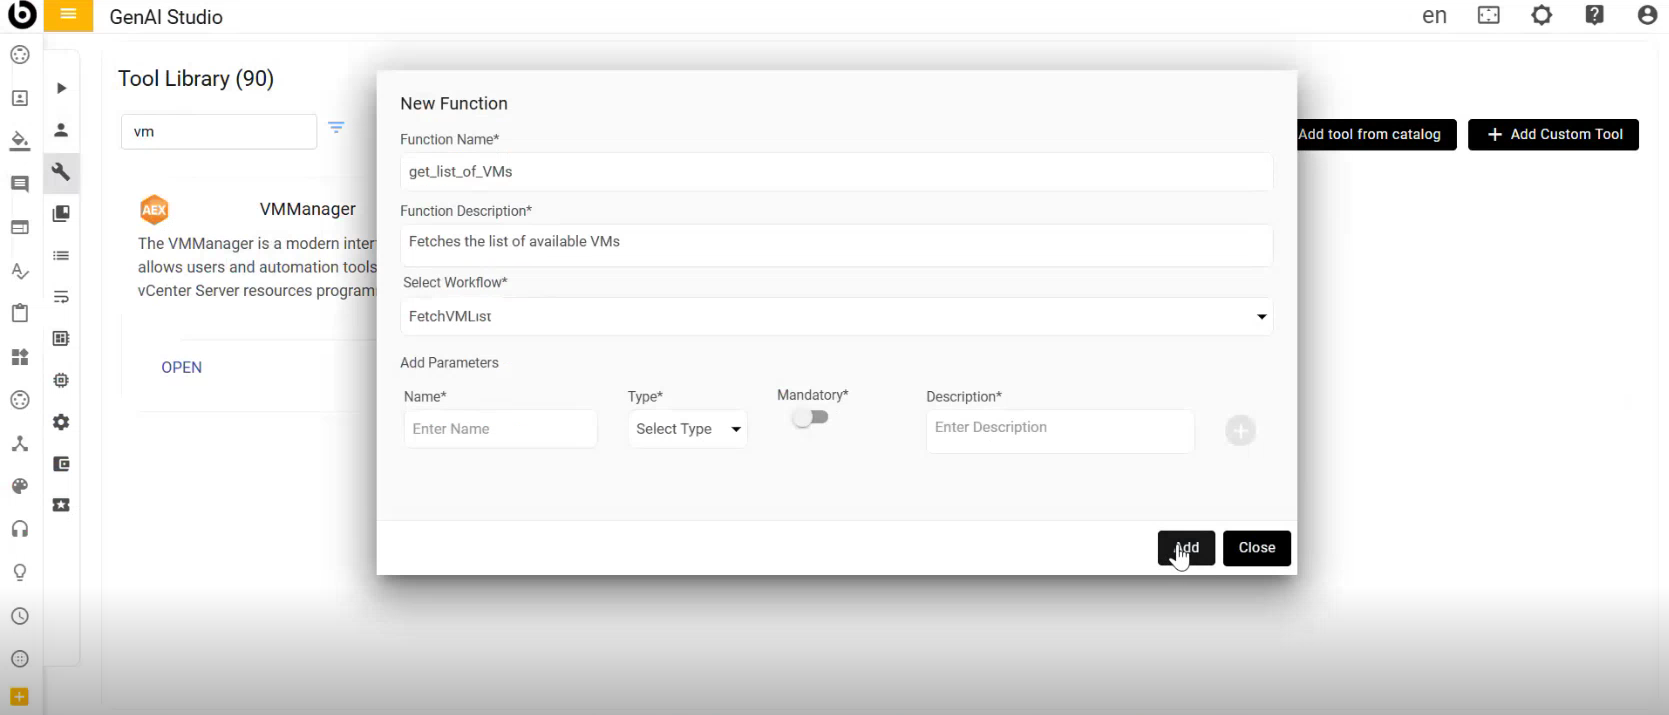
- After clicking on Add below page will be displayed, click on Update
Figure 16. Update Function 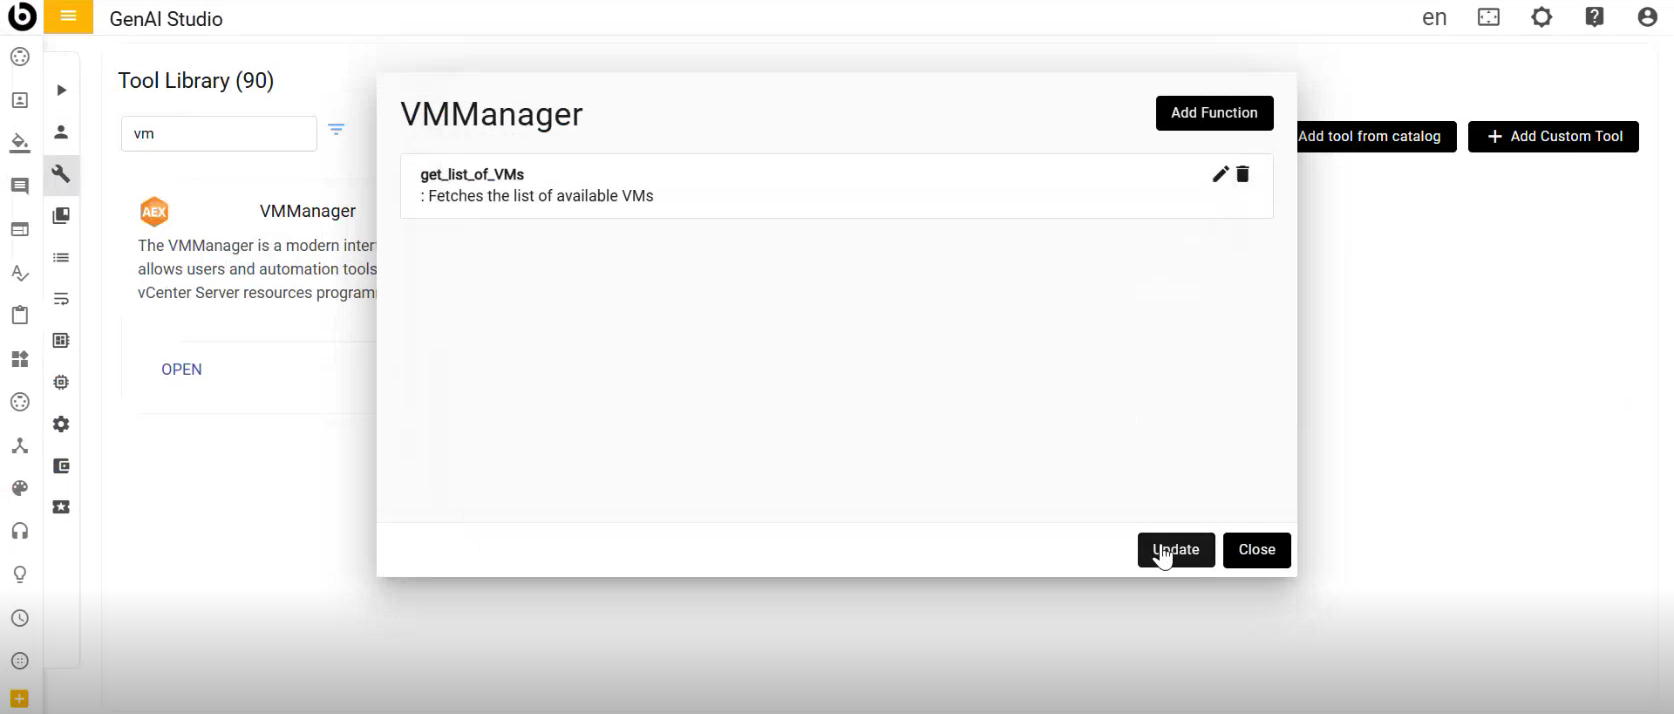
- After clicking on Update, Tool saved successfully message will be displayed
Figure 17. Update Function 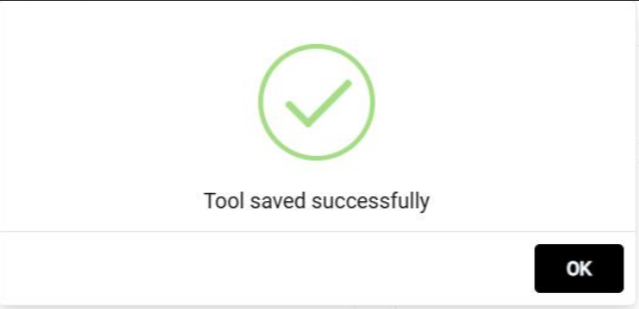
- To Create Agent
- Go to Agents Tab
- Select Add New Agent
- Fill the required fields, click on the create button
- Agent will be created
Figure 18. Create Agent 
Figure 19. Success Message 
- After Clicking on Ok below page will be displayed
Figure 20. Agent configuration page 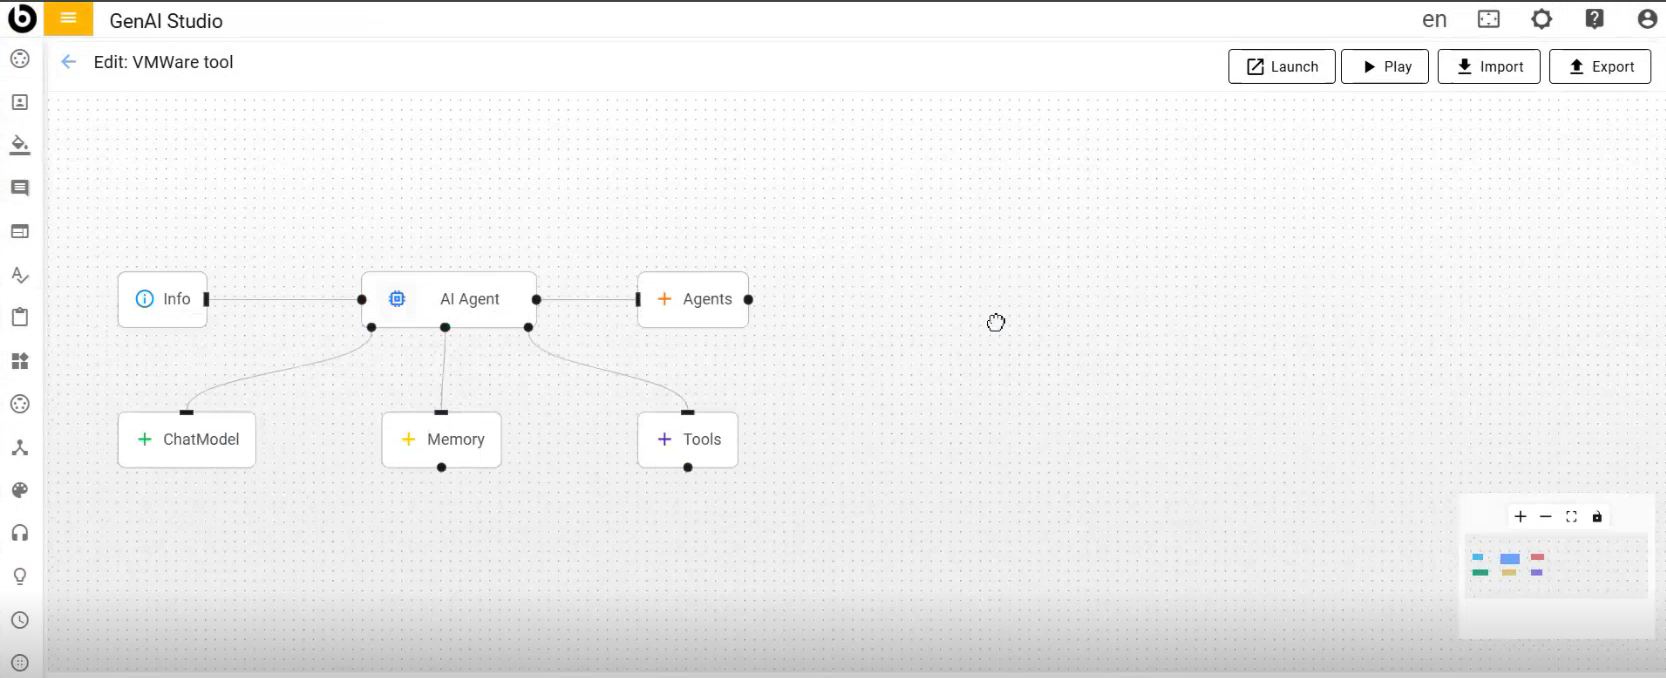
- Select the tools you want to add from the library, then click 'Update' to add them
to the agent
Figure 21. Select Tool 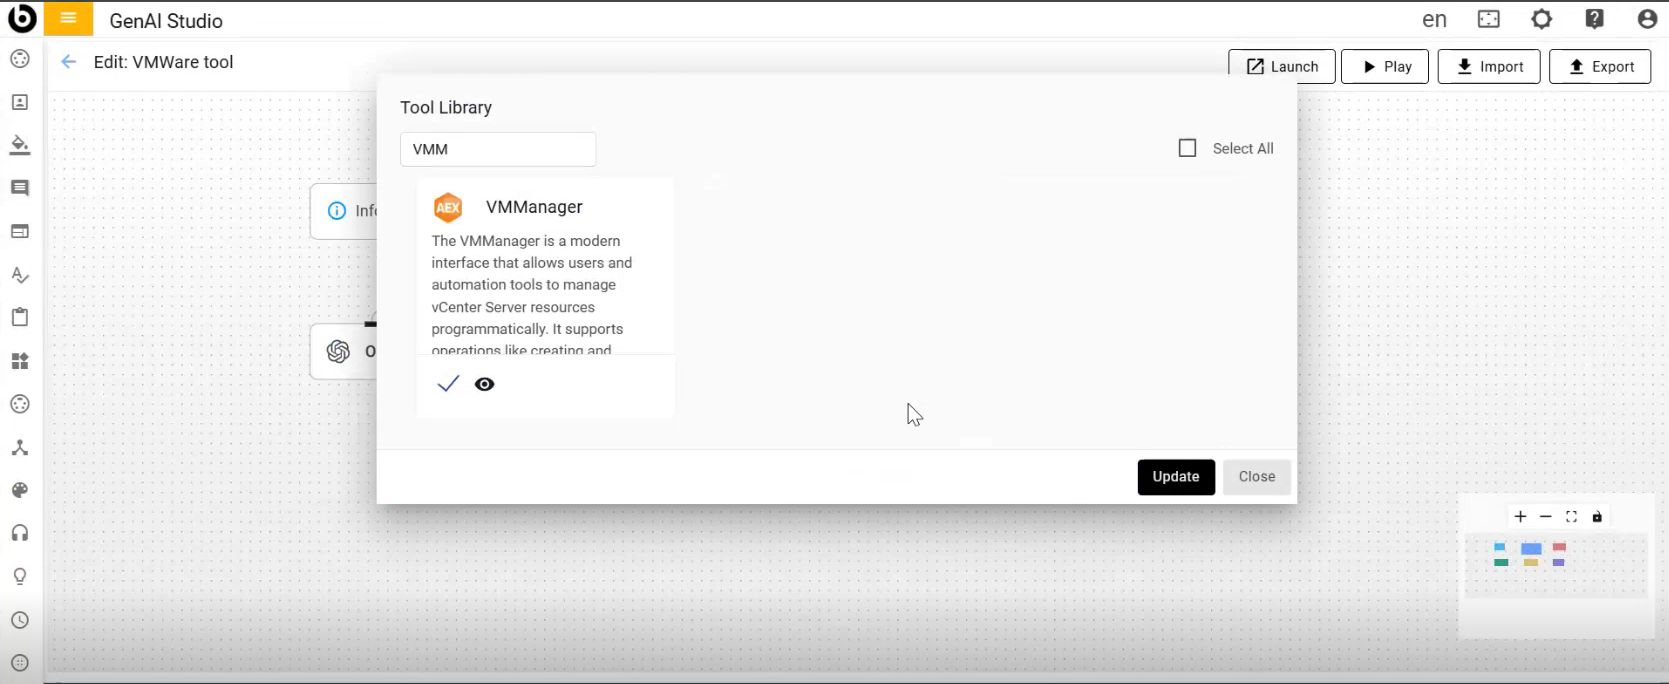
- The selected tools will be added to the agent
Figure 22. Tool added to Agent 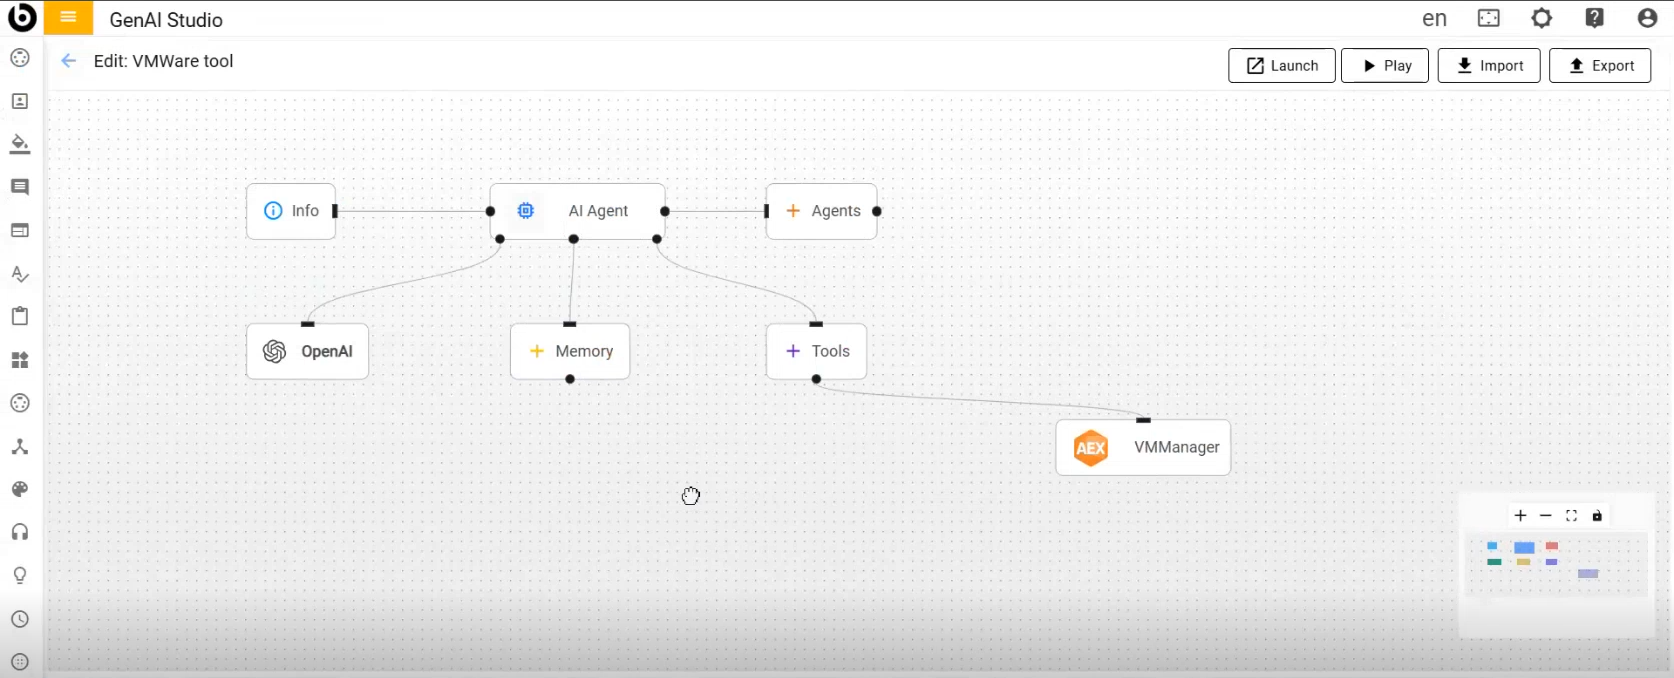
- After Agent configuration click on launch button to launch bot
Figure 23. Launch 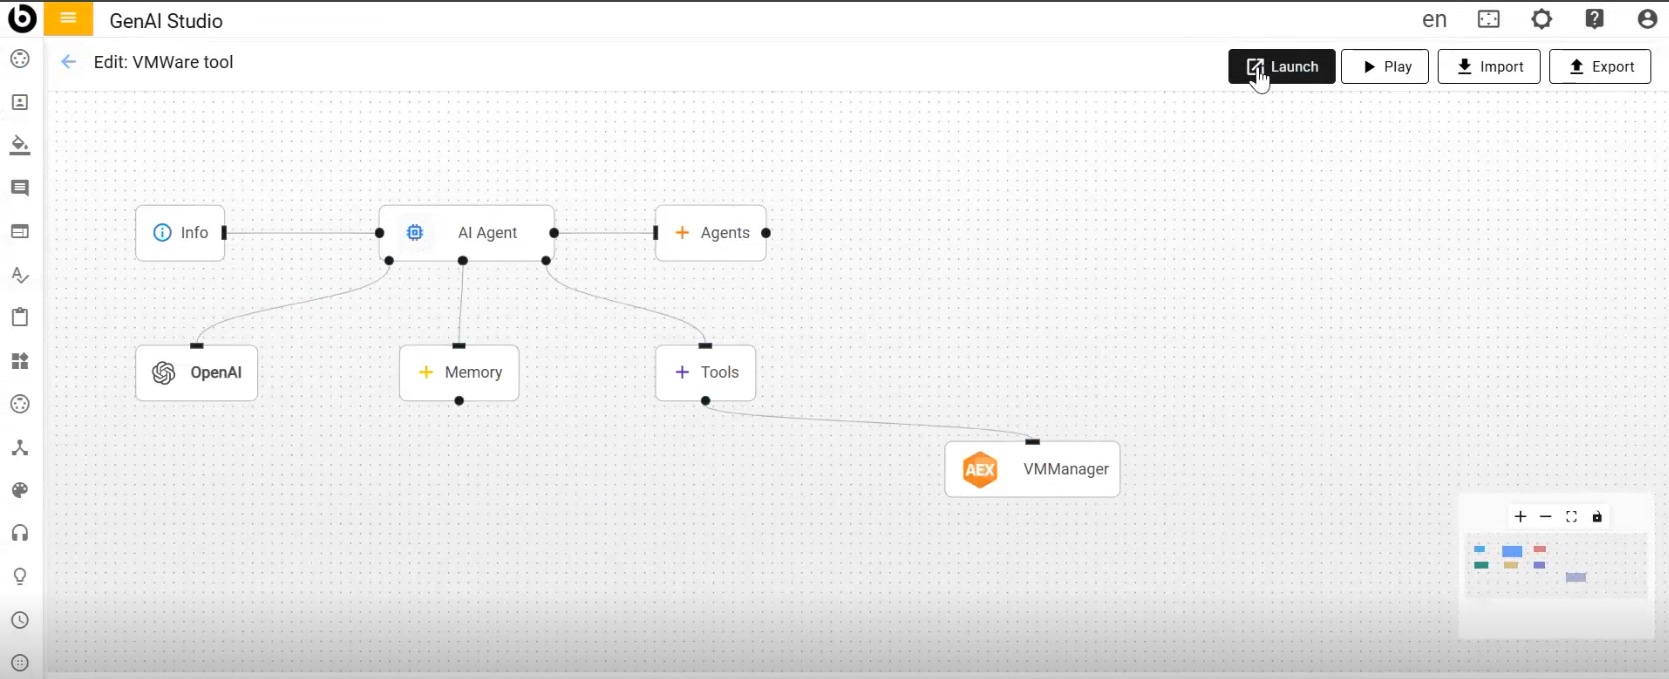
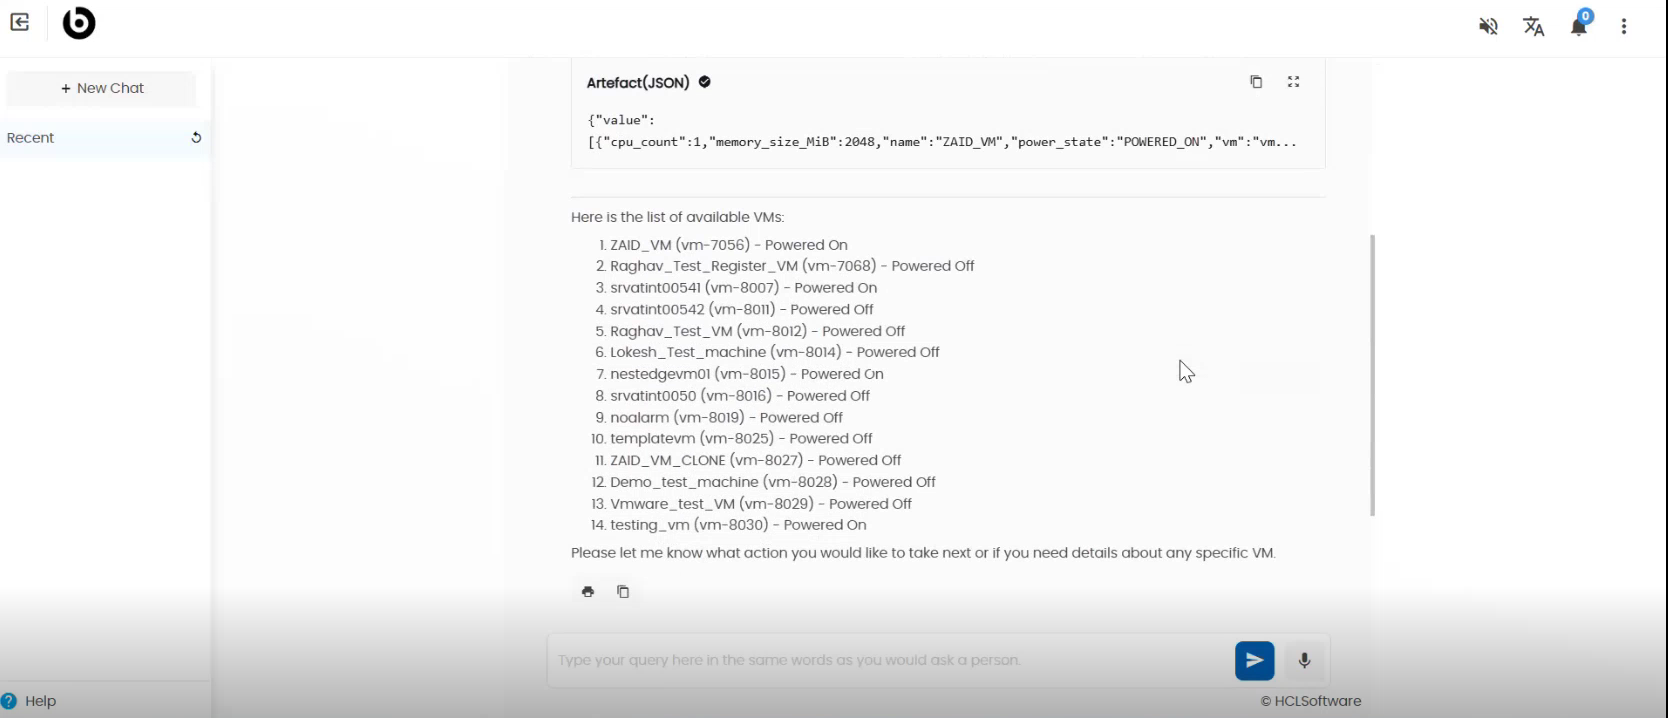
- After launching, provide prompt to fetch products and it will provide the list of
products:
Figure 24. Fetch Products 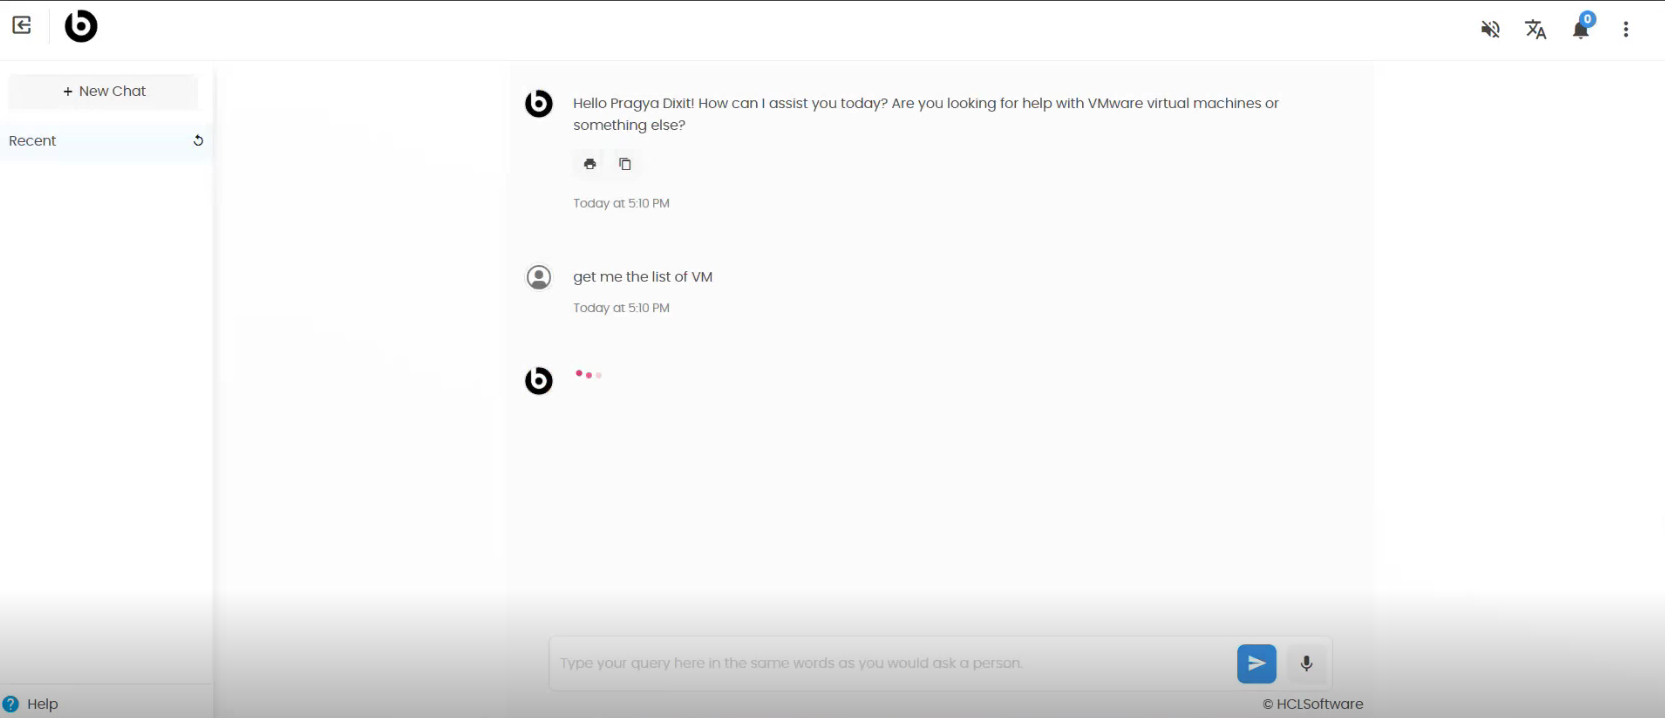
Figure 25. List of products