User & Role Management
USERS
The only user that comes pre-configured with HCL
Detect is the
admin user.
The admin user can add additional users, including other
administrators, as well as perform other user management tasks by accessing the
User And Role Management link located under the
Administration category in the top navigation bar.
The user management screen is shown below:
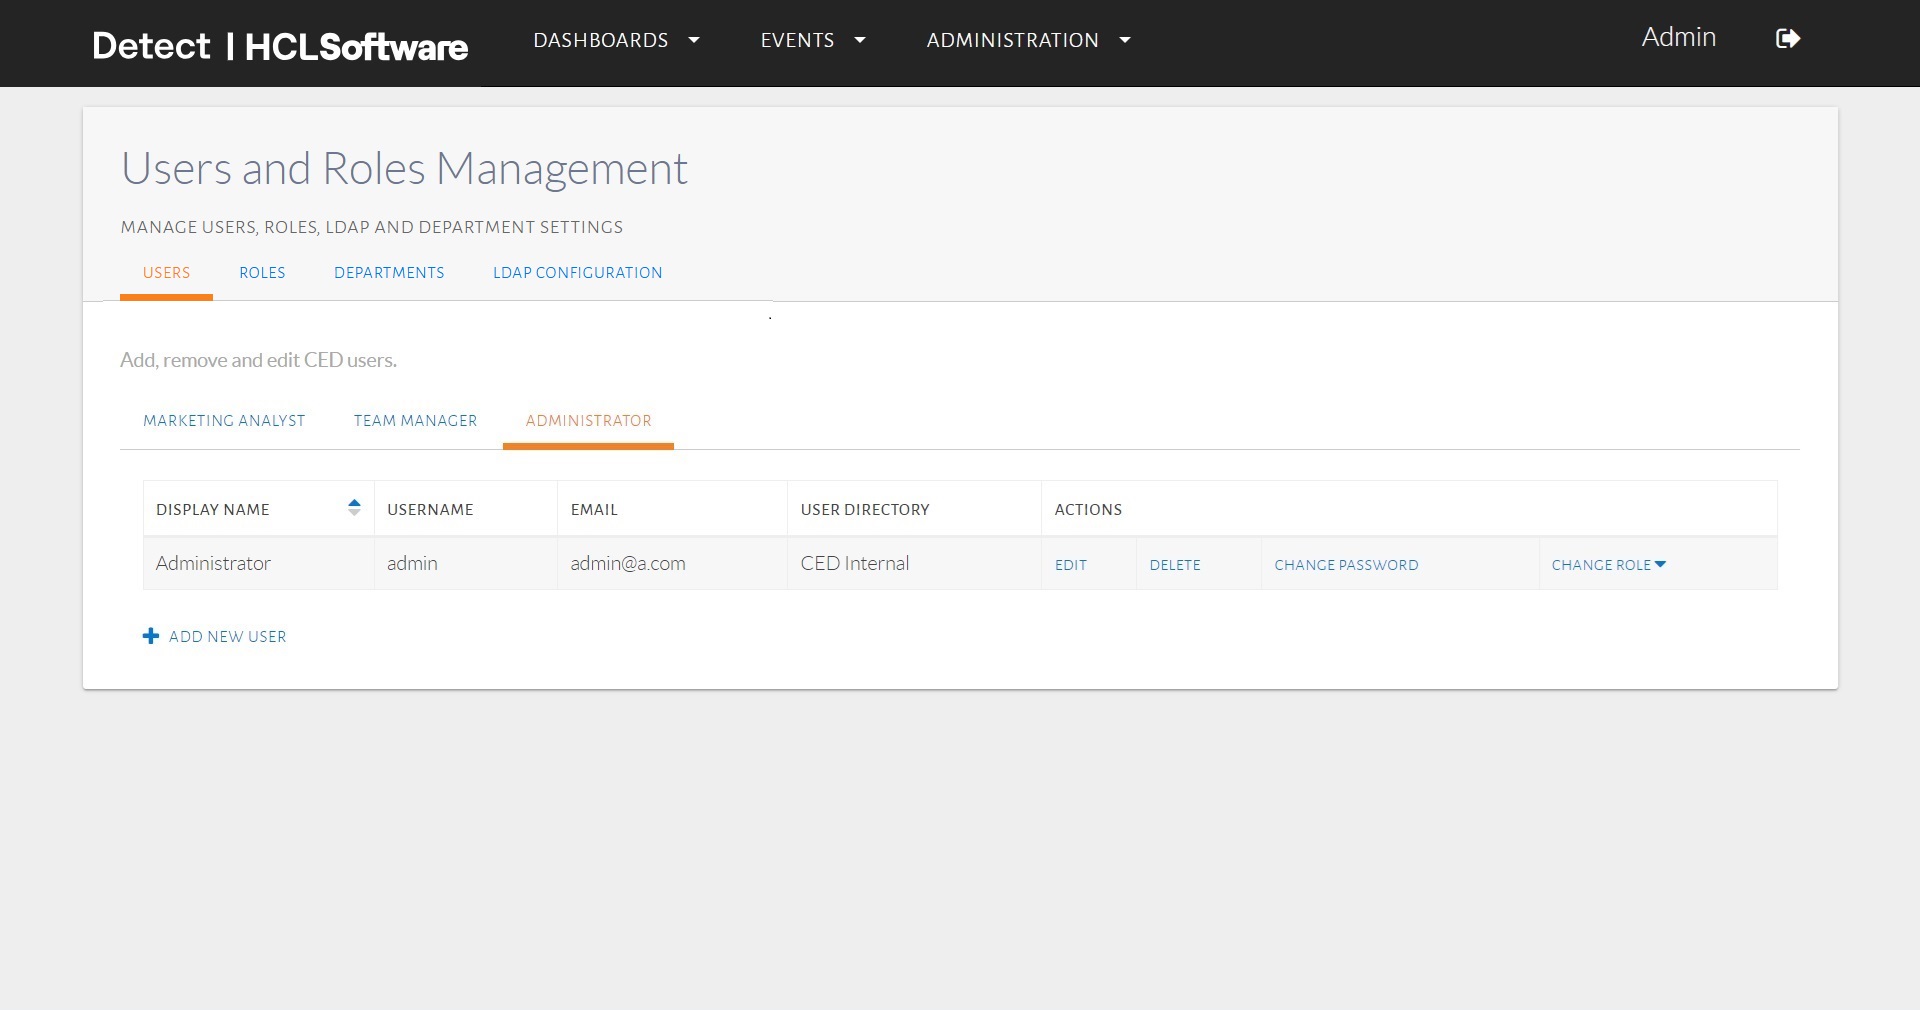
The UserAndRoleManagement
page.
In the Users tab, the various roles that are configured in the
system and the users that exist for each such role are depicted.
To add a new user, the administrator must first decide the role for such a user, for
example, the MarketingAnalyst role can be selected by picking the
corresponding tab in the User Management page and by clicking on
the Add New User link:
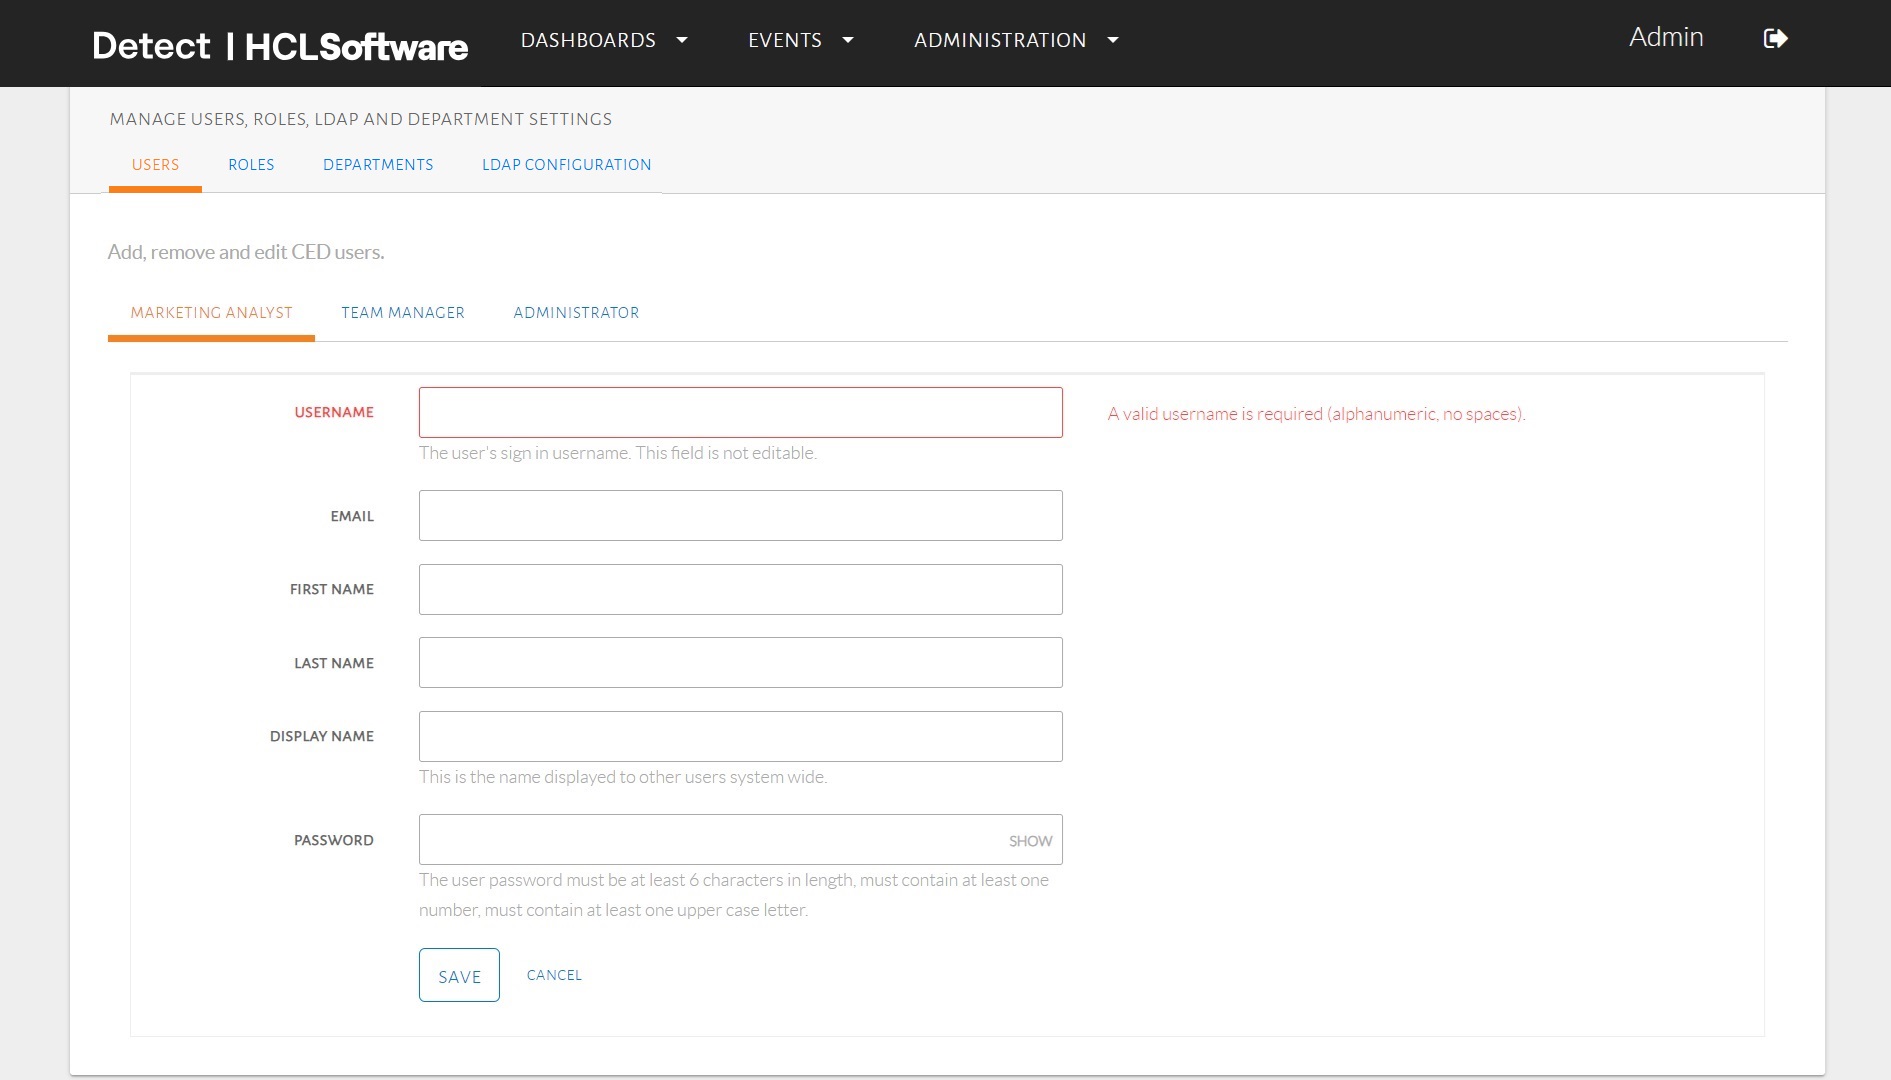
Adding a new user.
Subsequently, the Username, Email, First
Name, Last name, Display name and
Password attributes should be filled out. Finally, the
Save button can be pressed to store this data.
Once completed, the newly added user should be visible in the user interface:
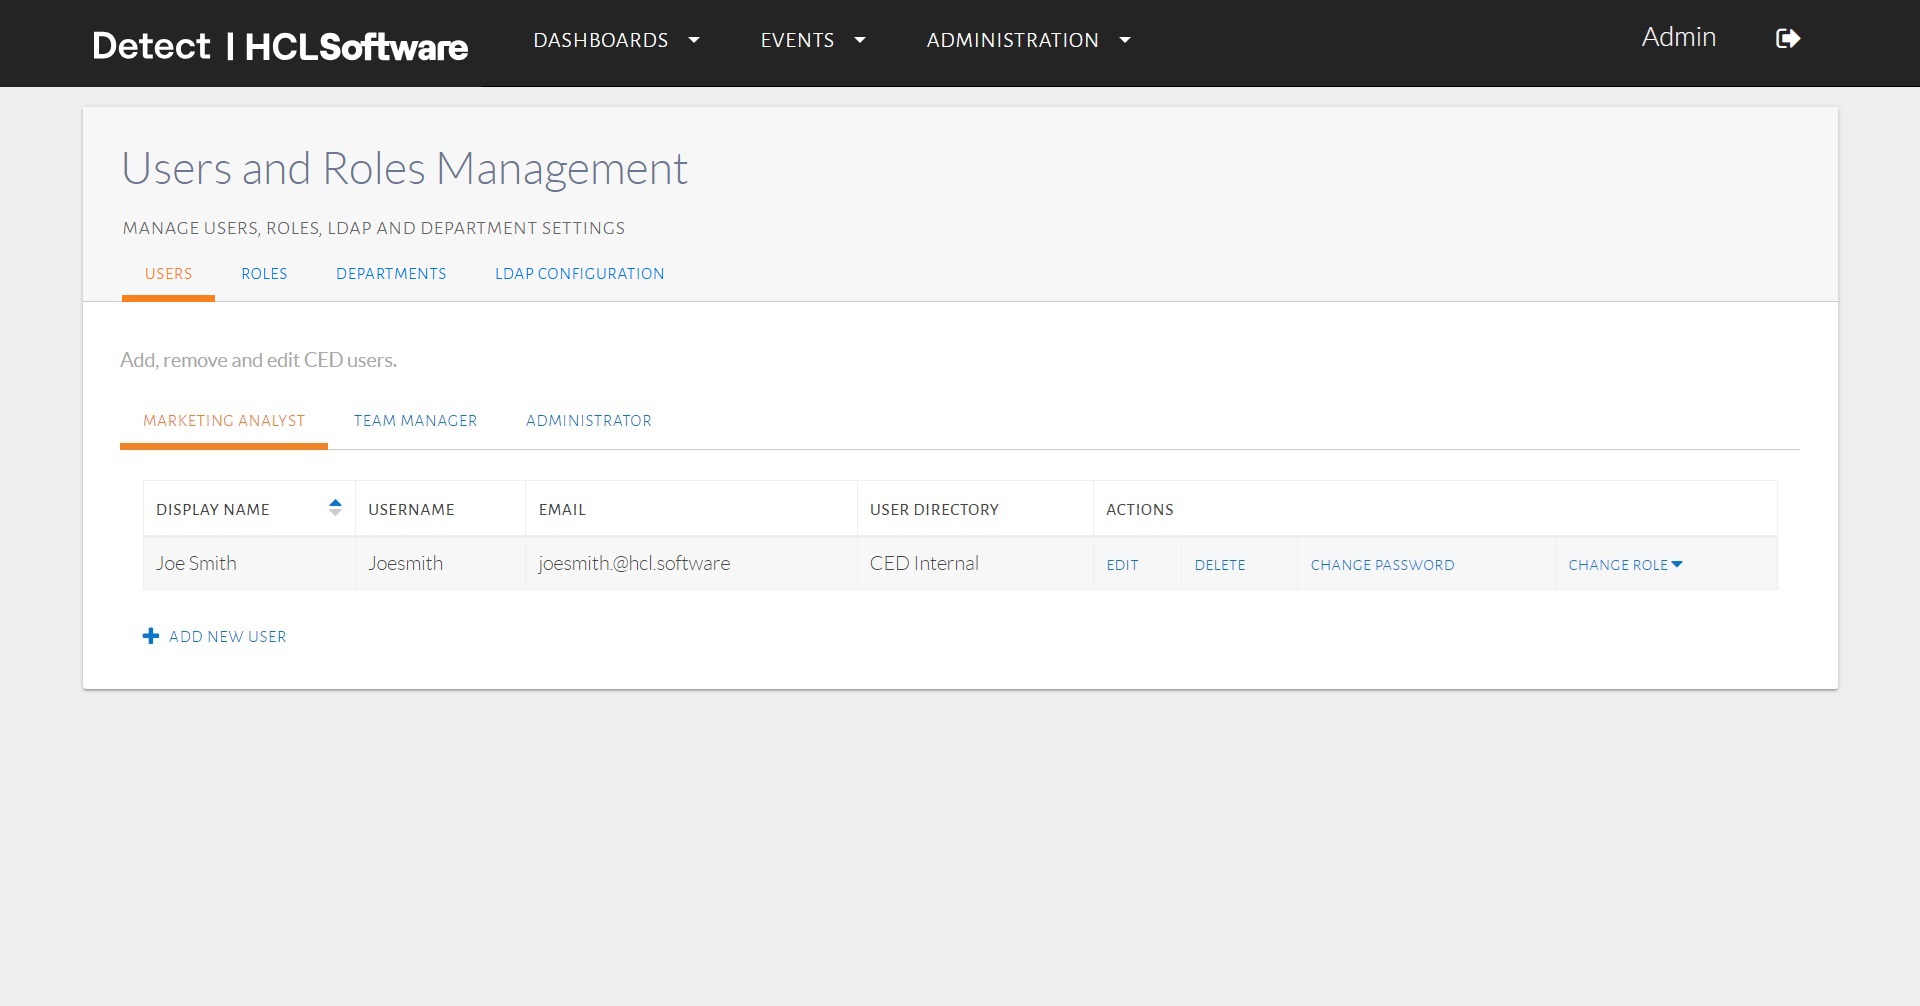
A newly added user.
The data for an existing user can be modified and the user itself can be removed by another user with user management entitlement.
The deletion and editing are performed using Delete and
Edit button under Actions head of the
table:
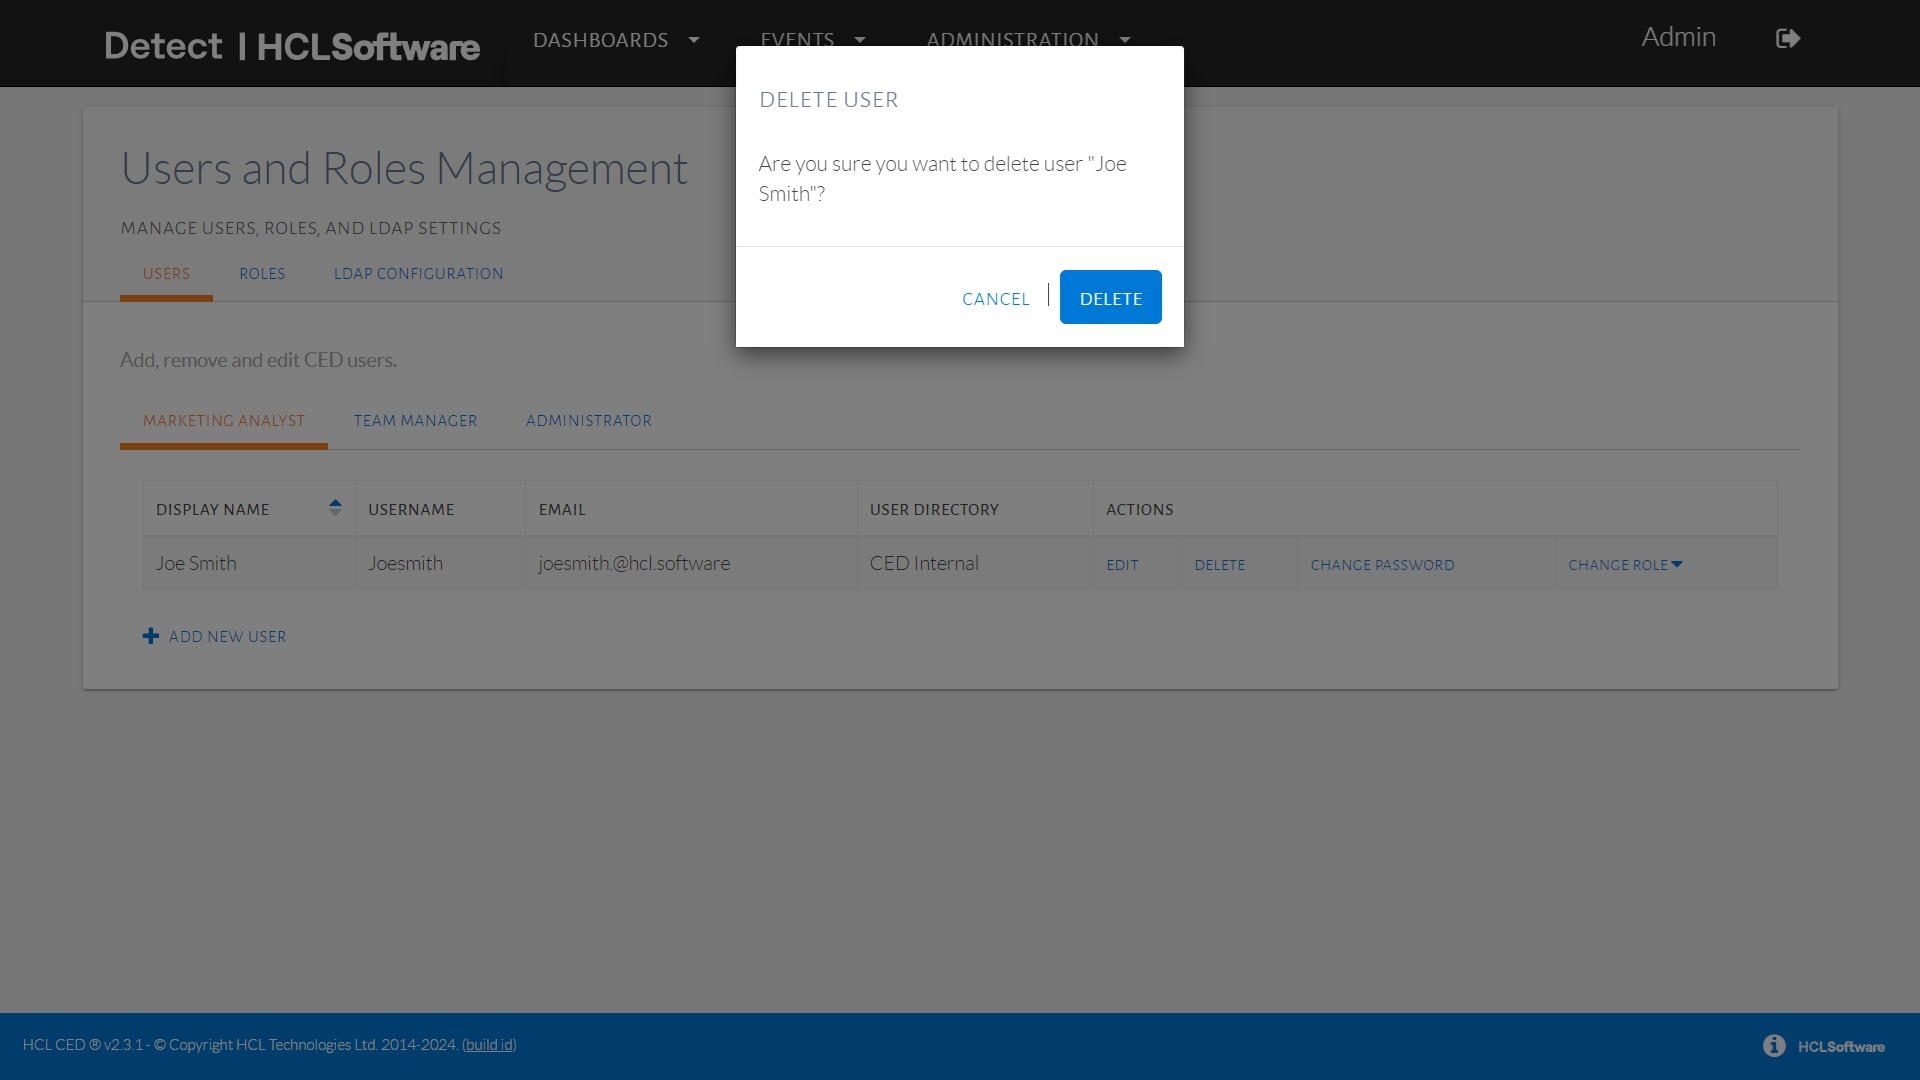
Removing or updating a user's data.
ROLES
The Roles page can be accessed by accessing the
Roles tab in the navigation bar:
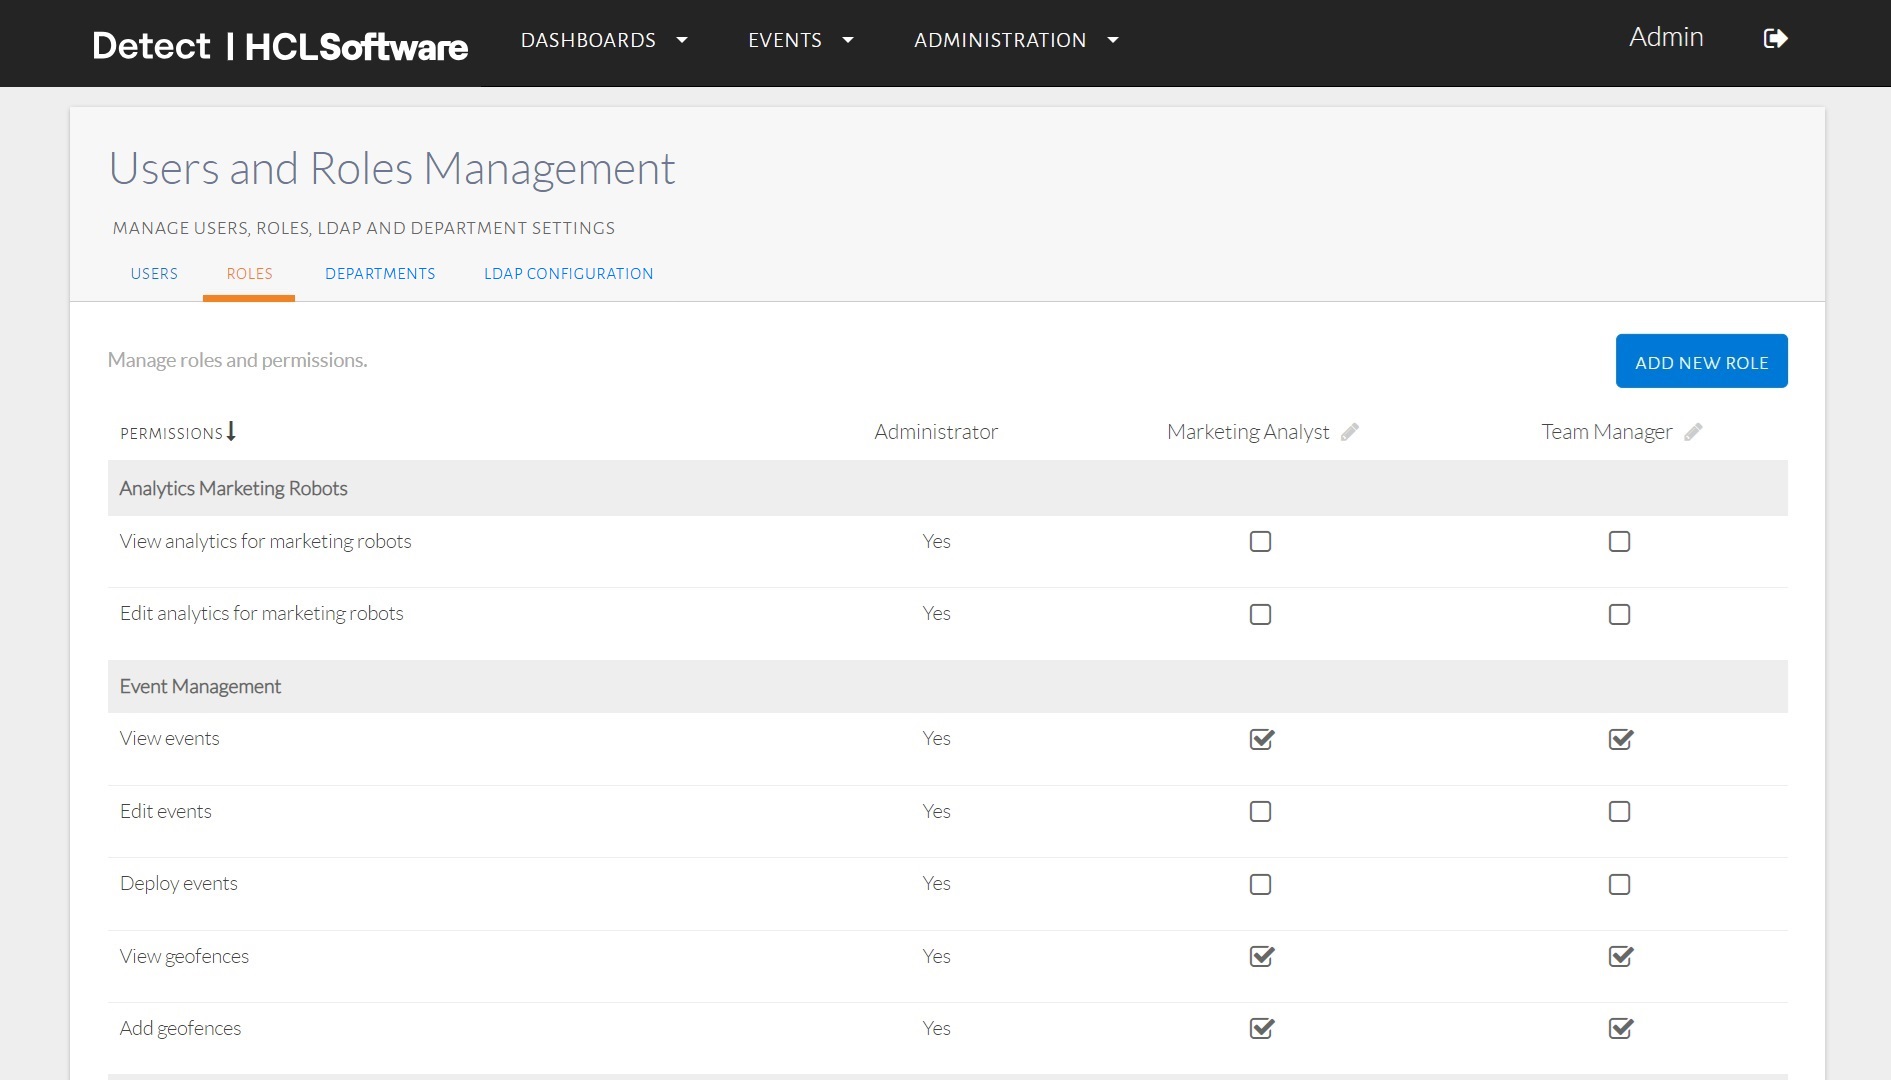
The HCL
Detect, by default, comes
with three default roles: the Administrator, the Team
Manager and the Marketing Analyst:
- The
Administratorhas unrestricted permissions in HCL Detect. - The
TeamManagerdoes not have the permissions associated with user and role management, but has all the other permissions. - The
MarketingAnalysthas permissions that are a notch below aTeam Manager, excluding, for instance, the ability to edit the feeds.
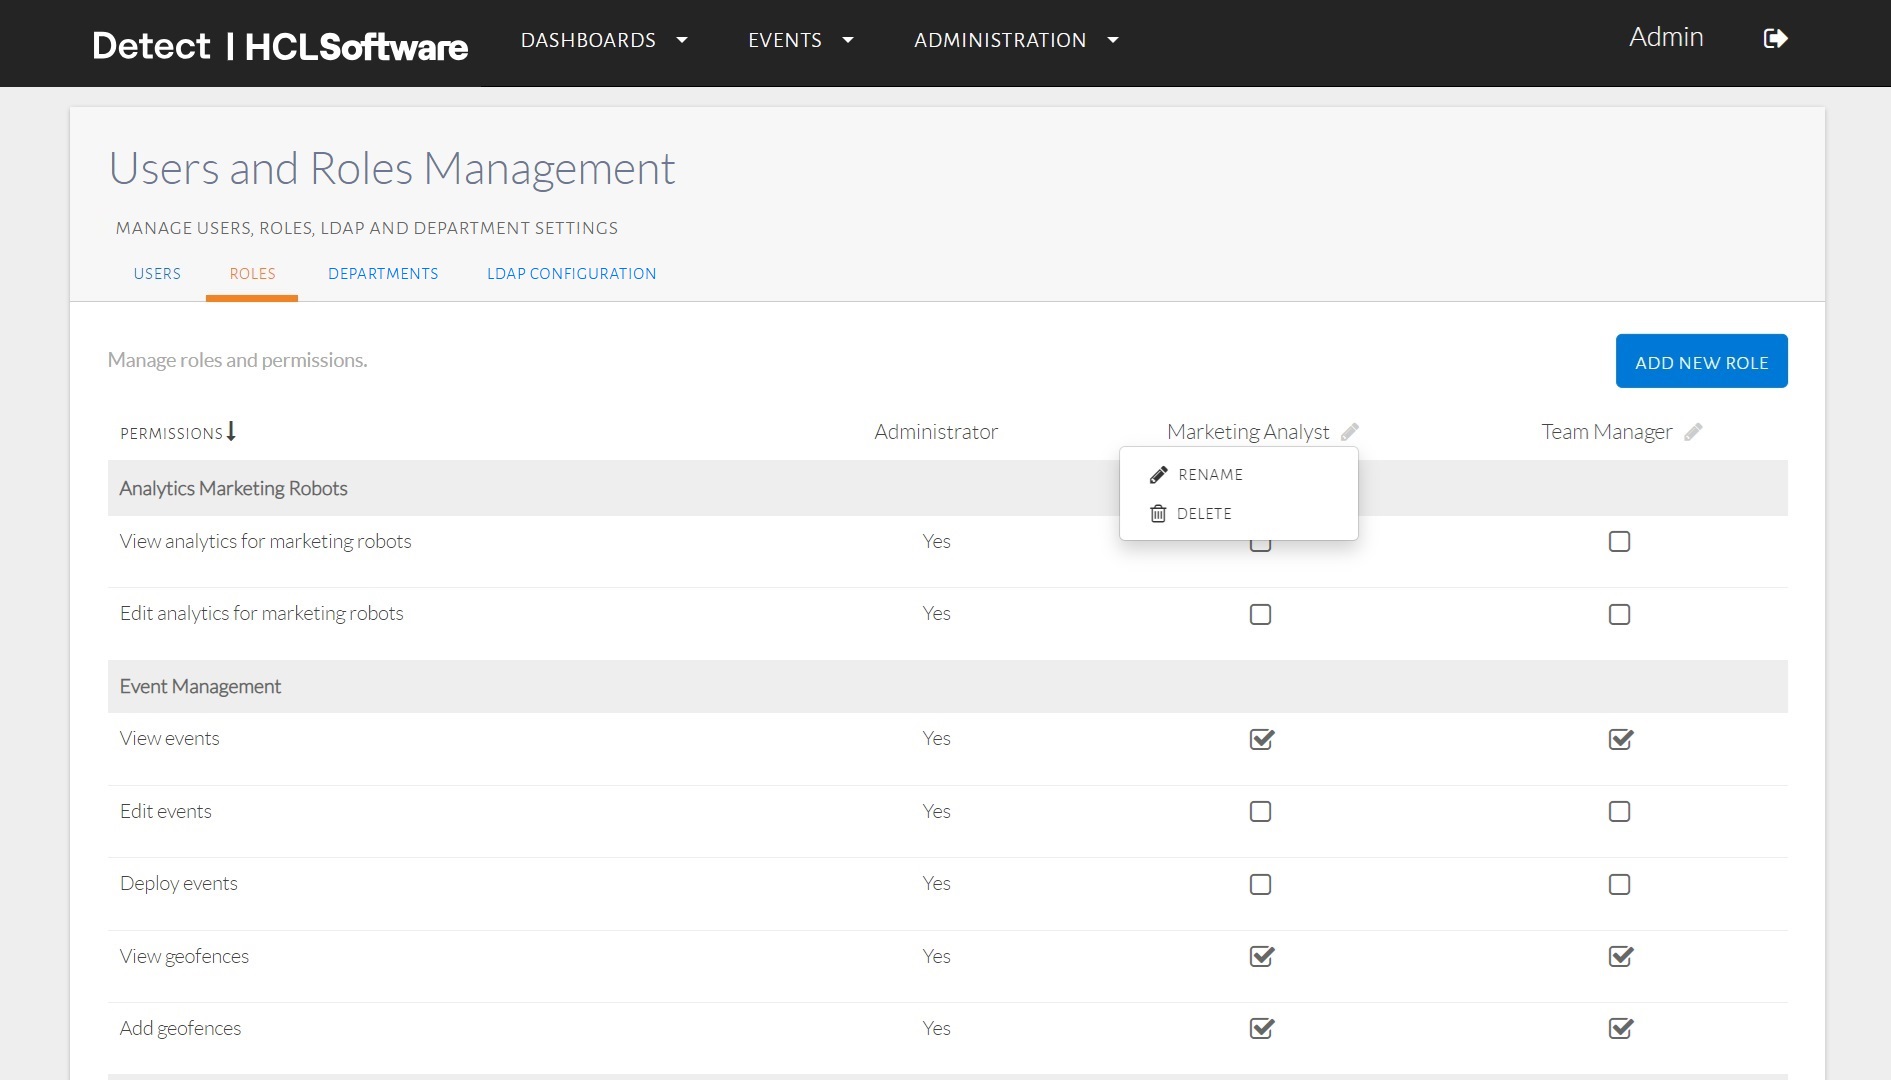
The removal of a role can only be accomplished if no user(s) with that role exists. The user interface shows an appropriate error when an attempt is made to delete a role that has user(s) assigned to it:
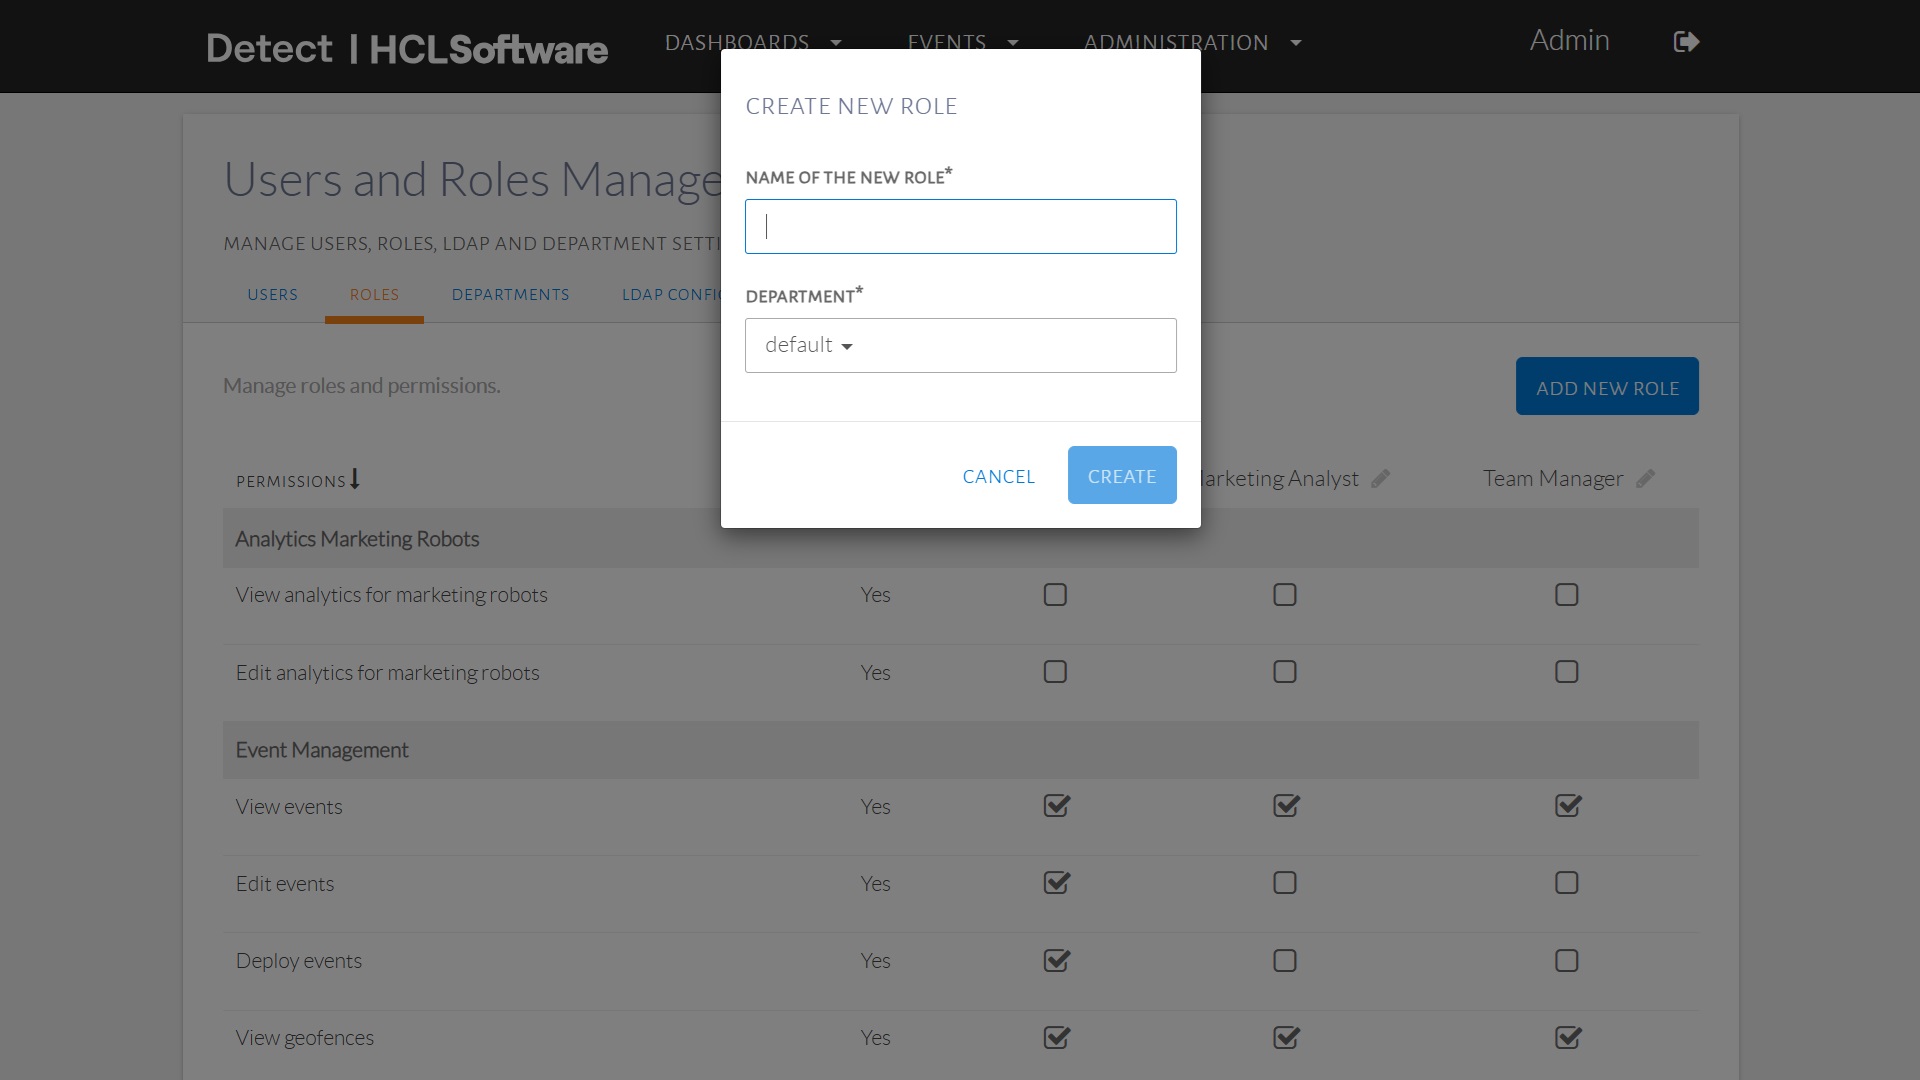
A new role can be created by clicking on the AddNewRole button
located at the top-right corner.
The resulting pop-up asks the user to enter the name of the new role and, upon
clicking on the Create button, the corresponding new role is
created.
A new role is created without any permissions and assign the roles to department. Click the corresponding check-boxes to add permissions to the newly created role.
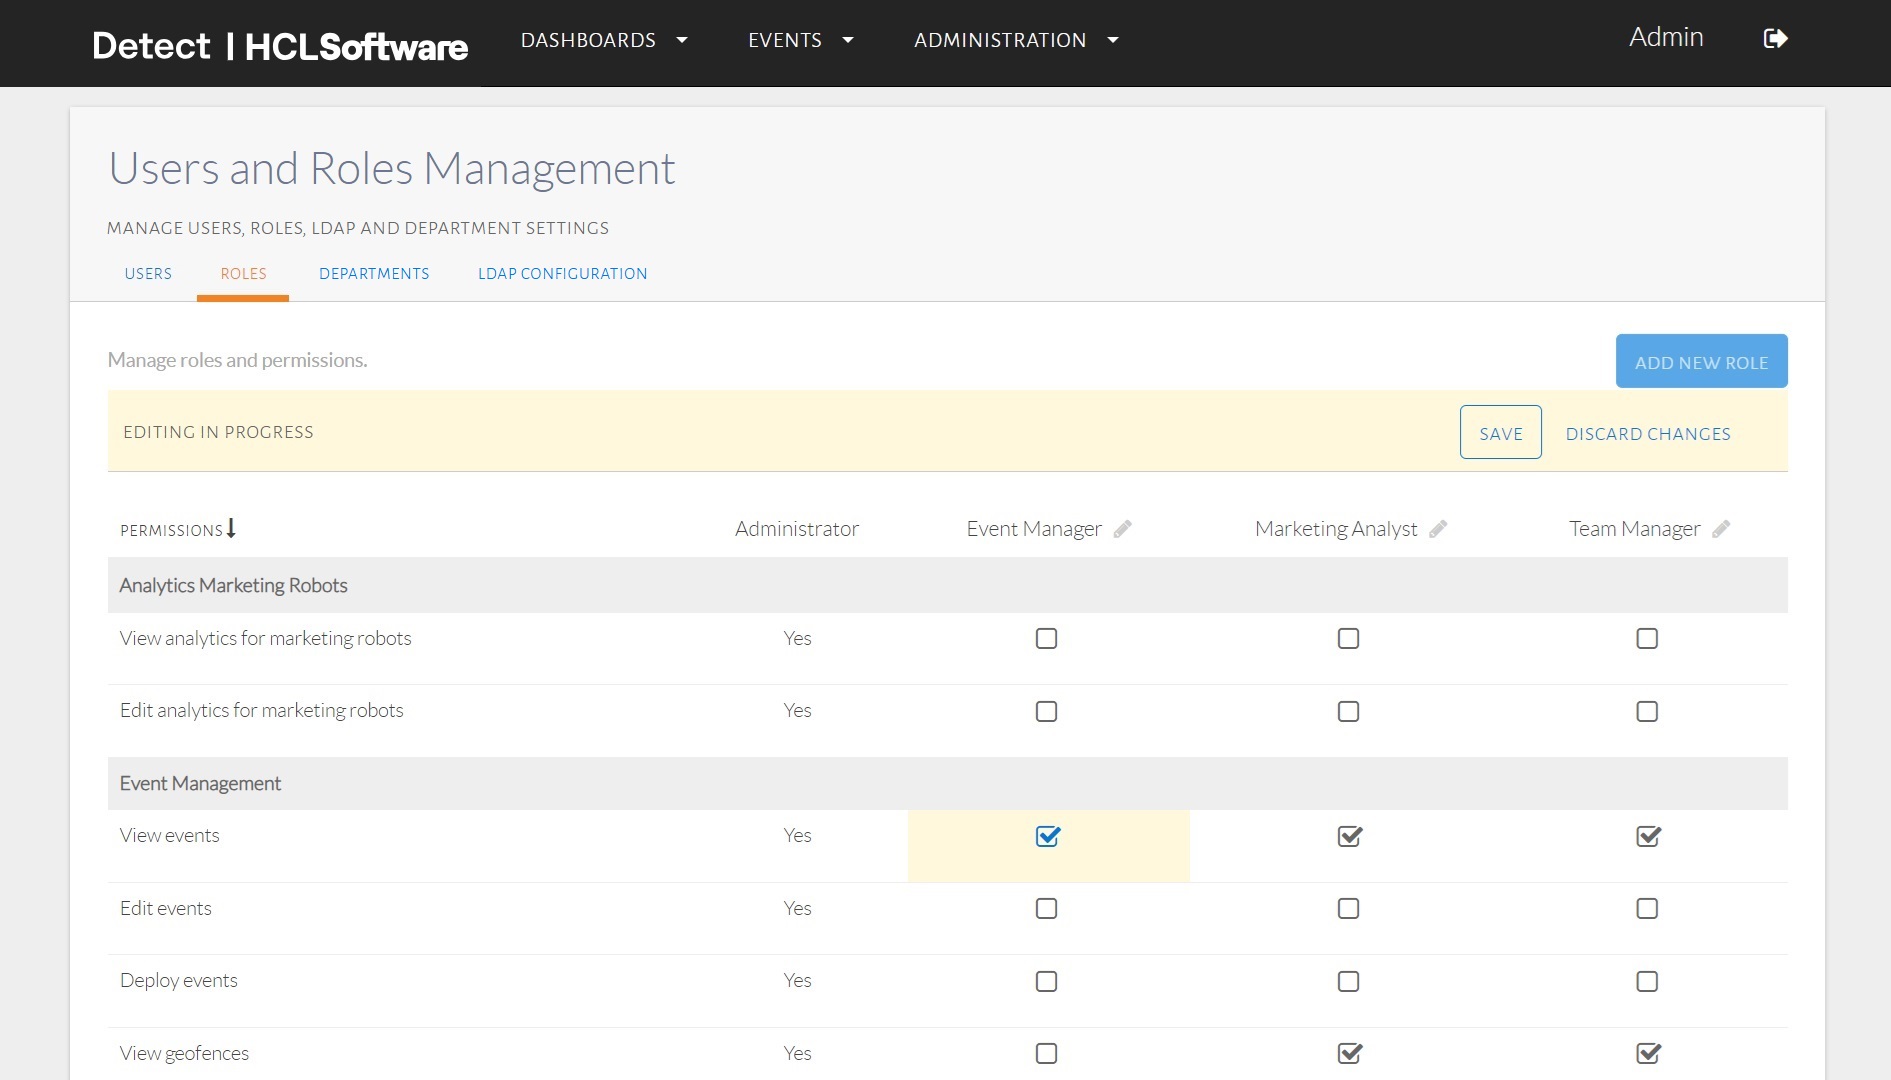
A newly created role (Event Manager) with View events permissions only.
DEPARTMENTS
Departments enables users to organize and group projects under specific departments, streamlining project management and enhancing collaboration within teams.
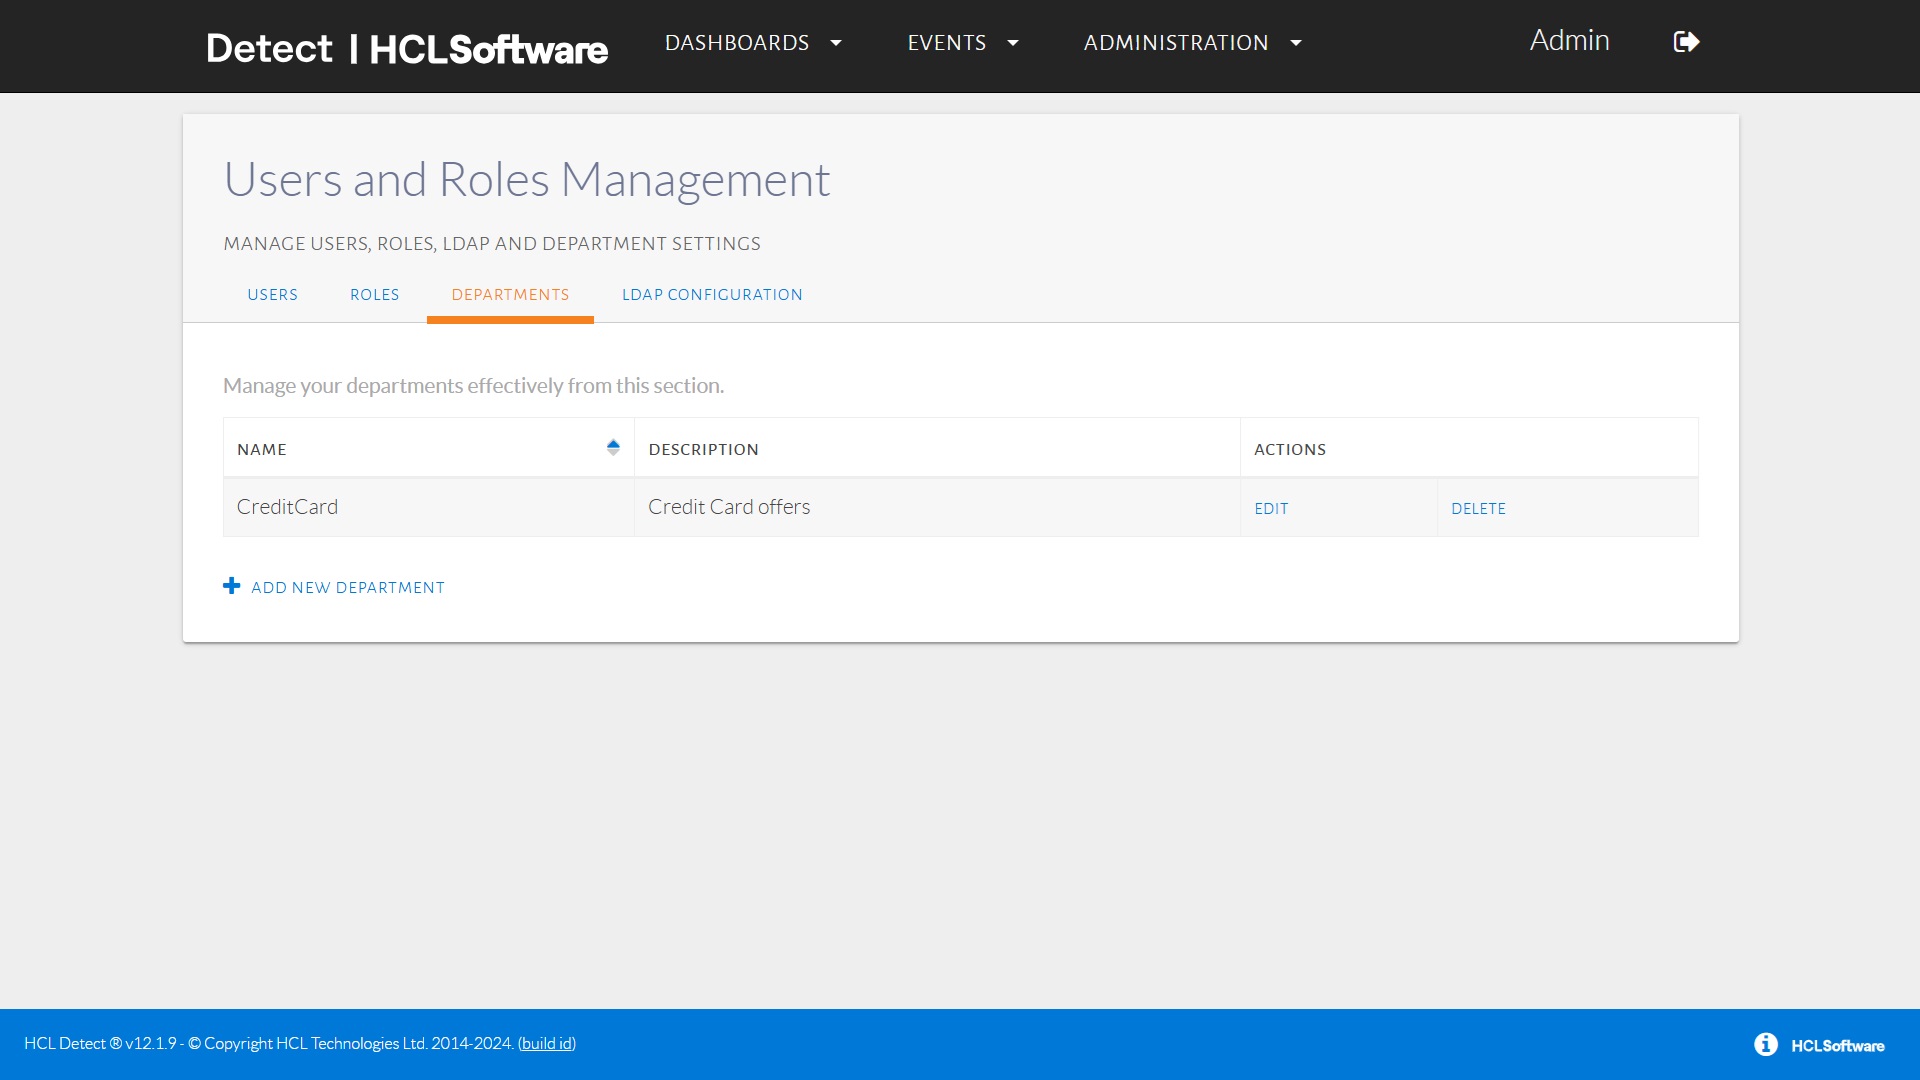
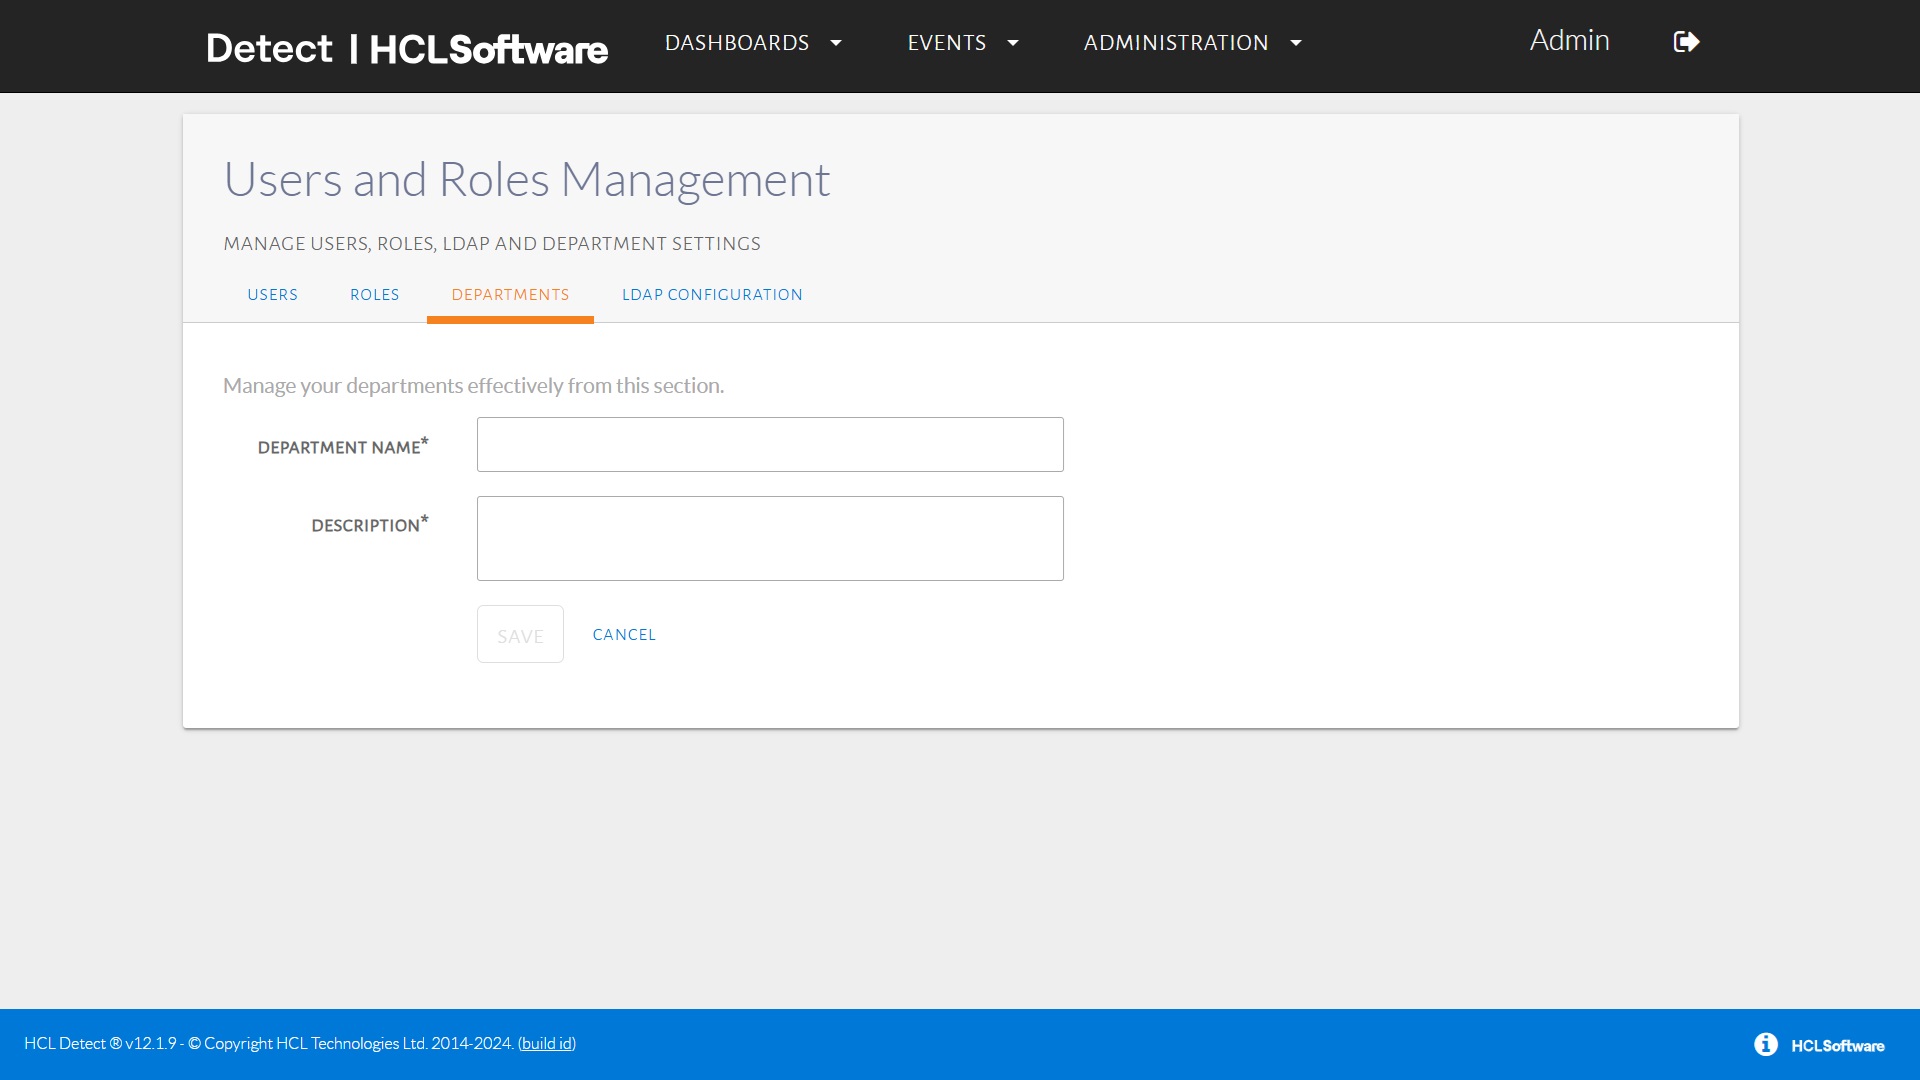
To update the existing departments, click Edit and update the details. The removal of the department is done by clicking Delete.
LDAP
HCL
Detect can be
optionally configured to do LDAP based authentication. The
LDAPConfiguration page can be used to configure the
LDAP Configuration tab in the navigation bar:
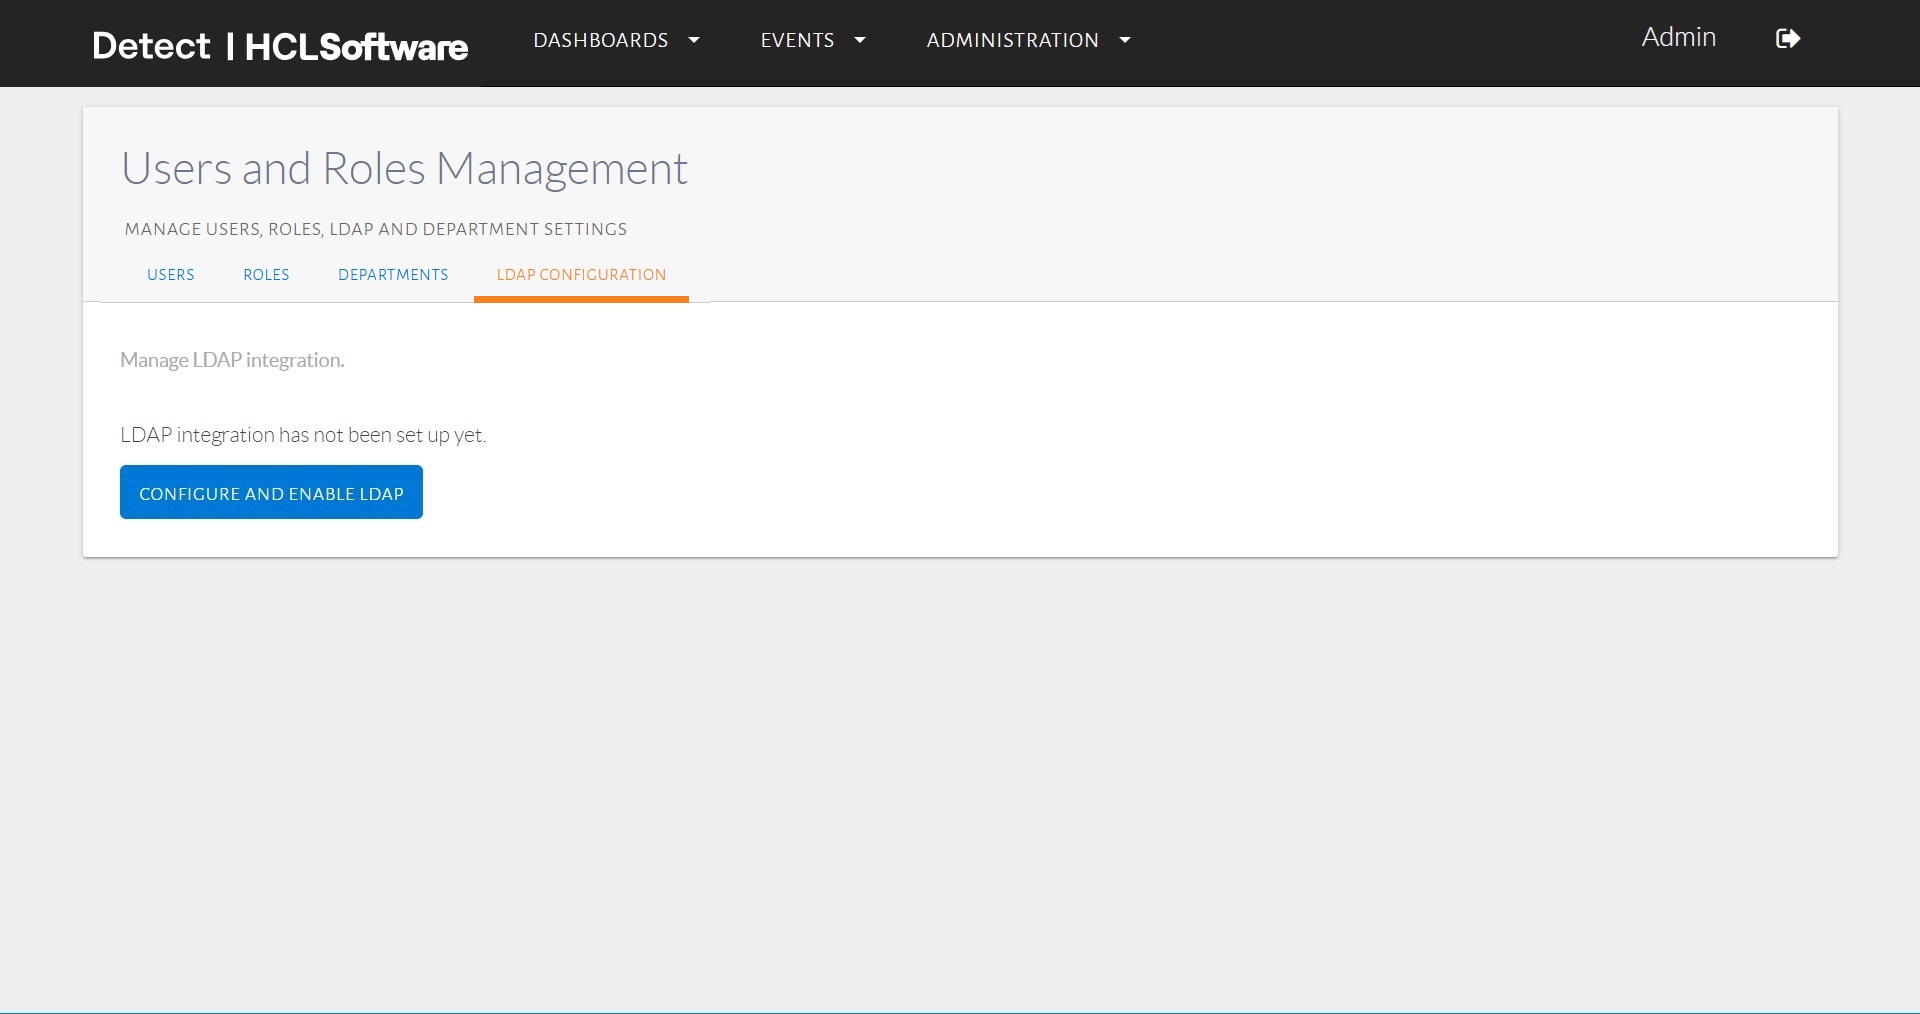
The LDAPConfiguration tab.
To enable LDAP based authentication, we need to click on
ConfigureAndEnableLDAP button:
Configuring the LDAPConfiguration
tab.
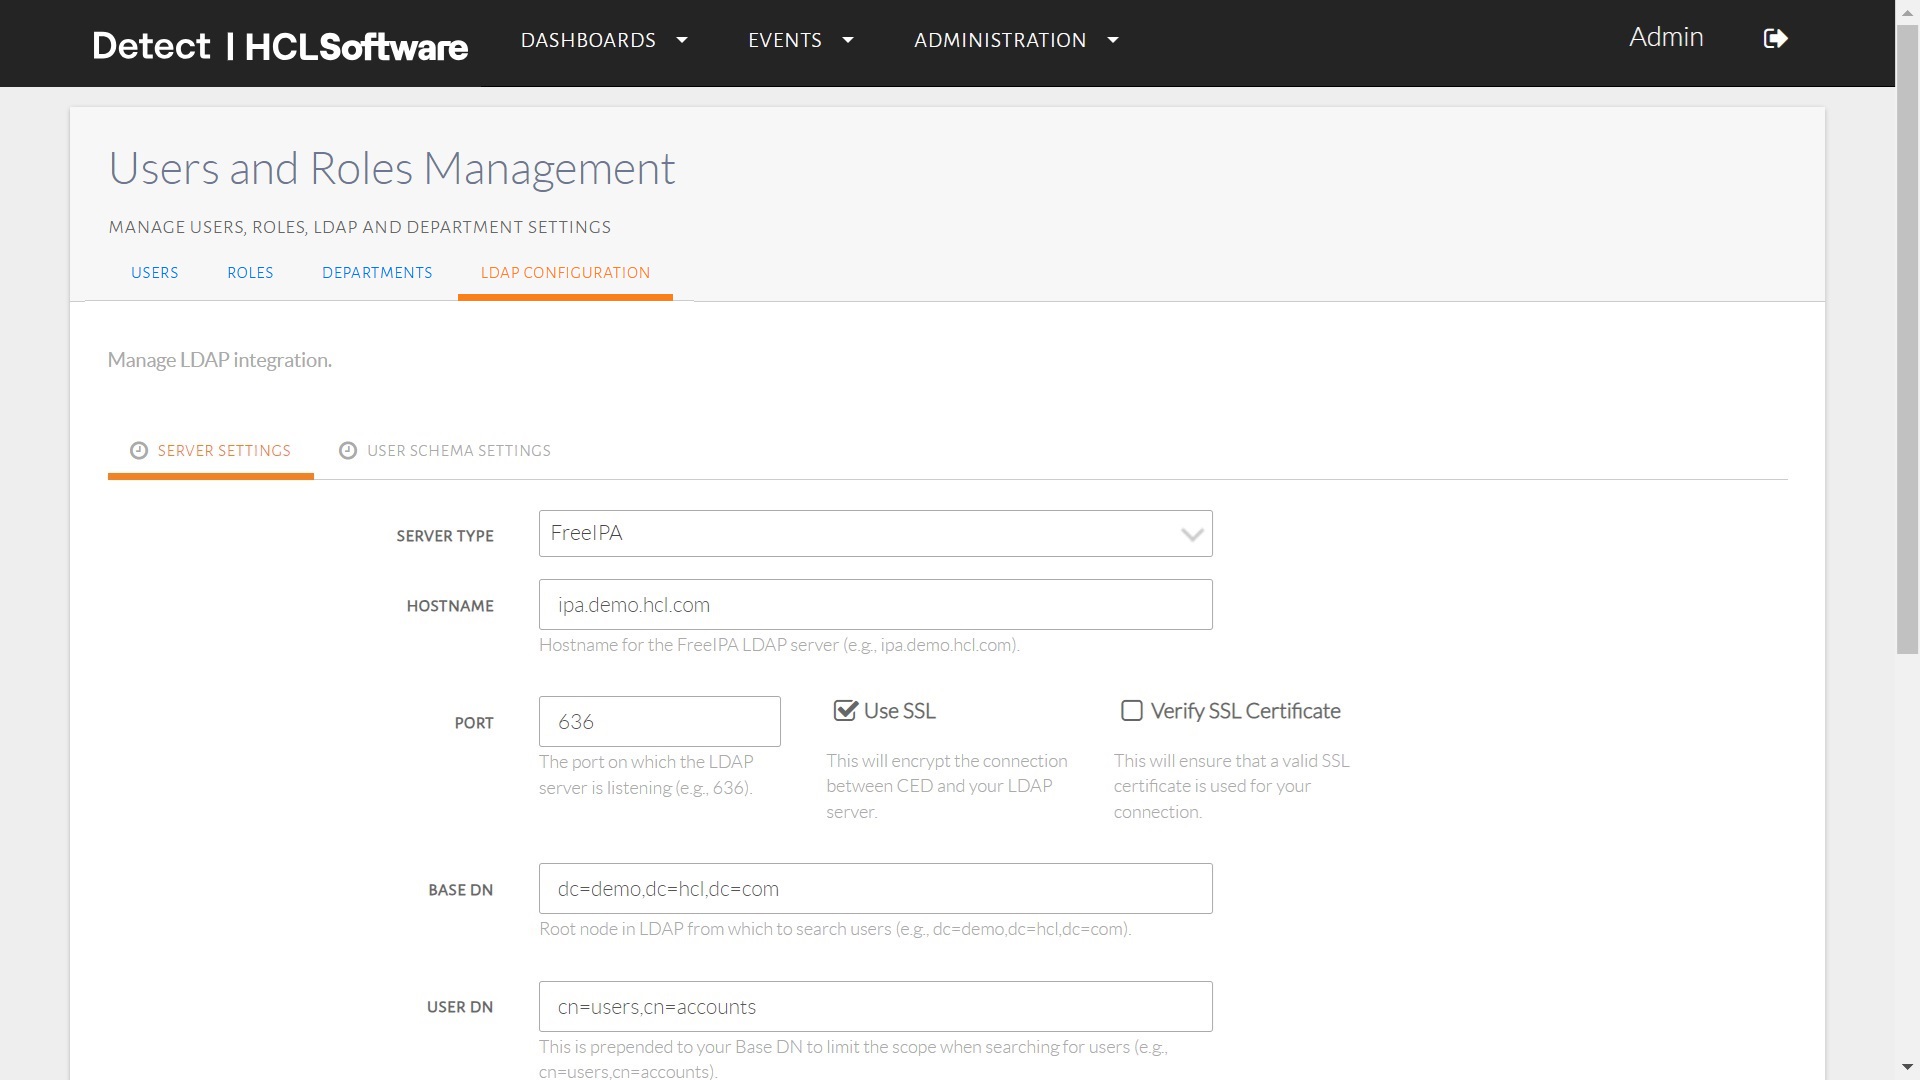
Subsequently, the ServerType, Hostname,
Port, Base DN, User DN,
Group DN, Search User Name and
Search User Password attributes should be filled out.
Current two type are servers are supported, i.e., Free IPA and
Active Directory. Finally, the Test And
Save button can be pressed to test the server setting:
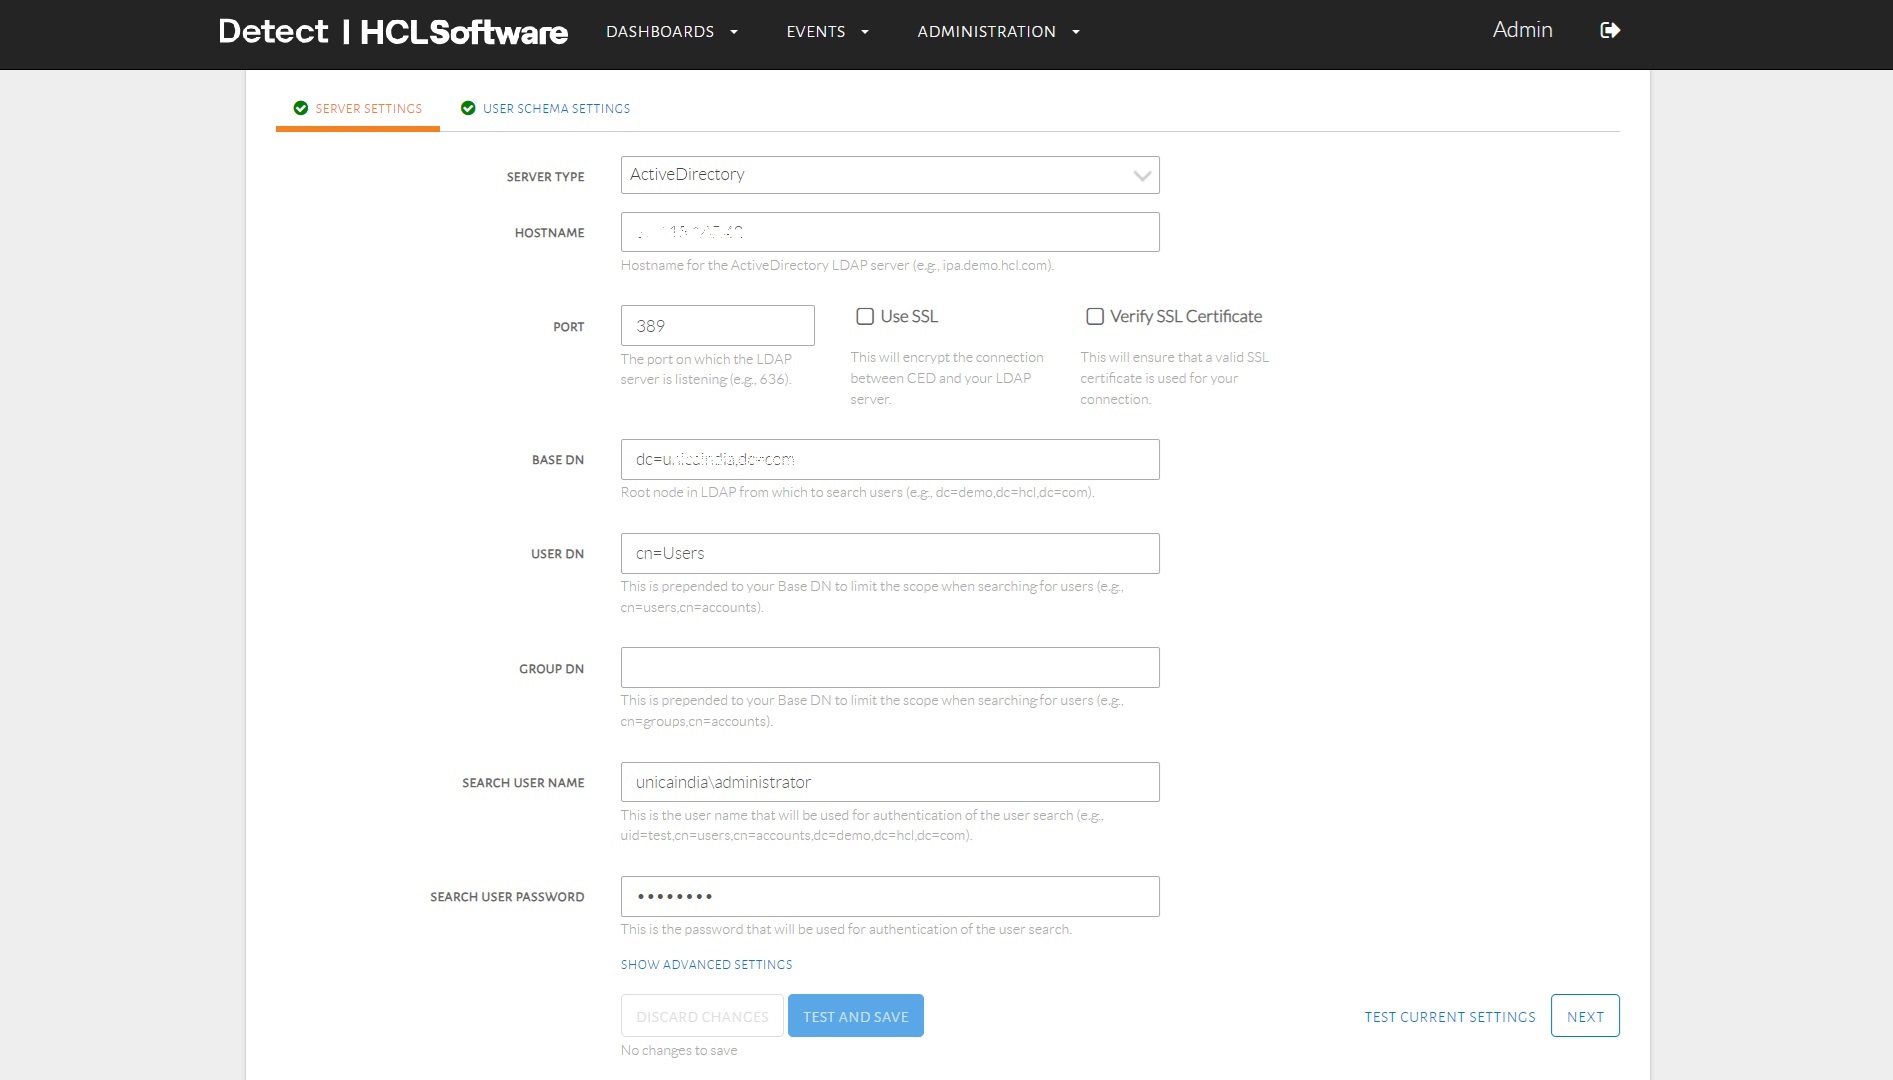
Testing the ServerSettings.
Press Next Button to start configuring the User Schema
Settings tab. Now user Object Class, User
Object Filter, Username Attrbute, User
Name RDN Attribute, User First Name Attribute,
User Lastname Attribute, User Display Name
Attribute, User Email Attribute and User
Distinguished Name Attribute attribute needs to be filled based on
your organization's LDAP configurations:
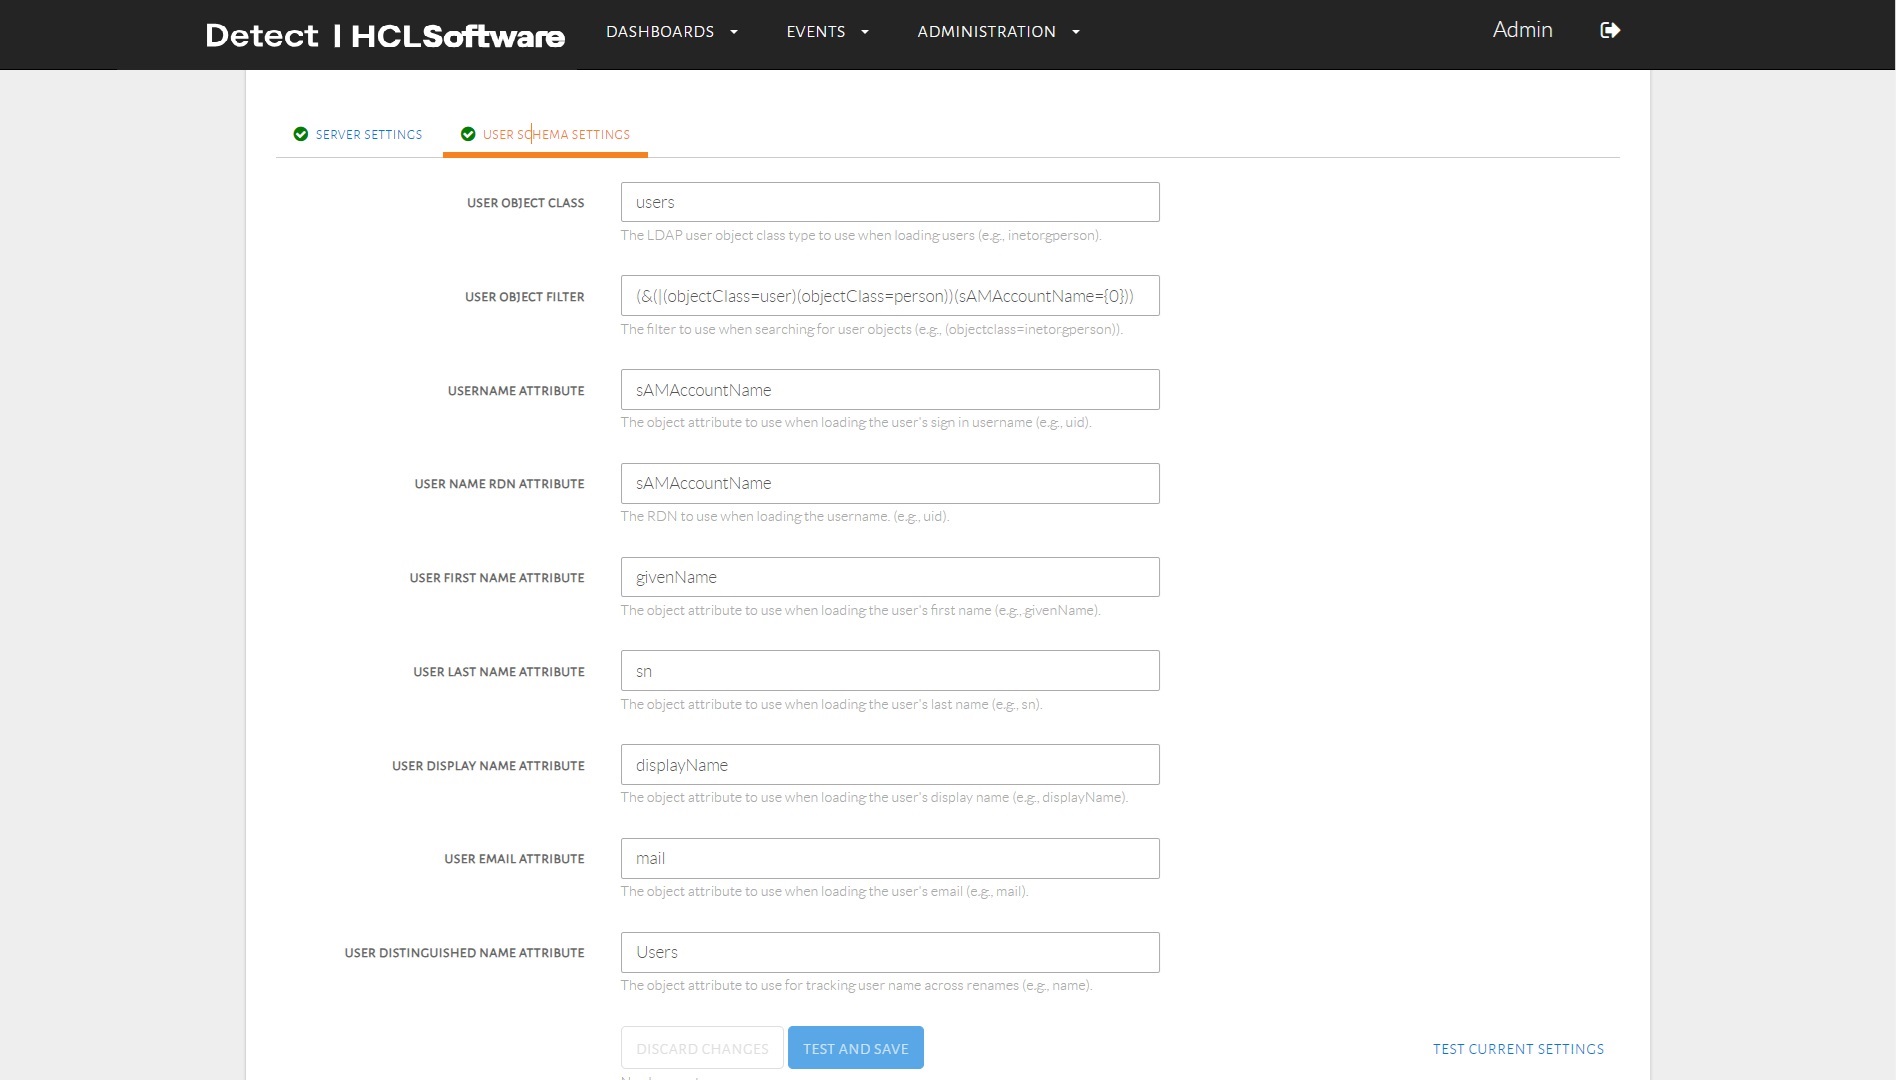
Configuring the UserSchemaSettings.
Now Click on TestAndSave button to test the configuration. Test
it by filling Username and Password for any
existing LDAP user and clicking `Test And Save on the pop-up
display.
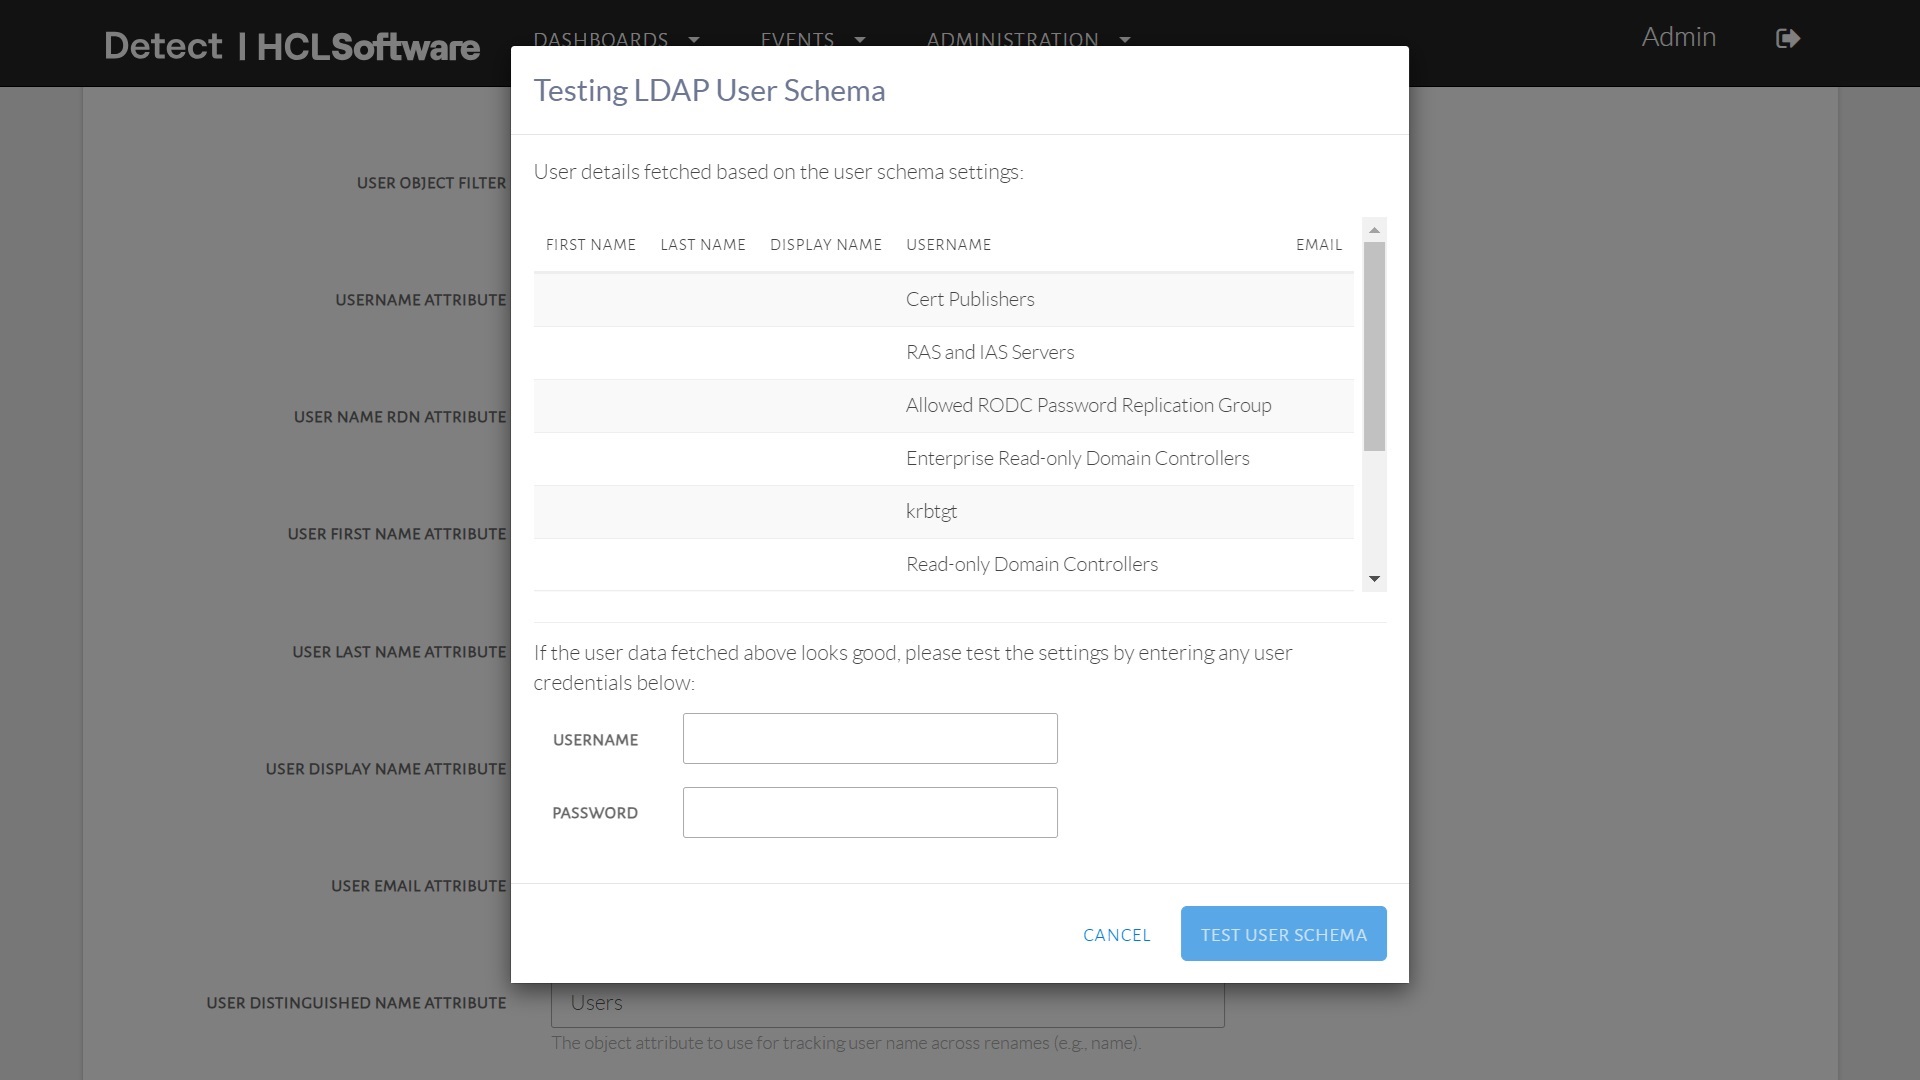
Testing the UserSchemaSettings.