Creating an XPage for editing
Forms can also be used to design Web pages, but XPages allow more UI options and greater control of appearance with less effort. It's helpful to also have a form to provide a list of fields for binding data. Also the form can be used to calculate computed fields with field formulas rather than putting code on the XPage.
About this task
Do the following:
Procedure
- At the beginning of the list of XPages, click New XPage. Alternatively, you can right-click .
- Name your new XPage
Siteand click OK. The XPage and form names do not have to be the same, but it is good practice. Giving them the same name enables certain automatic behaviors that are beyond the scope of this tutorial. - Add a style sheet to the page as follows:
- In the end pane, click Style.
- Scroll to the end and click Add style sheet to page
- In the
Add Style Sheet to Pagebox, selectstyles.css. - Click OK.
These CSS files are stylesheet design elements included in the sample application. - Add a title for the page and style it as follows:
- On the XPage, type a title for the page, for example,
Site
                        Description
and press Enter. - Highlight the text.
- On the endmost pane, click Style if you are not already there.
- In the list under
styles.css, click .title.
The appearance of the text will change to conform to the selected style. - On the XPage, type a title for the page, for example,
- Associate (bind) the XPage with the Domino® back-end data store as follows:
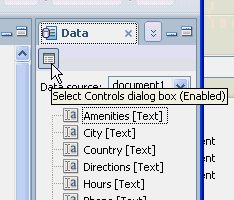
- Set up the data palette as follows:
- Select and drag all fields from the data palette onto the
XPage under the title.
The
Select Data
                    Bound Controls
dialog box opens. - Fill in the dialog box as follows:
- Leave all checkboxes checked to say you want to include the fields.
- Leave all label text as is.
- Change the control type for
Site typetoCombo Boxby selecting it and using the dropdown menu. - Change the control type for
AmenitiestoList Box - Change the control type for
DirectionstoMultiline Edit Box - Check
Add Submit button to generated code. - Check
Add messages control to generated code.
The dialog box should like this.

- Click OK.
This creates a two-column table with labels in the first column and controls in the second column. The second column also has an area to display validation errors and a
Submitbutton. - Put focus on the
SiteTypefield and adjust it as follows: - Put focus on the
Amenitiesfield and adjust it as follows:If you prefer check boxes for Amenities, you can remove the List Box and drag a Check Box Group from the Controls palette. Bind the Check Box Group by clicking Data under Properties and selectingAmenitiesfrom the Bind to dropdown menu. Enter the values on the Values tab as in step 11 above.The reason there are both
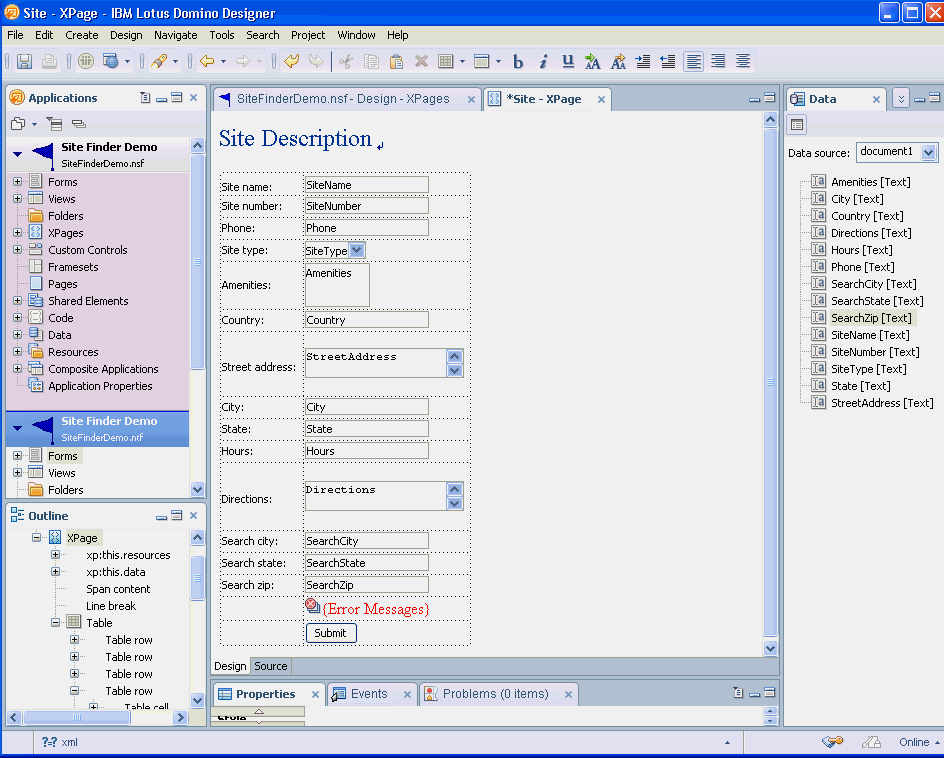
CityandsearchCityfields is to allow a different city for searching than the actual site names. For example, one of the sample sites is inBrighton, a suburb of Boston, so for searching we'll say it's in Boston. For country, however, we're going to assume that the actual country and the search country are the same.Your XPage should look like this.

At this point, your XPage should be similar to
Site1which you can open for comparison. - Adjust the table so the row containing the
Submitbutton is hidden when the page is not editable. You will need a little JavaScript™.This code hides the cell containing the button if the return value isfalse. You could also hide the button rather than the cell. - On the XPage, click outside any controls to put focus on the page and press Ctrl+S to save the page.
- Click (or select another browser).You can test your application by entering values and clicking
Submit. This should enter a new document into the database. To see a list of the documents, use the Notes® client. Close the browser when you are done.At this point, your XPage should be similar to
SiteFinalwhich you can open for comparison. - Close the
SiteXPage by clicking the X at the upper right of the center pane.
