Installing IBM CMIS for CCM and HCL Docs integration
To integrate HCL Docs with CCM (Connections Content Manager), you must install IBM CMIS for FileNet Content Manager that ships with HCL Connections. Make sure you have installed HCL Connections 5.0 CR3 or Connections 5.5.
About this task
Currently, HCL Docs supports only CMIS 1.0.
Procedure
- Navigate to
C:\IBM\Connections\addons\ccm\FNCS\configure(the path might vary depending on Connections versions and your HCL Connections installation path, for example, the path is C:\IBM\Connections\FNCS\configure for Connections 5.5). Runconfigmgr. The IBM Content Navigator Configuration and Deployment Tool opens.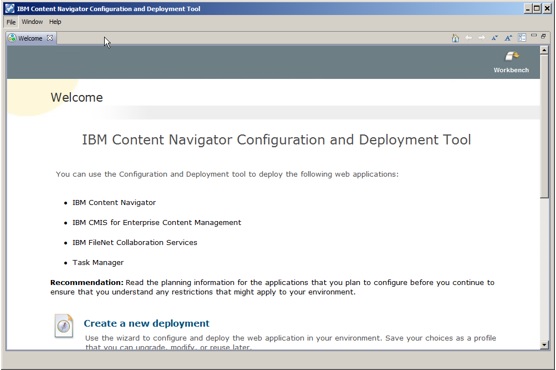
- Click .
- Type FNCMIS for the new deployment
name, and then click Next.

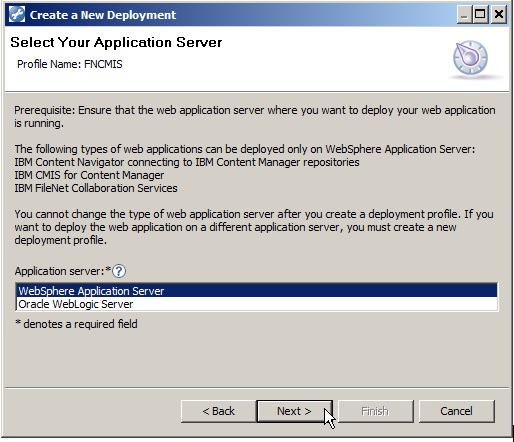
- Select Websphere Application Sserver,
and click Next.
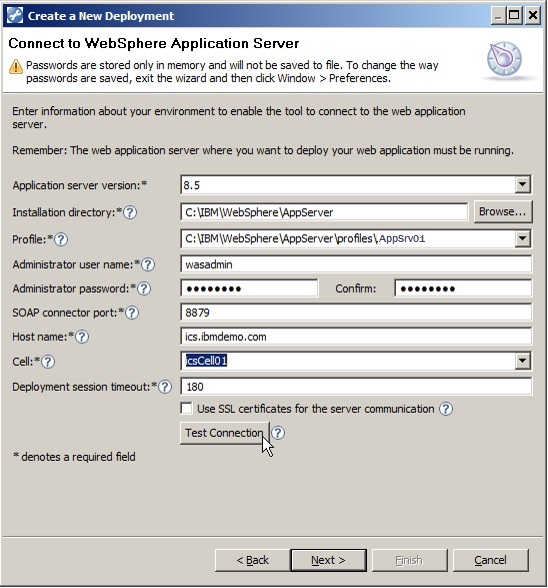
- Specify the Application Server values:
- Select Application server version 8.5.
- Change the Installation directory according to your environment, and then the profile path will automatically change. For example, the installation directory is /opt/IBM/WebSphere/AppServer and the Profile path is /opt/IBM/WebSphere/AppServer/profiles/AppSrv01.
- Type wasadmin in the Administrator user name field and then type the password.
- Type 8879 for SOAP connector port.
- Set the Host name and select the proper cell for the deployment.
- Click Test Connection to see
if you can connect to the WebSphere Application Server.
- After the Successfully connected to the application server message displays, click Next.
- Select IBM CMIS for FileNet Content Manager,
and then click Next.

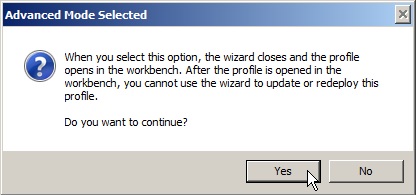
- Click Advanced. And then click Yes to
continue.
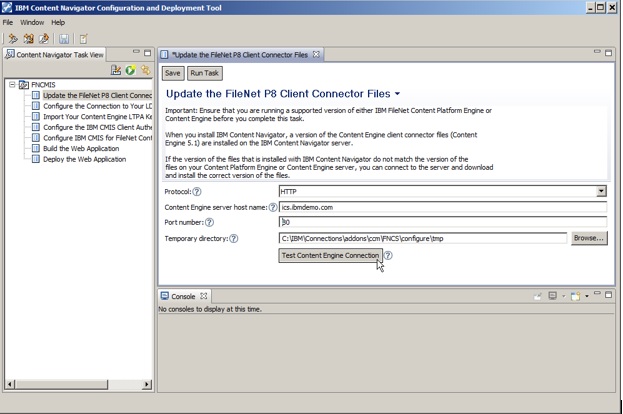
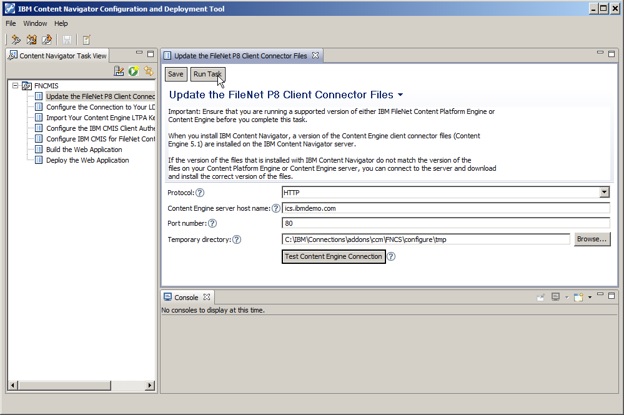
- On the first panel, type your server name and port for
the Content Engine. If you use the IBM HTTP Server you can use port
80. Otherwise use a WebSphere port such as 9081. Then click Test
Content Engine Connection.
- A message displays that you are connected to your Content Engine server. Click OK.
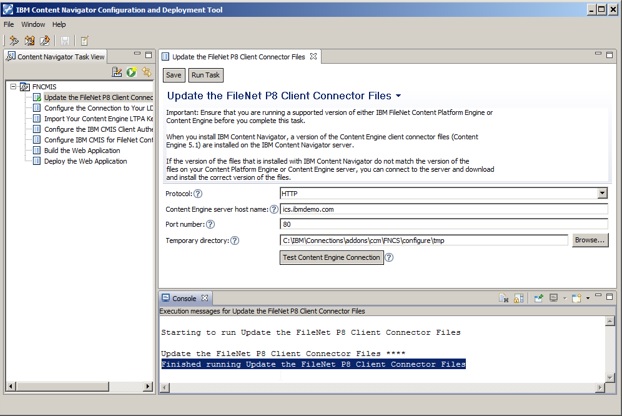
- Click the Save button and then the Run
Task button.
- When you see the message that the task has run successfully,
double-click the next item in the navigation panel.
- On the Configure the Connections to Your LDAP Server item, right-click, and disable it. It will then be displayed in italics.
- Do the same for Import Your Content Engine LTPA Keys. Right-click and disable it.
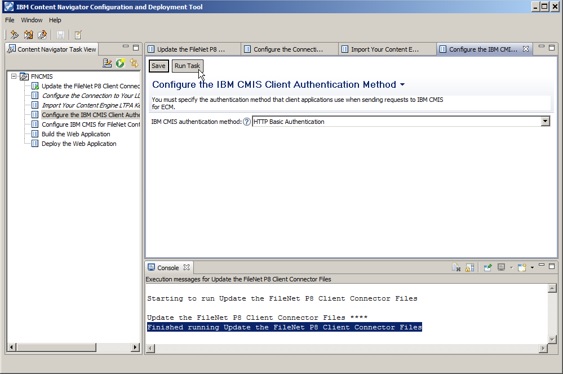
- On the Configure the IBM CMIS Client Authentication
Method item, select the authentication method. In most
cases it is HTTP Basic Authentication. Click Save and
then Run Task.
- Configure IBM CMIS for FileNet Content Manager.
Specify the host name, the port number and the IBM CMIS URL. There
is no need to specify the FileNet P8 domain name.
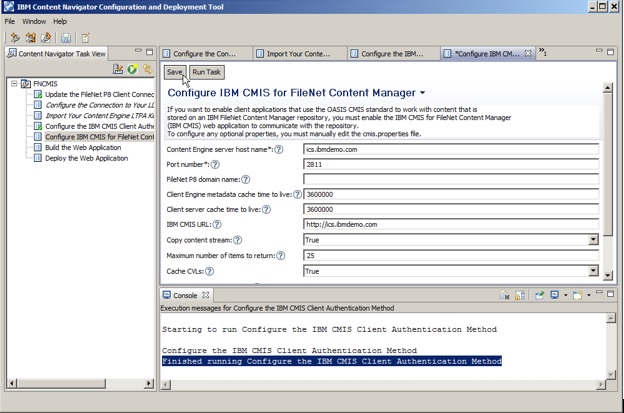
Note: If you are unsure about the Port Number, you can look it up in the WebSphere Administration interface by going to and at the Communications tab, open the Ports section. The port that you are looking for is BOOTSTRAP_ADDRESS. - Click Save and then Run Task.
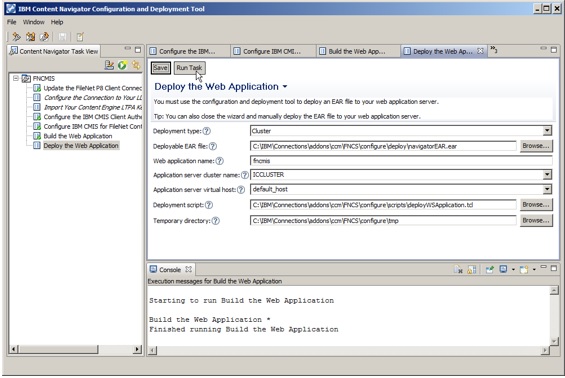
- Proceed to the Build the Web Application item. Keep the default values. Click Save and then Run Task.
- On the Deploy the Web Application panel, select Cluster as the deployment type. Rename the Web application fncmis, and select your cluster from the Application server cluster list.
- Click Save and then Run
Task.
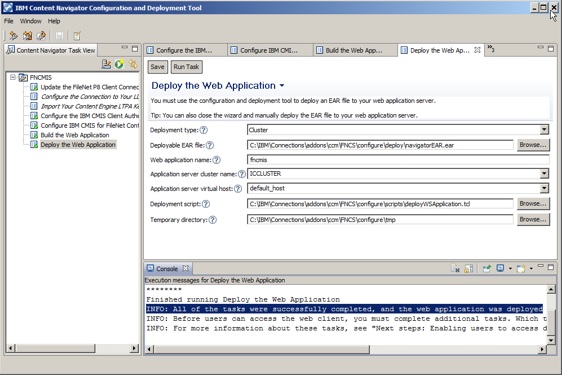
- When it is done, you see a message that all of the tasks
were successfully completed.
- Restart the deployment manager.
- Map the new application to the IBM HTTP Server. Click the WebSphere Administrator web interface and go to . Click the fncmis application
- Under Modules, click the Manage
Modules link.
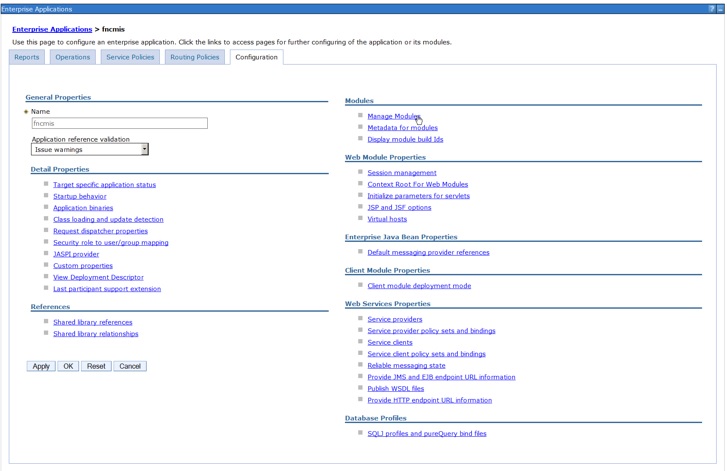
- Select the CMIS for IBM FileNet Content Manager check
box, and then select the cluster and the web server. Click Apply.

- Click OK.
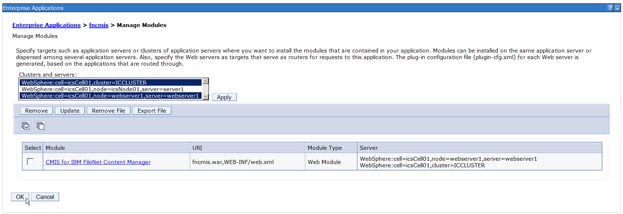
- Click Save.

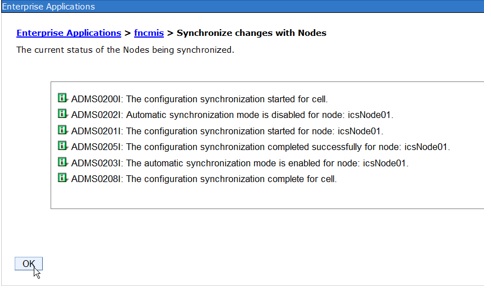
- If you have automatic synchronization enabled, it will
now sync the changes to all nodes. Click OK.
If not, you will need to start the synchronization manually.
- Generate the HTTP Server Plug-in and deploy and restart the webserver. Go to .
- Select the webserver1 check box
and click Generate Plug-in.
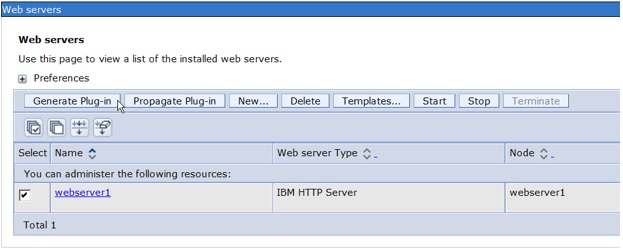
- Select the webserver1 check box again and click Propagate Plug-in.
- Select the webserver1 check box again and click Stop.
- Select the webserver1 check box again and click Start.
-
Configure IBM CMIS for HCL Docs: