Manual EAR File Upload
Prepare for Manual Upload
./gradlew npmBuildDxModule
gradlew.bat npmBuildDxModule
Sample successful npmBuildDxModule log:
     > Task :npmInstallDXModule
     up to date, audited 167 packages in 979ms
     24 packages are looking for funding
       run `npm fund` for details
     found 0 vulnerabilities
     > Task :npmBuildDxModule
     > webapp-dx-module@1.0.0 build-dxmodules
     > webpack --config  webpack.dxmodules.js
     asset dxmodules.bundle.js 137 KiB [compared for emit] [minimized] (name: dxmodules) 1 related asset
     asset dxmodules.bundle.css 97 bytes [compared for emit] (name: dxmodules)
     Entrypoint dxmodules 137 KiB = dxmodules.bundle.css 97 bytes dxmodules.bundle.js 137 KiB
     orphan modules 2.89 KiB (javascript) 937 bytes (runtime) [orphan] 8 modules
     runtime modules 670 bytes 3 modules
     built modules 143 KiB (javascript) 96 bytes (css/mini-extract) [built]
       modules by path ./node_modules/ 142 KiB
         modules by path ./node_modules/react-dom/ 131 KiB 3 modules
         modules by path ./node_modules/react/ 6.94 KiB
           ./node_modules/react/index.js 190 bytes [built] [code generated]
           ./node_modules/react/cjs/react.production.min.js 6.75 KiB [built] [code generated]
         modules by path ./node_modules/scheduler/ 4.33 KiB
           ./node_modules/scheduler/index.js 198 bytes [built] [code generated]
           ./node_modules/scheduler/cjs/scheduler.production.min.js 4.14 KiB [built] [code generated]
       dll dxmodules 12 bytes [built] [code generated]
       ./modules-index.js 764 bytes [built] [code generated]
       css ./node_modules/css-loader/dist/cjs.js!./styles-index.css 96 bytes [built] [code generated]
     webpack 5.74.0 compiled successfully in 10093 ms
     BUILD SUCCESSFUL in 52s
     6 actionable tasks: 4 executed, 2 up-to-date
Manually upload the EAR file to WebSphere
- Check the EAR file generated in the build/libs folder.
- Login to your WebSphere console.
- Navigate to the new application window by opening the Application tab in the left-hand side and then click the new application link.
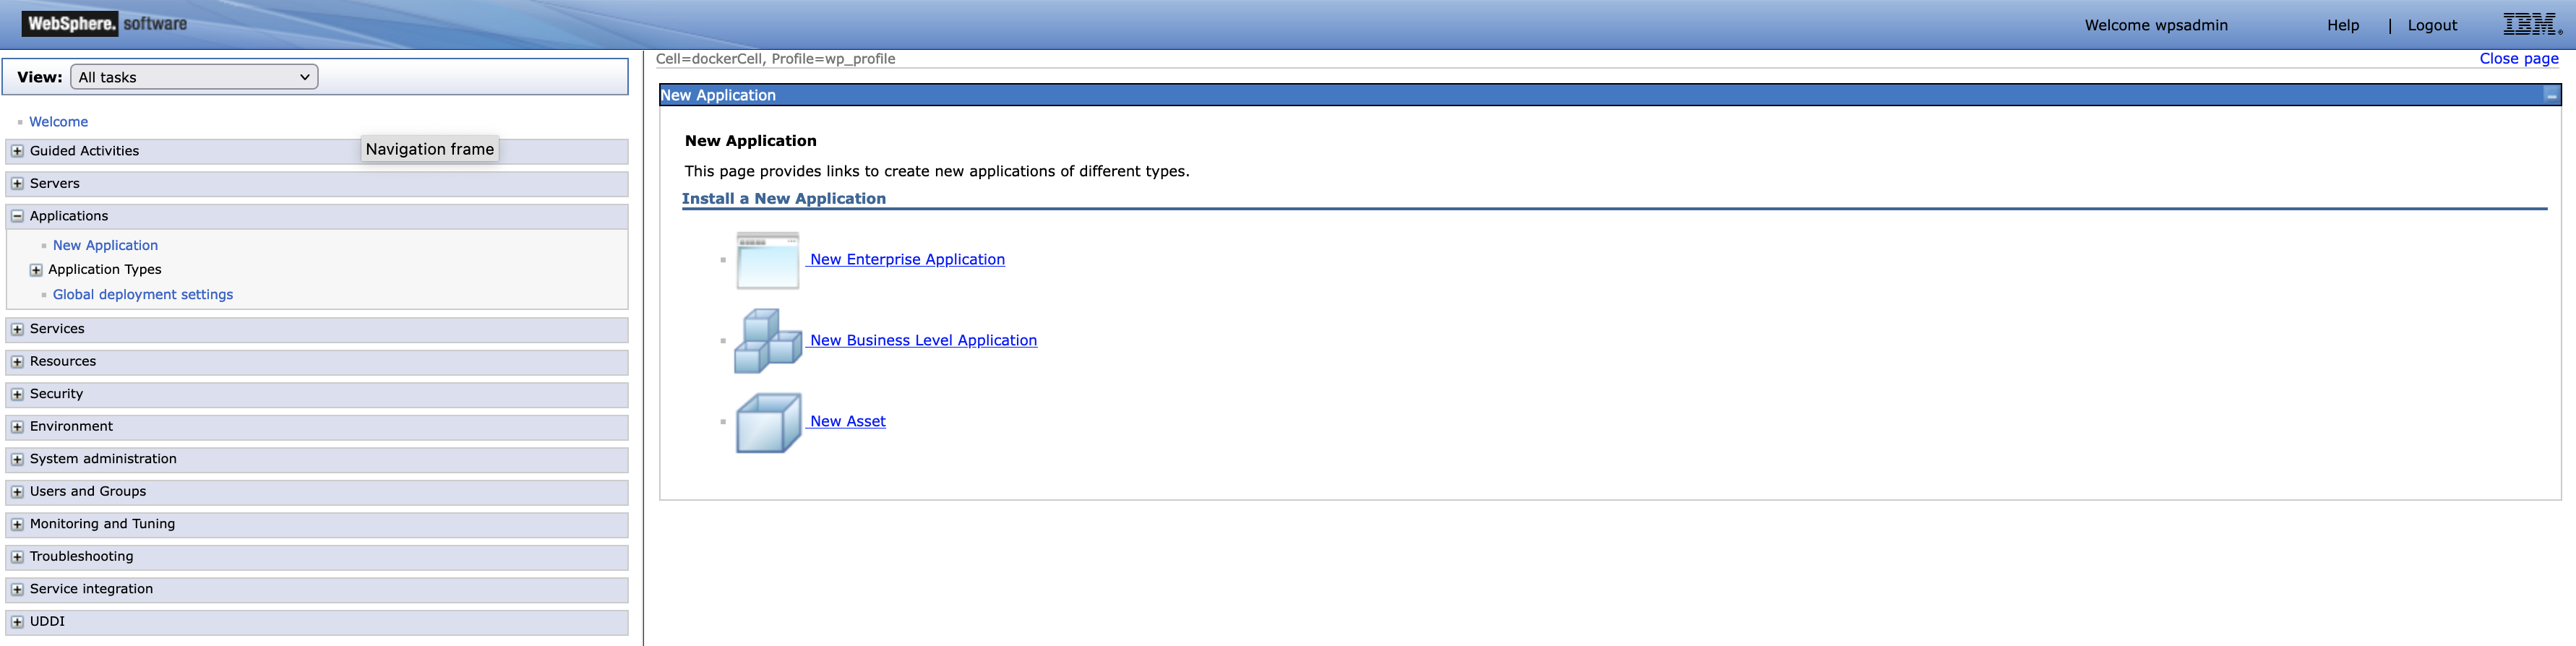
- Click the New Enterprise Application link
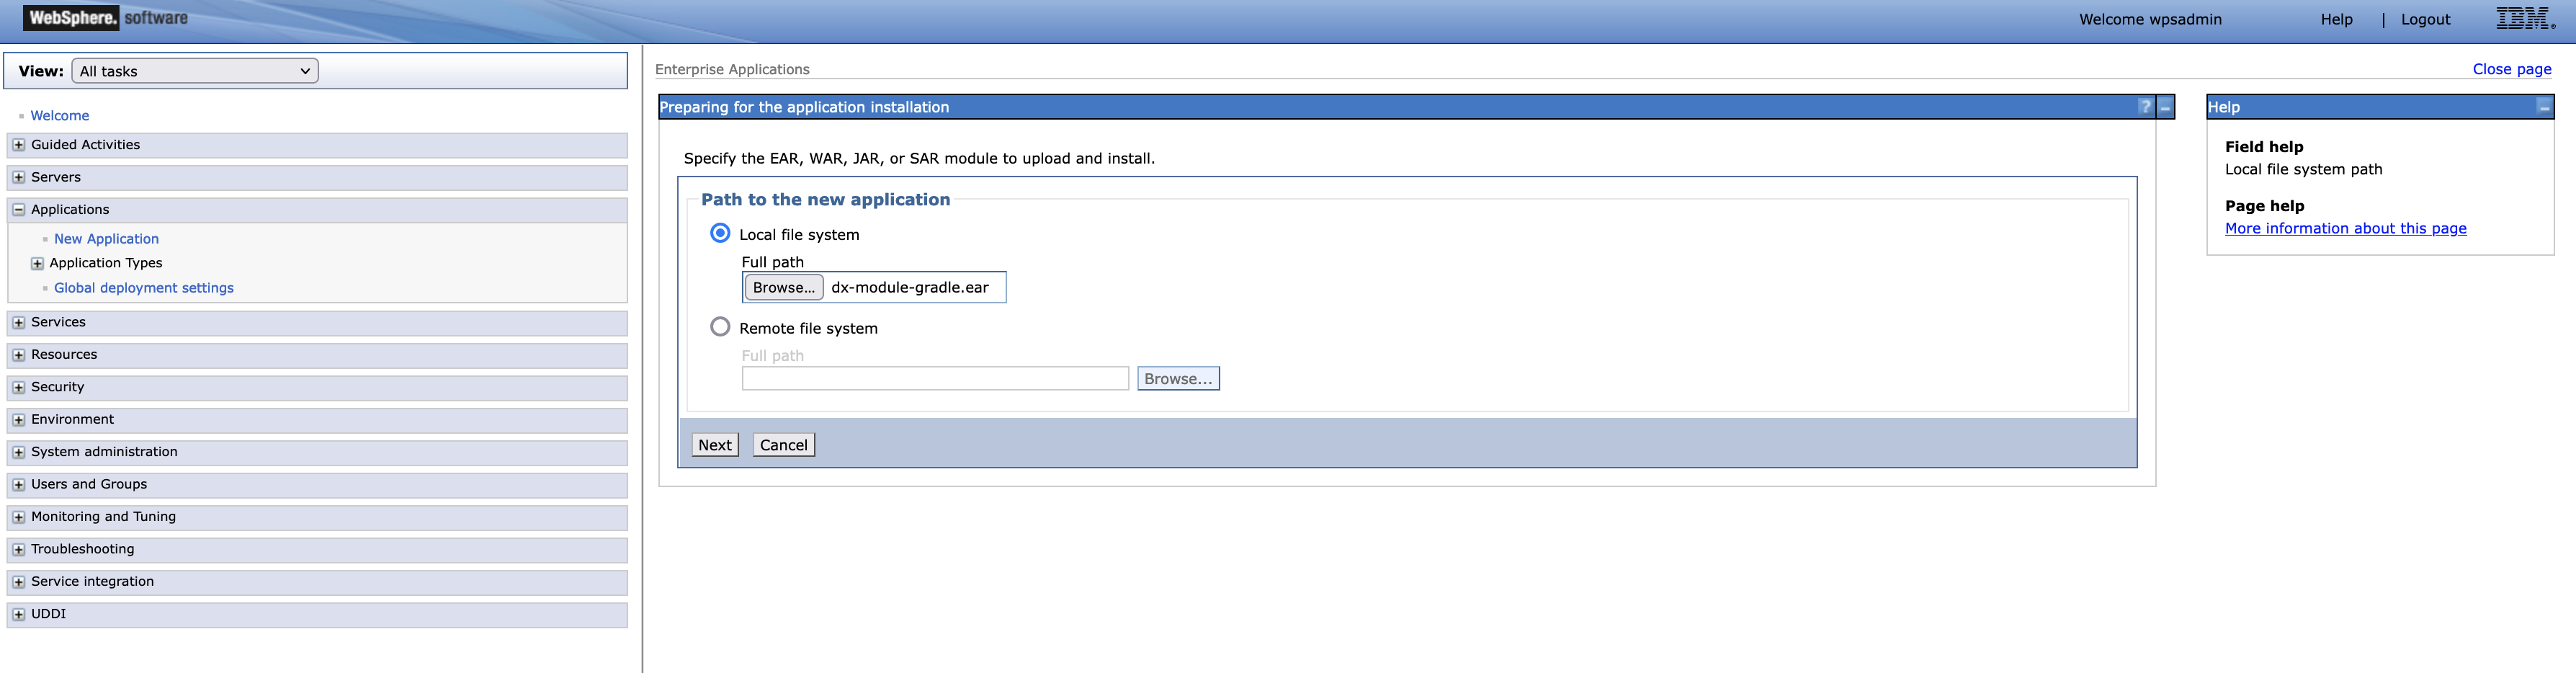
- Click the Browse button to select the newly generated EAR file in the new directory 'build/libs'
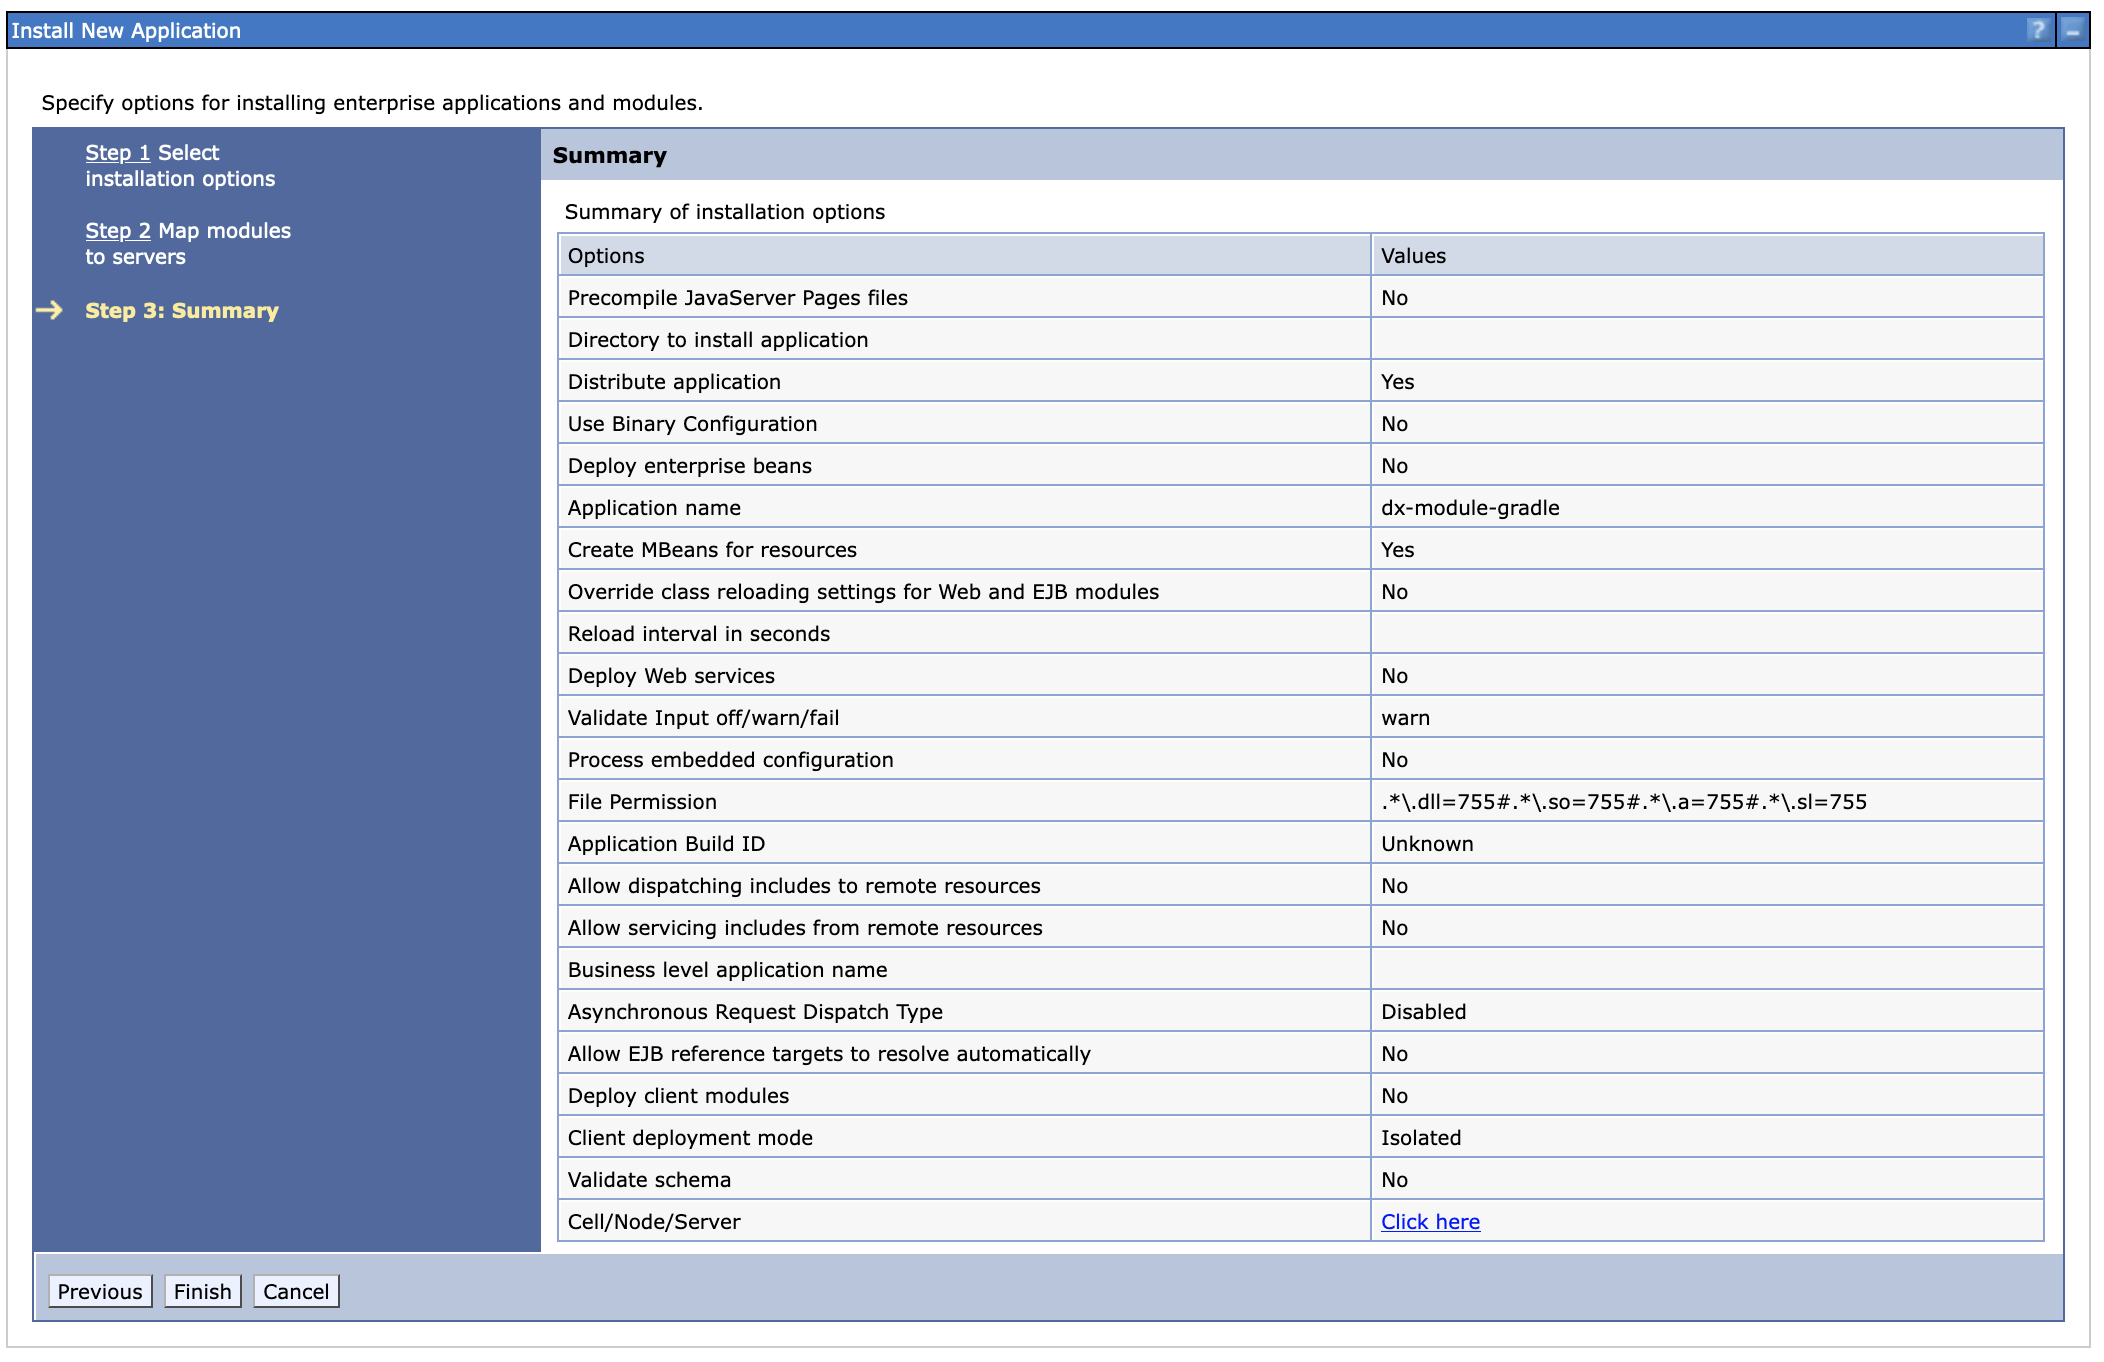
- For now, you can click the next buttons as you go through the Install New Application process.
- Click the Finish button when you arrive in the last step.
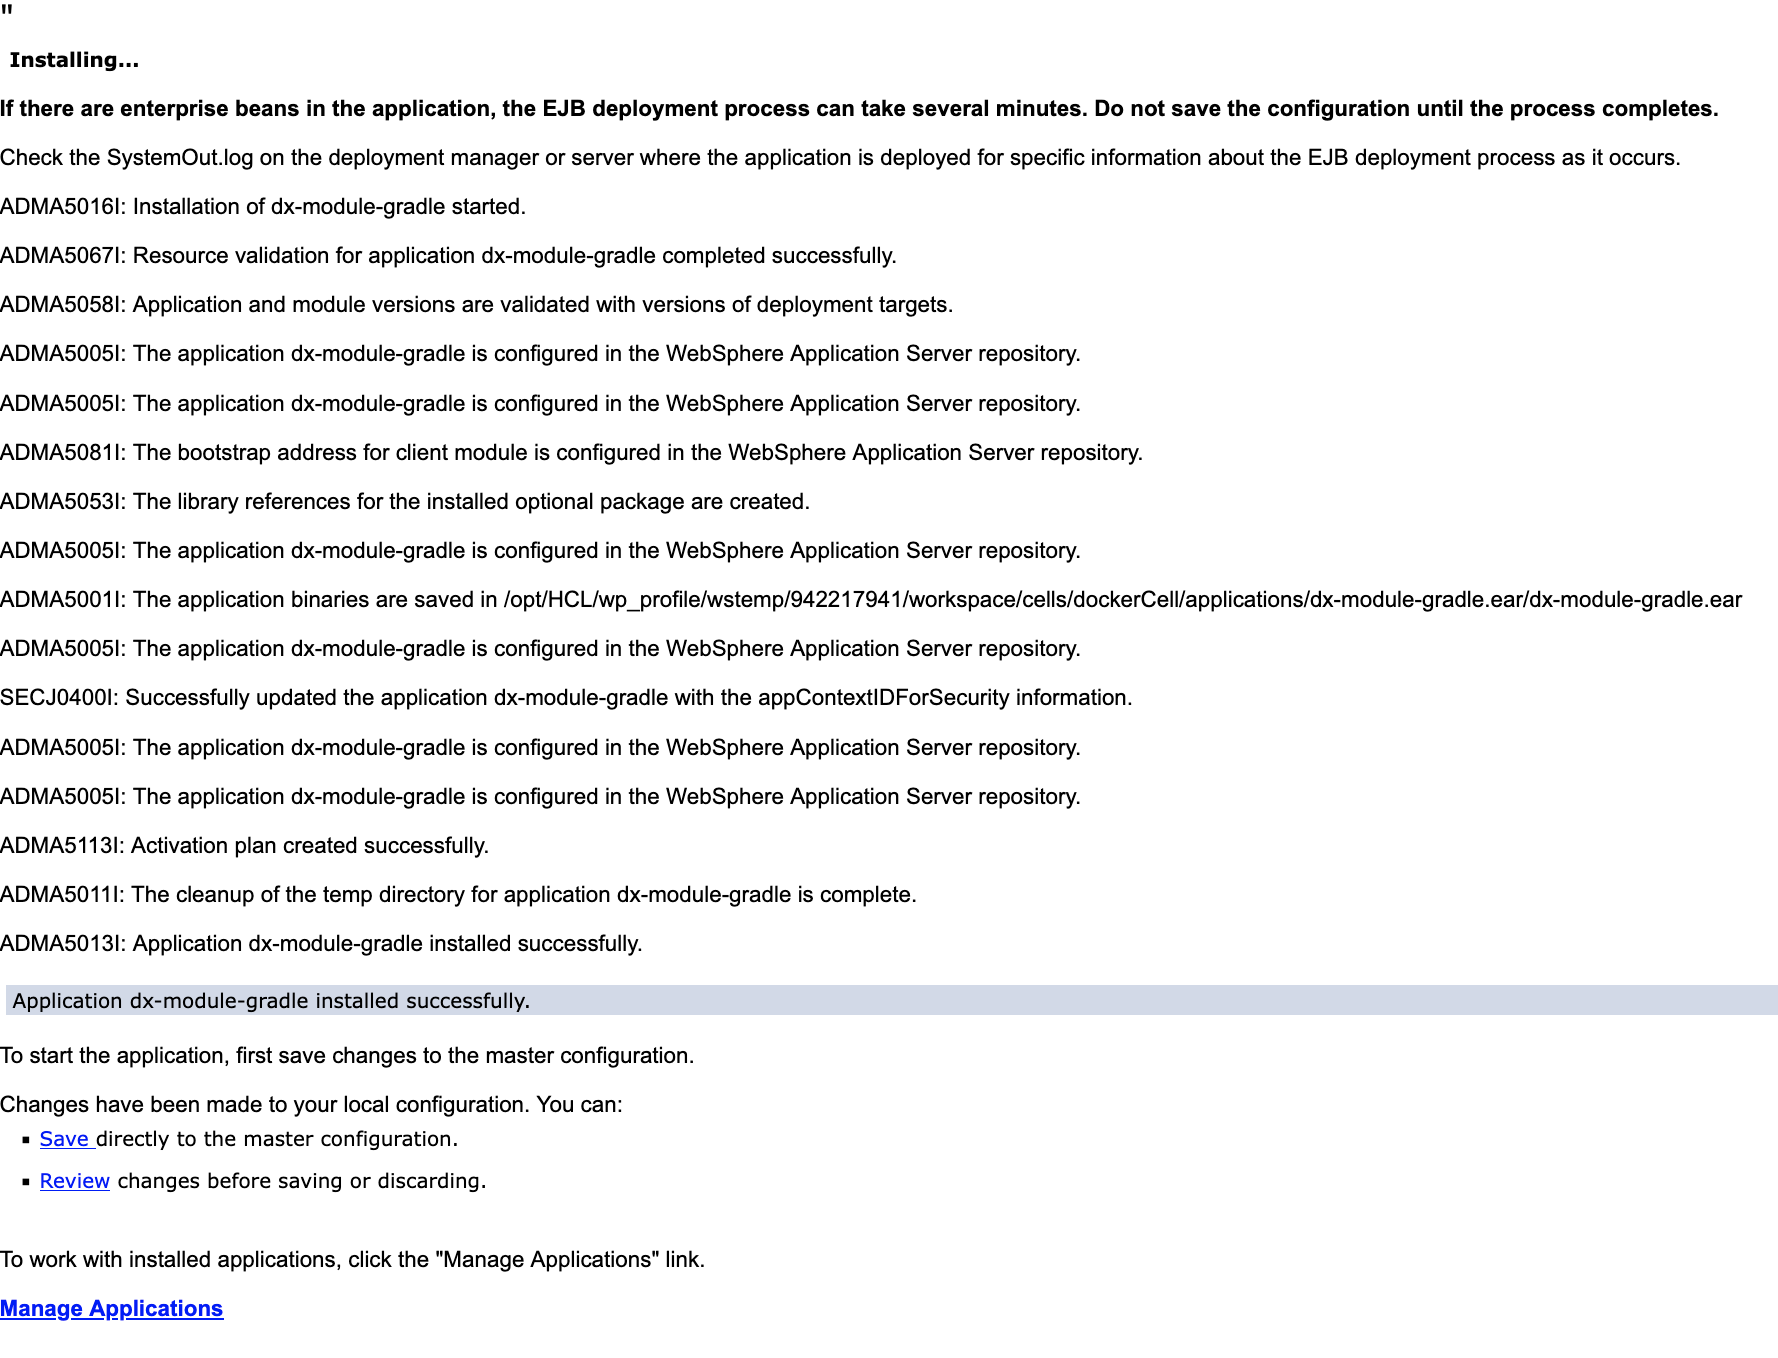
- The upload progress will be shown next.
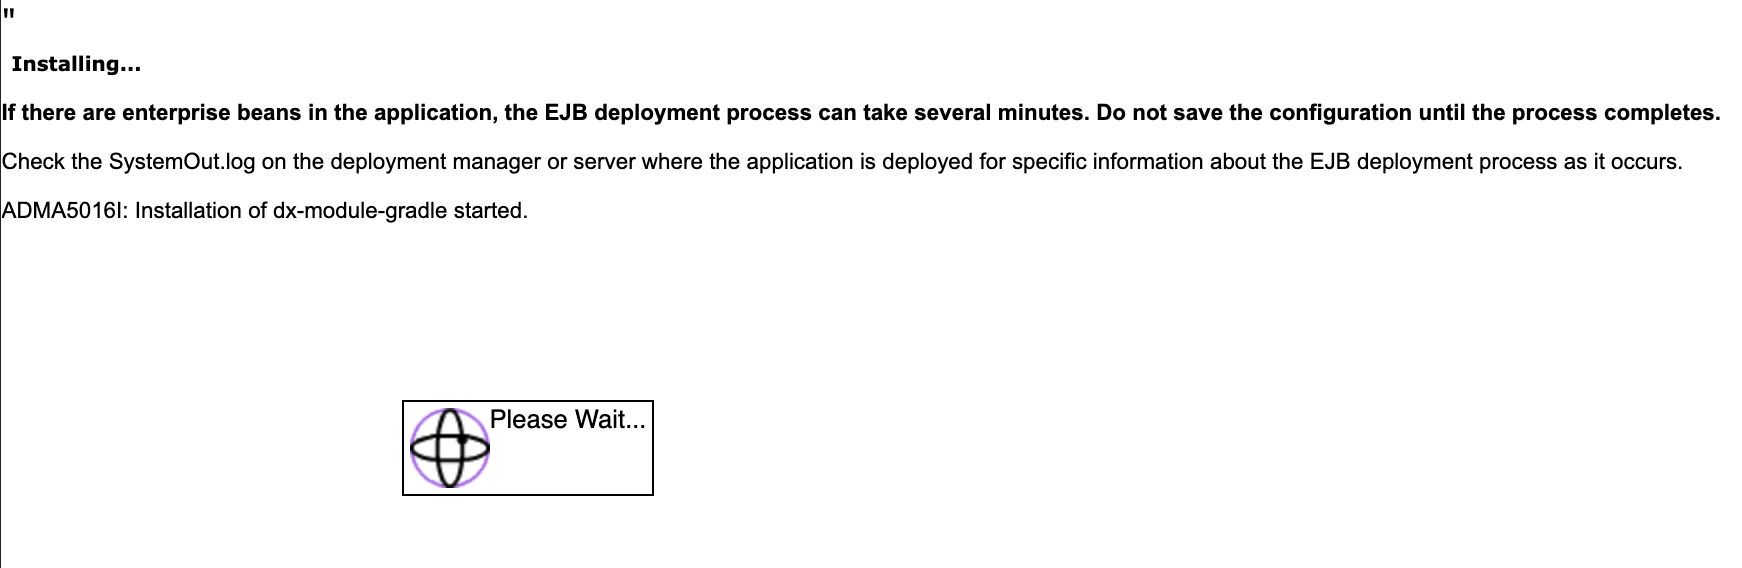
- When it is done, click the Save link near the bottom.
Last update:
September 2, 2022