Using Search V2 Authoring
Use Search V2 Authoring to generate search results from a JCR content source. This section explains how to create a set of search results using Search V2 Authoring.
Prerequisites
-
Starting with HCL Digital Experience (DX) 9.5 CF227, you can enable Search V2 Authoring. For detailed instructions on manually installing Search V2 Authoring in supported environments, refer to Installing and Deploying Search V2 Authoring.
-
For instructions on how to access the Search V2 Authoring UI, refer to Accessing Search V2 Authoring.
Generating a set of search results
Search results are generated based on the keywords or phrases entered in the search input field. A JCR content source is pre-configured for use with Search V2 Authoring.
-
Log in to your HCL DX 9.5 platform then select Web Content from the side navigation panel. Alternatively, you can click the Web Content card from the Practitioner Studio homepage.

-
In the side navigation panel, select Authoring.

-
Click Search on the upper-right corner of the Authoring page. This will open the Search V2 Authoring dialog.

See the Search V2 Authoring interface.

-
In the Search V2 Authoring user interface, enter your search terms on the Search field, then press Enter. In the following example, the term "content" is searched.

-
View the search results generated. You can see the total number of search results in the upper-left corner of the dialog. In the following example, the term "content" generated 372 search results. Below the table of results, you can also see more detailed pagination information.

-
To navigate through the search results, adjust the page size and current page at the bottom of the page.
-
Click the Show rows: dropdown then select 25.

-
Click the dropdown with label Page: and select "2".

-
-
To sort the results in ascending or descending order, hover over a column header and click the sorting icon that appears. In the following example, the Title header is sorted in ascending order.

-
To edit a search result item, hover over a result and click the Edit icon.

-
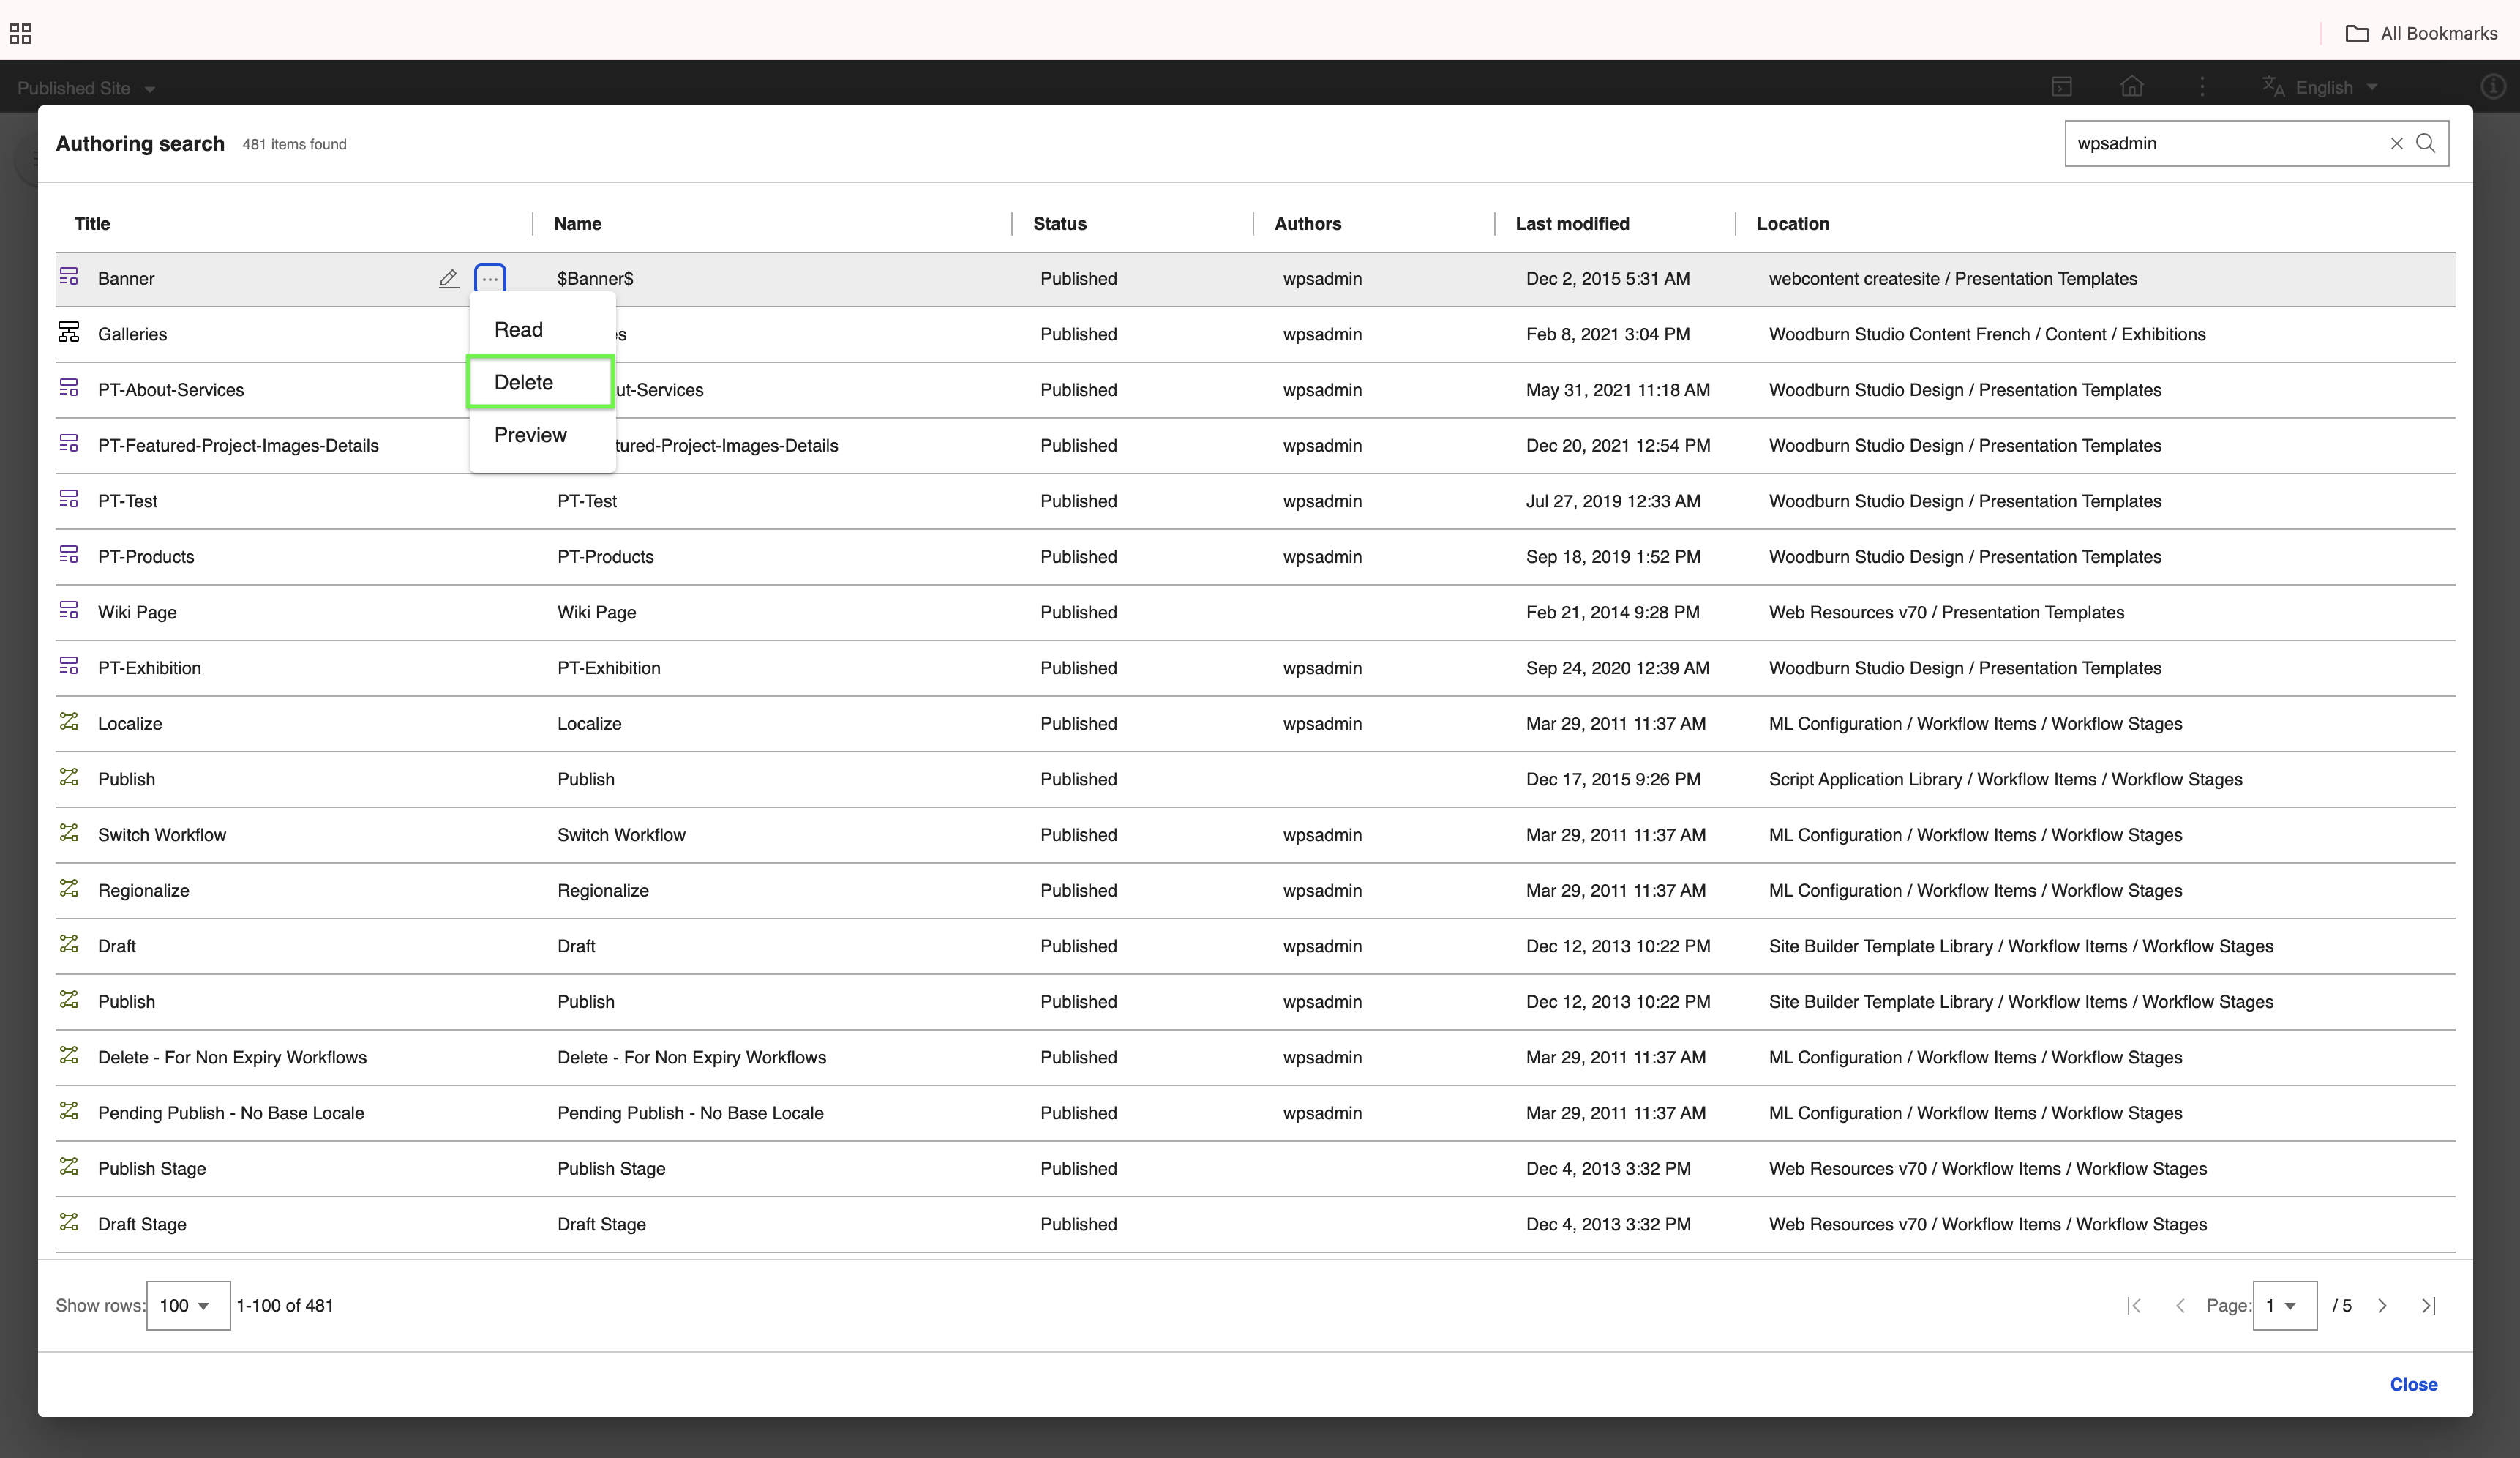
To see more actions for an item, hover over a result and click the More three-dot icon.

-
To open an item, hover over the result then click More > Read.

-
To preview an item in a new tab, hover over the result then click More > Preview.

-
To delete an item, hover over the result then click More > Delete.
For more information, see Deleting an item from the result.
Other search result scenarios
-
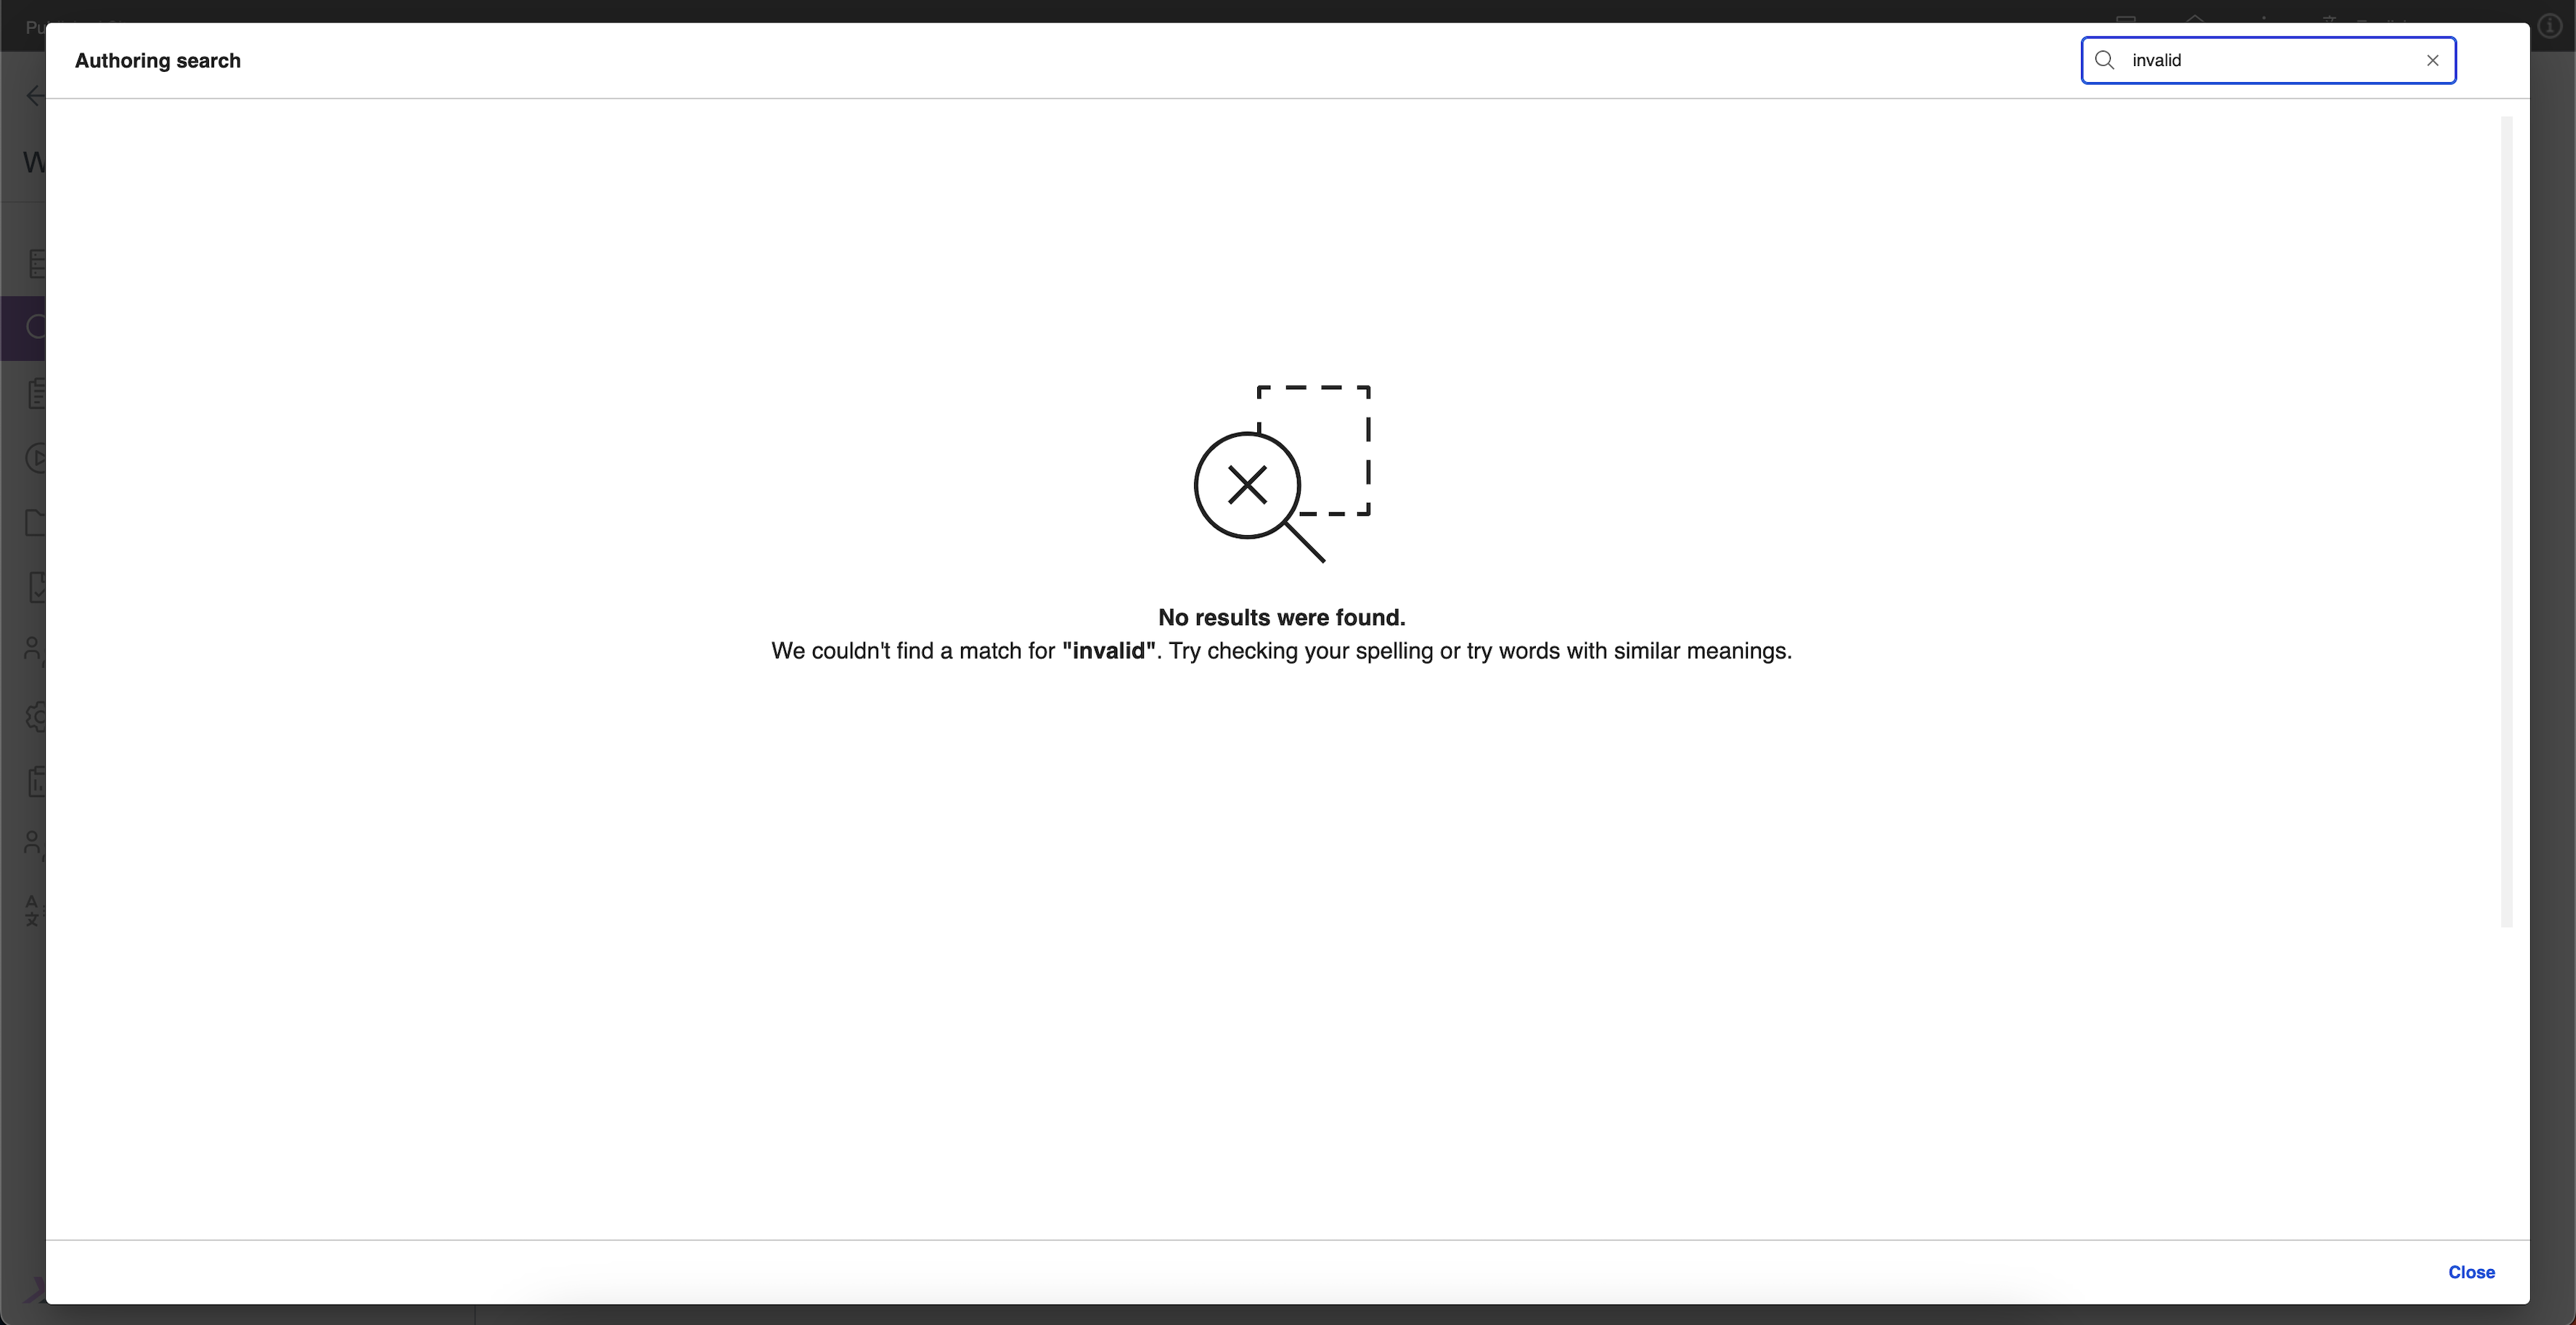
If the search term yields no results, the following message is displayed.
-
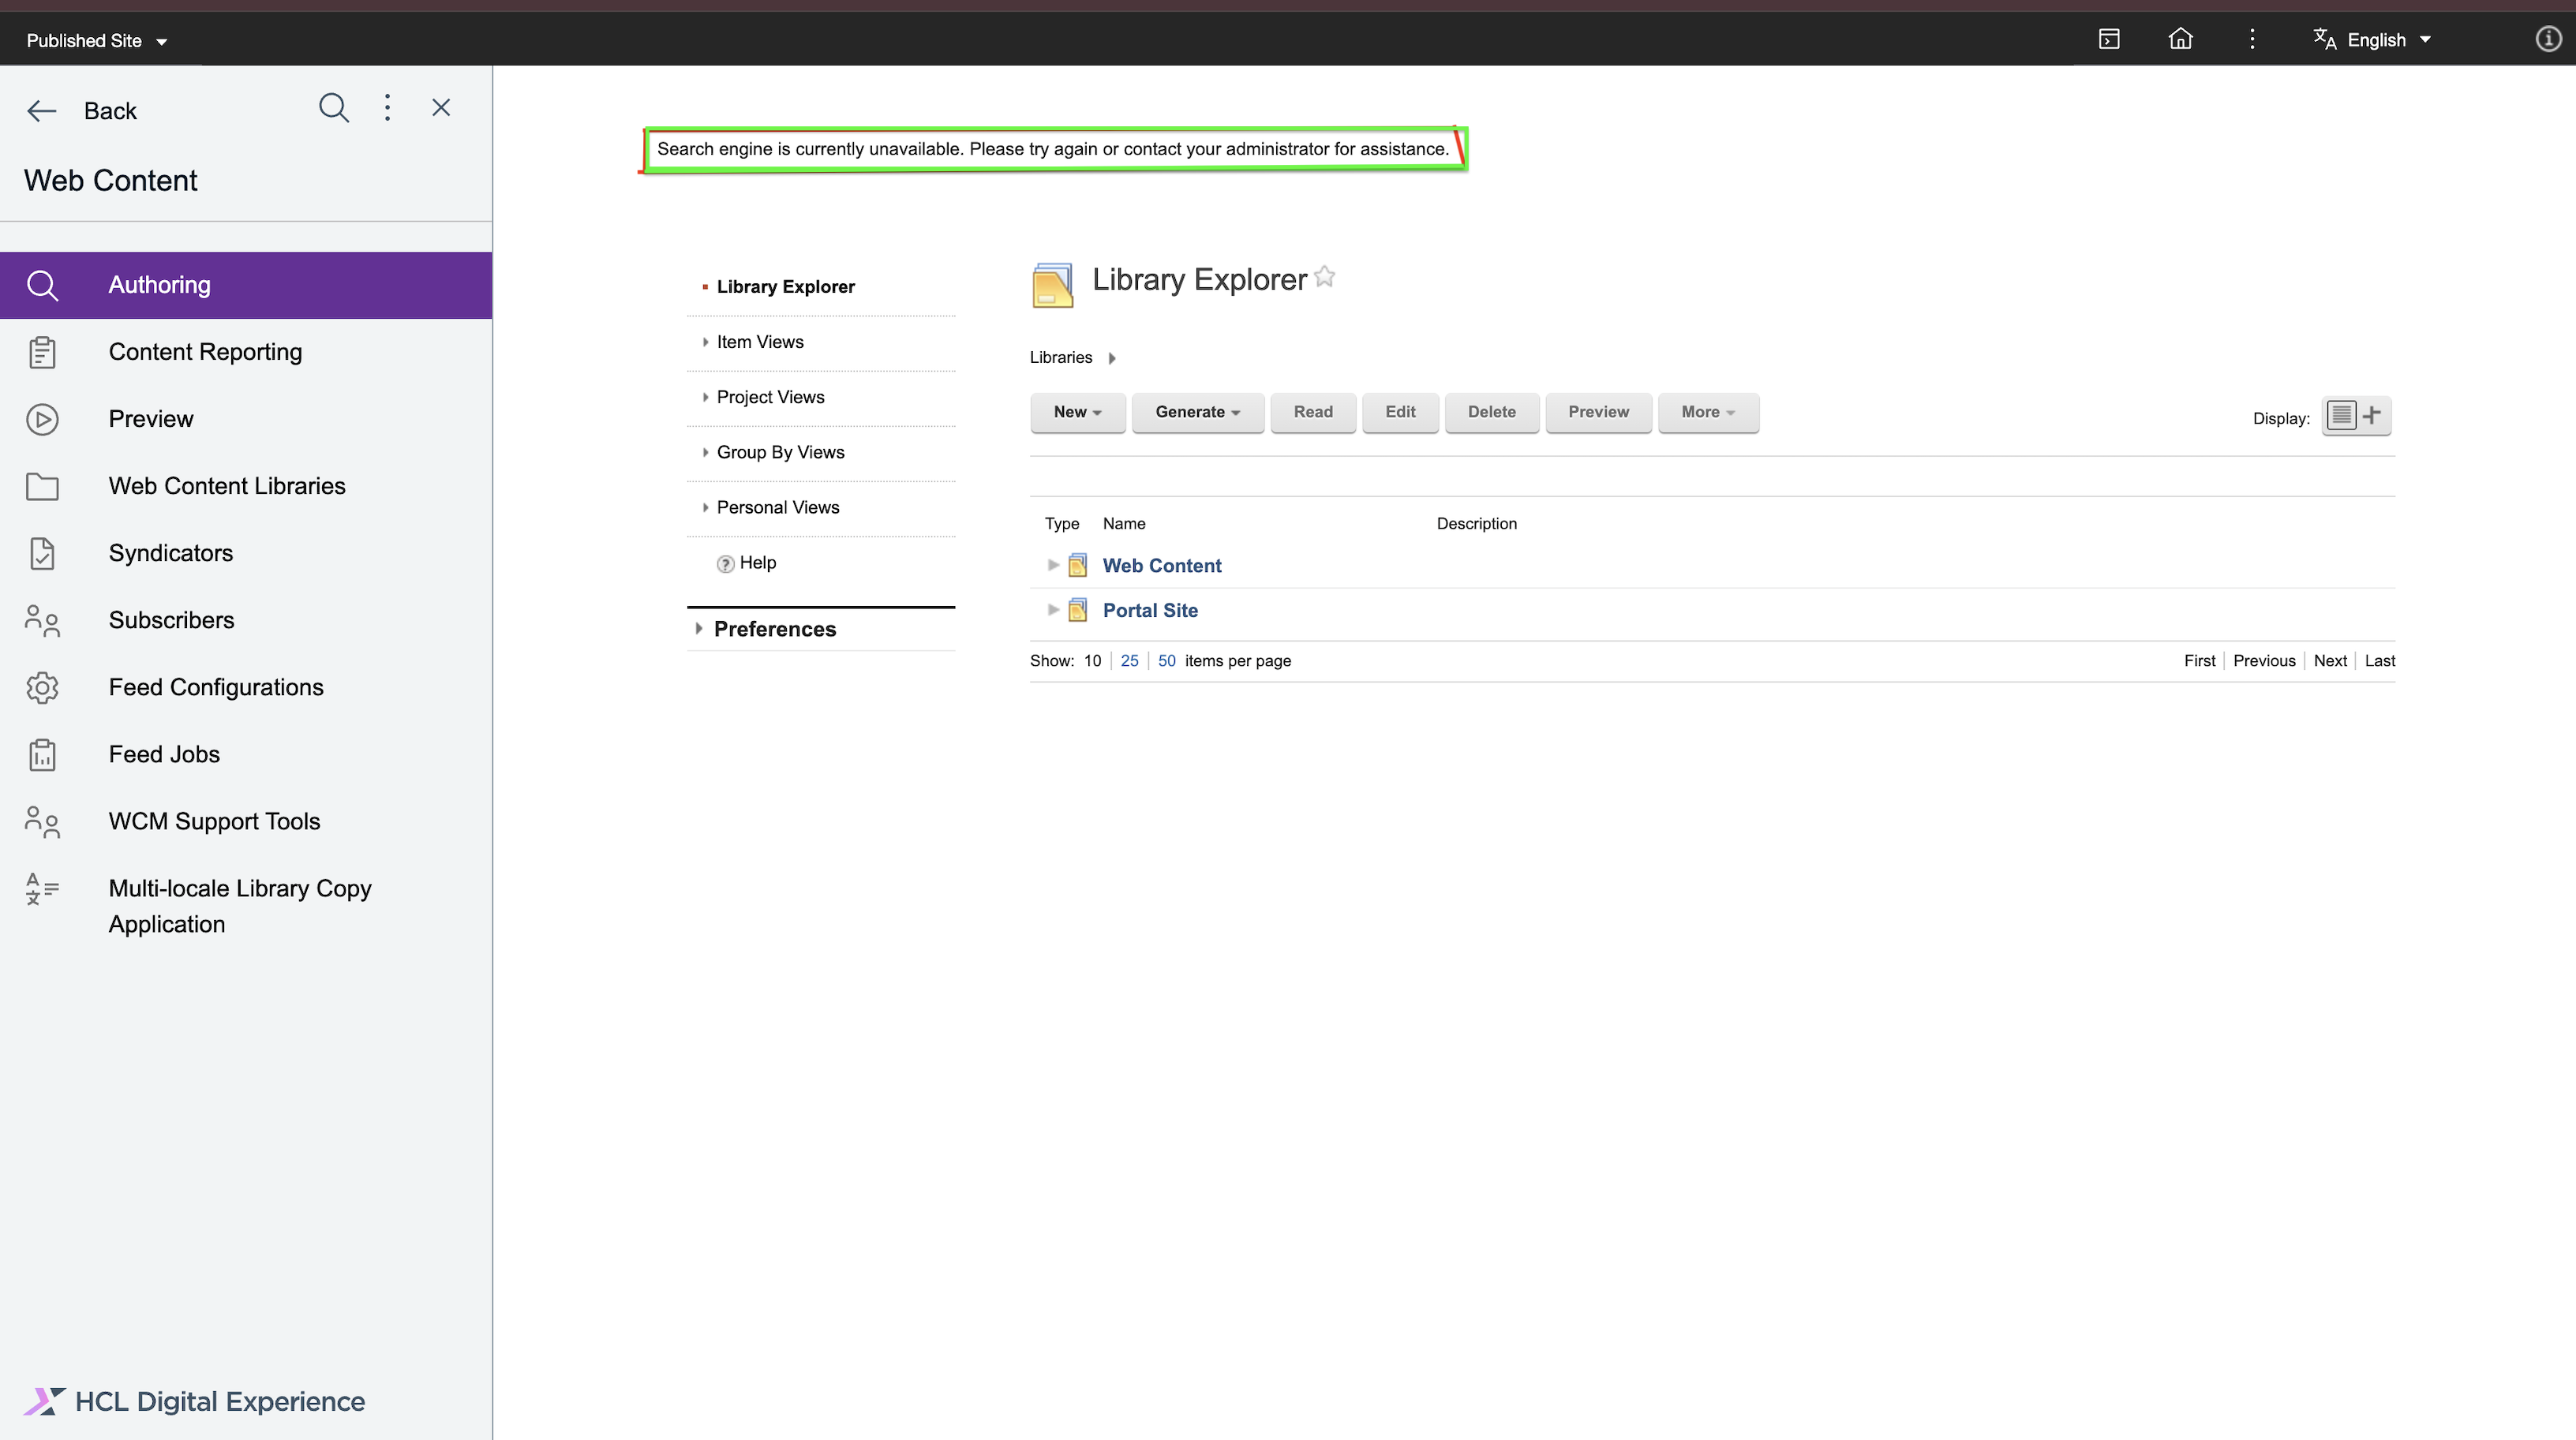
If the search engine is down or unavailable, the following message is displayed.
Deleting an item from search results
Starting from CF229, you can now delete items from the search results. To delete an item, refer to the following steps:
-
Hover over the search result item you want to delete, then click More > Delete.
-
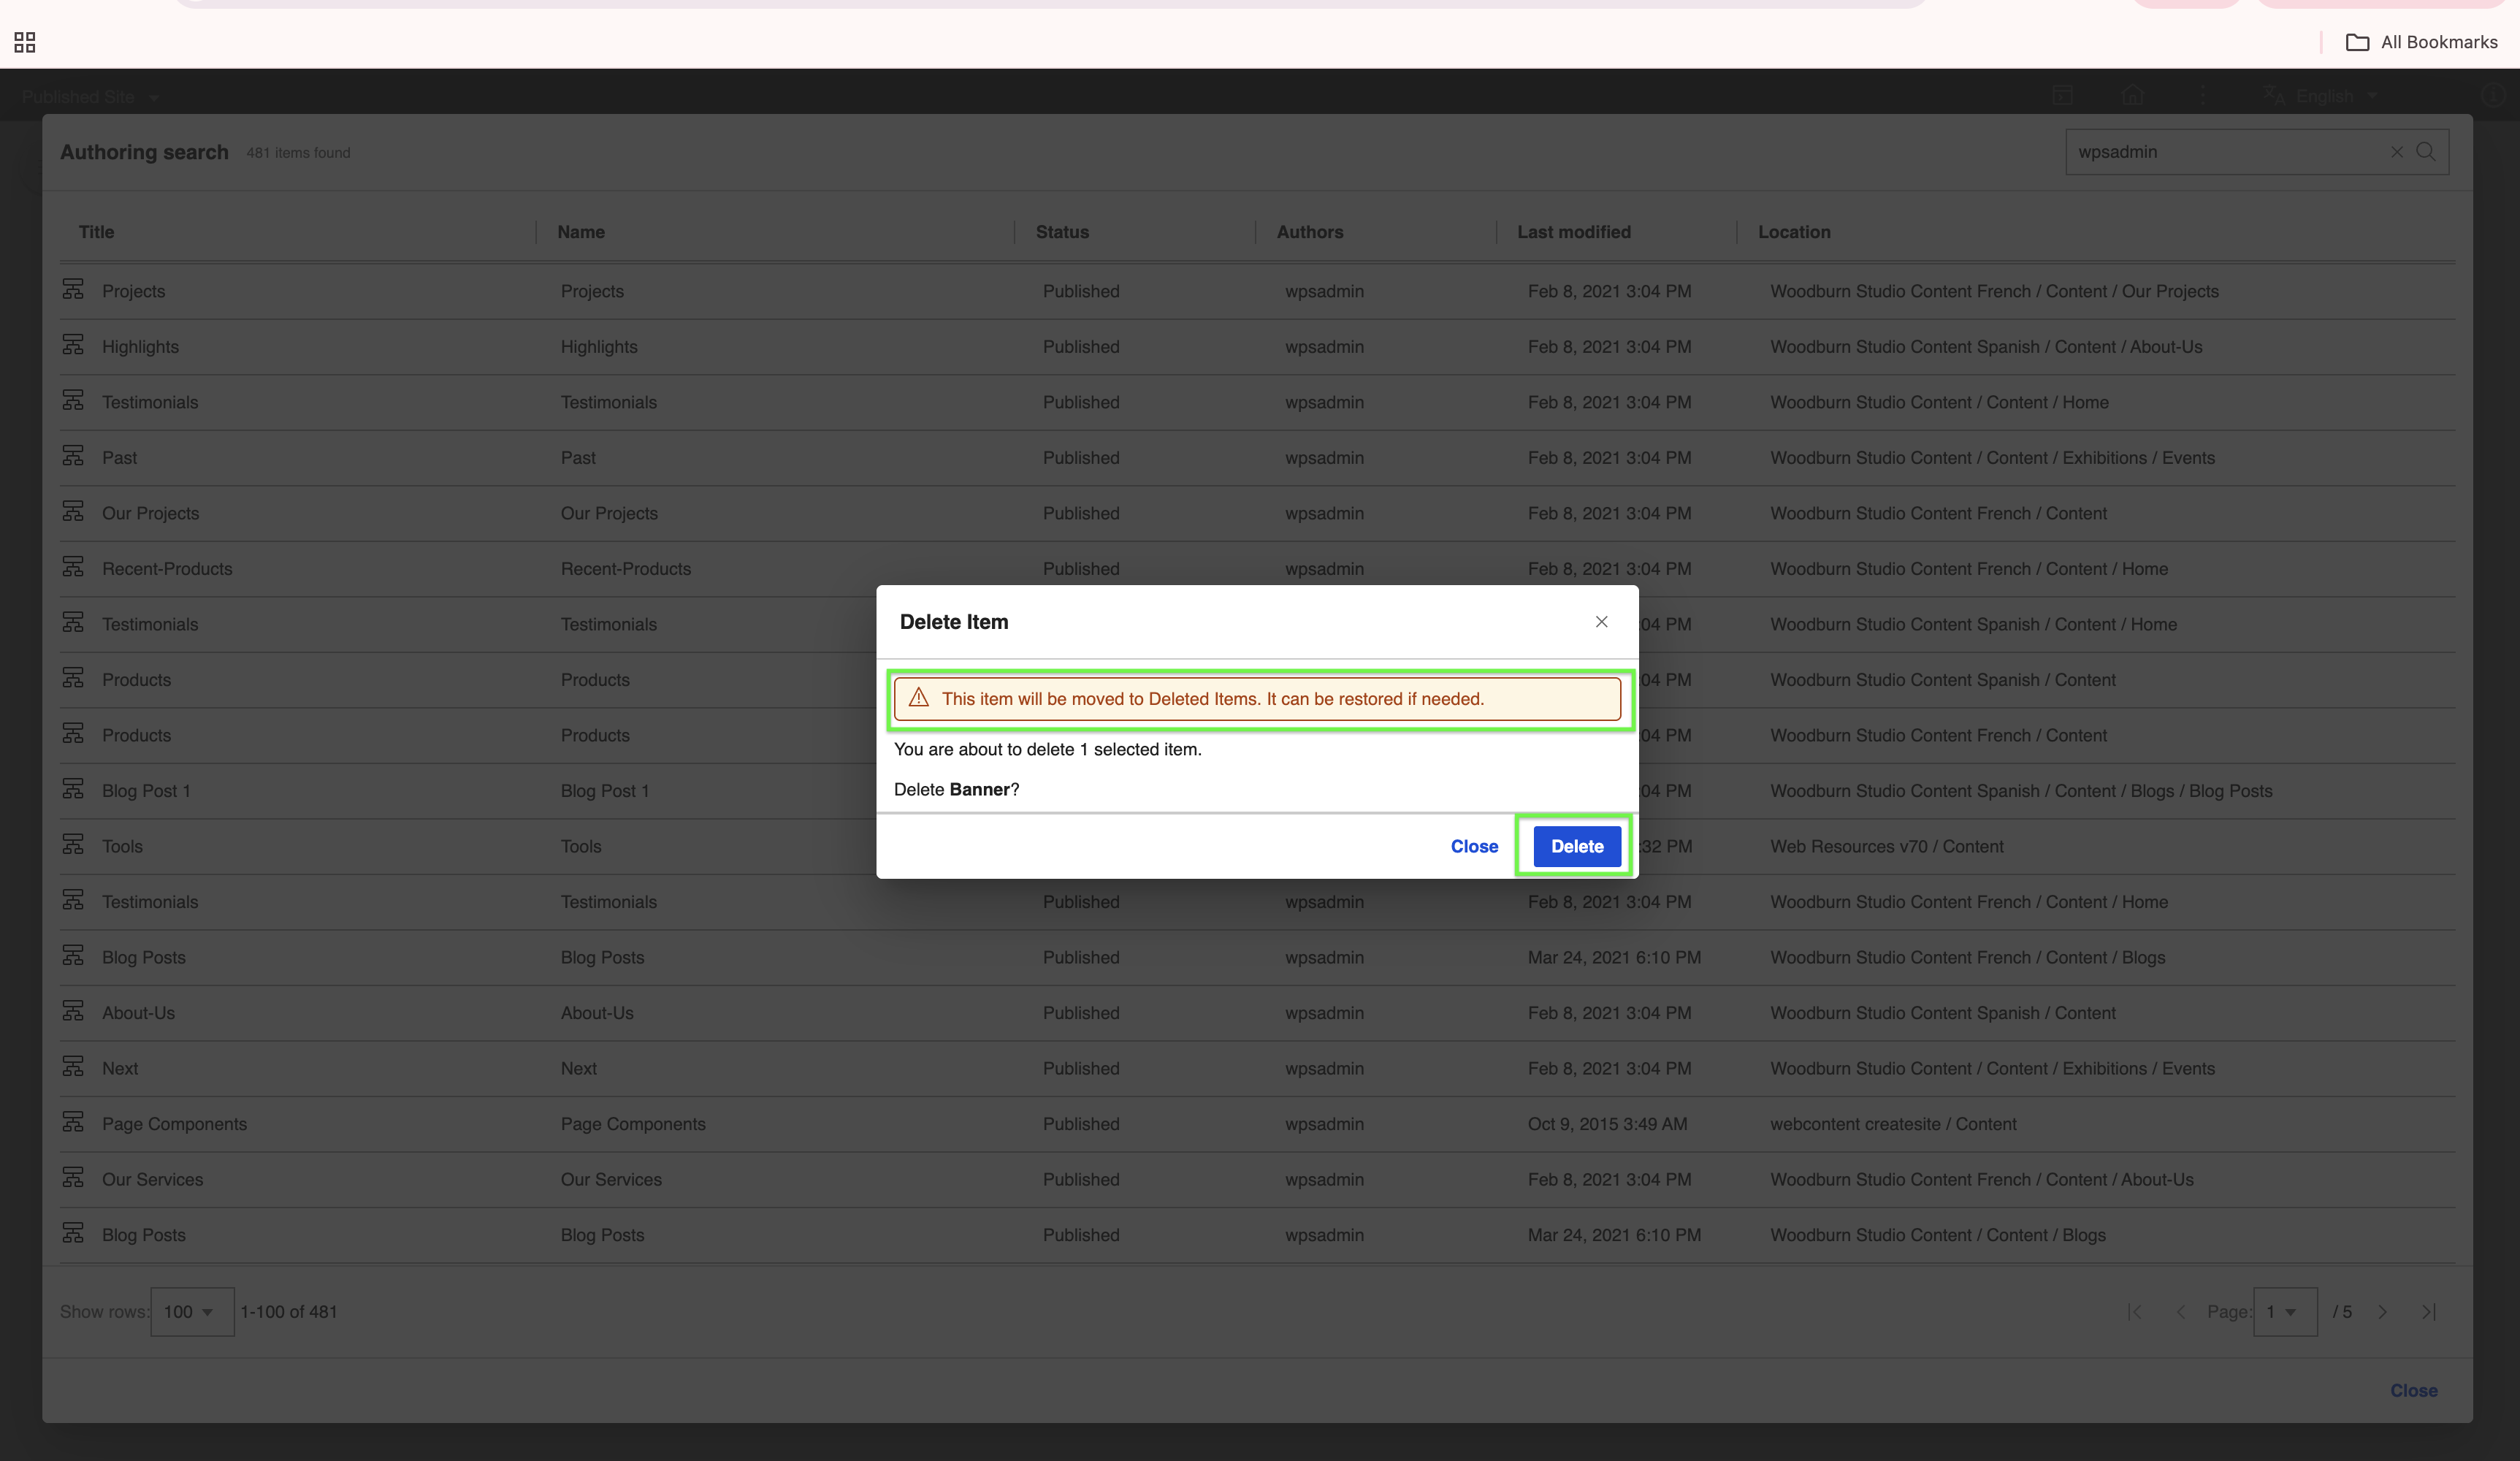
On the confirmation page, review the item to be deleted and its warning message. To proceed, click Delete.
A different warning will appear depending on the item type.
Warning for site areas and libraries:
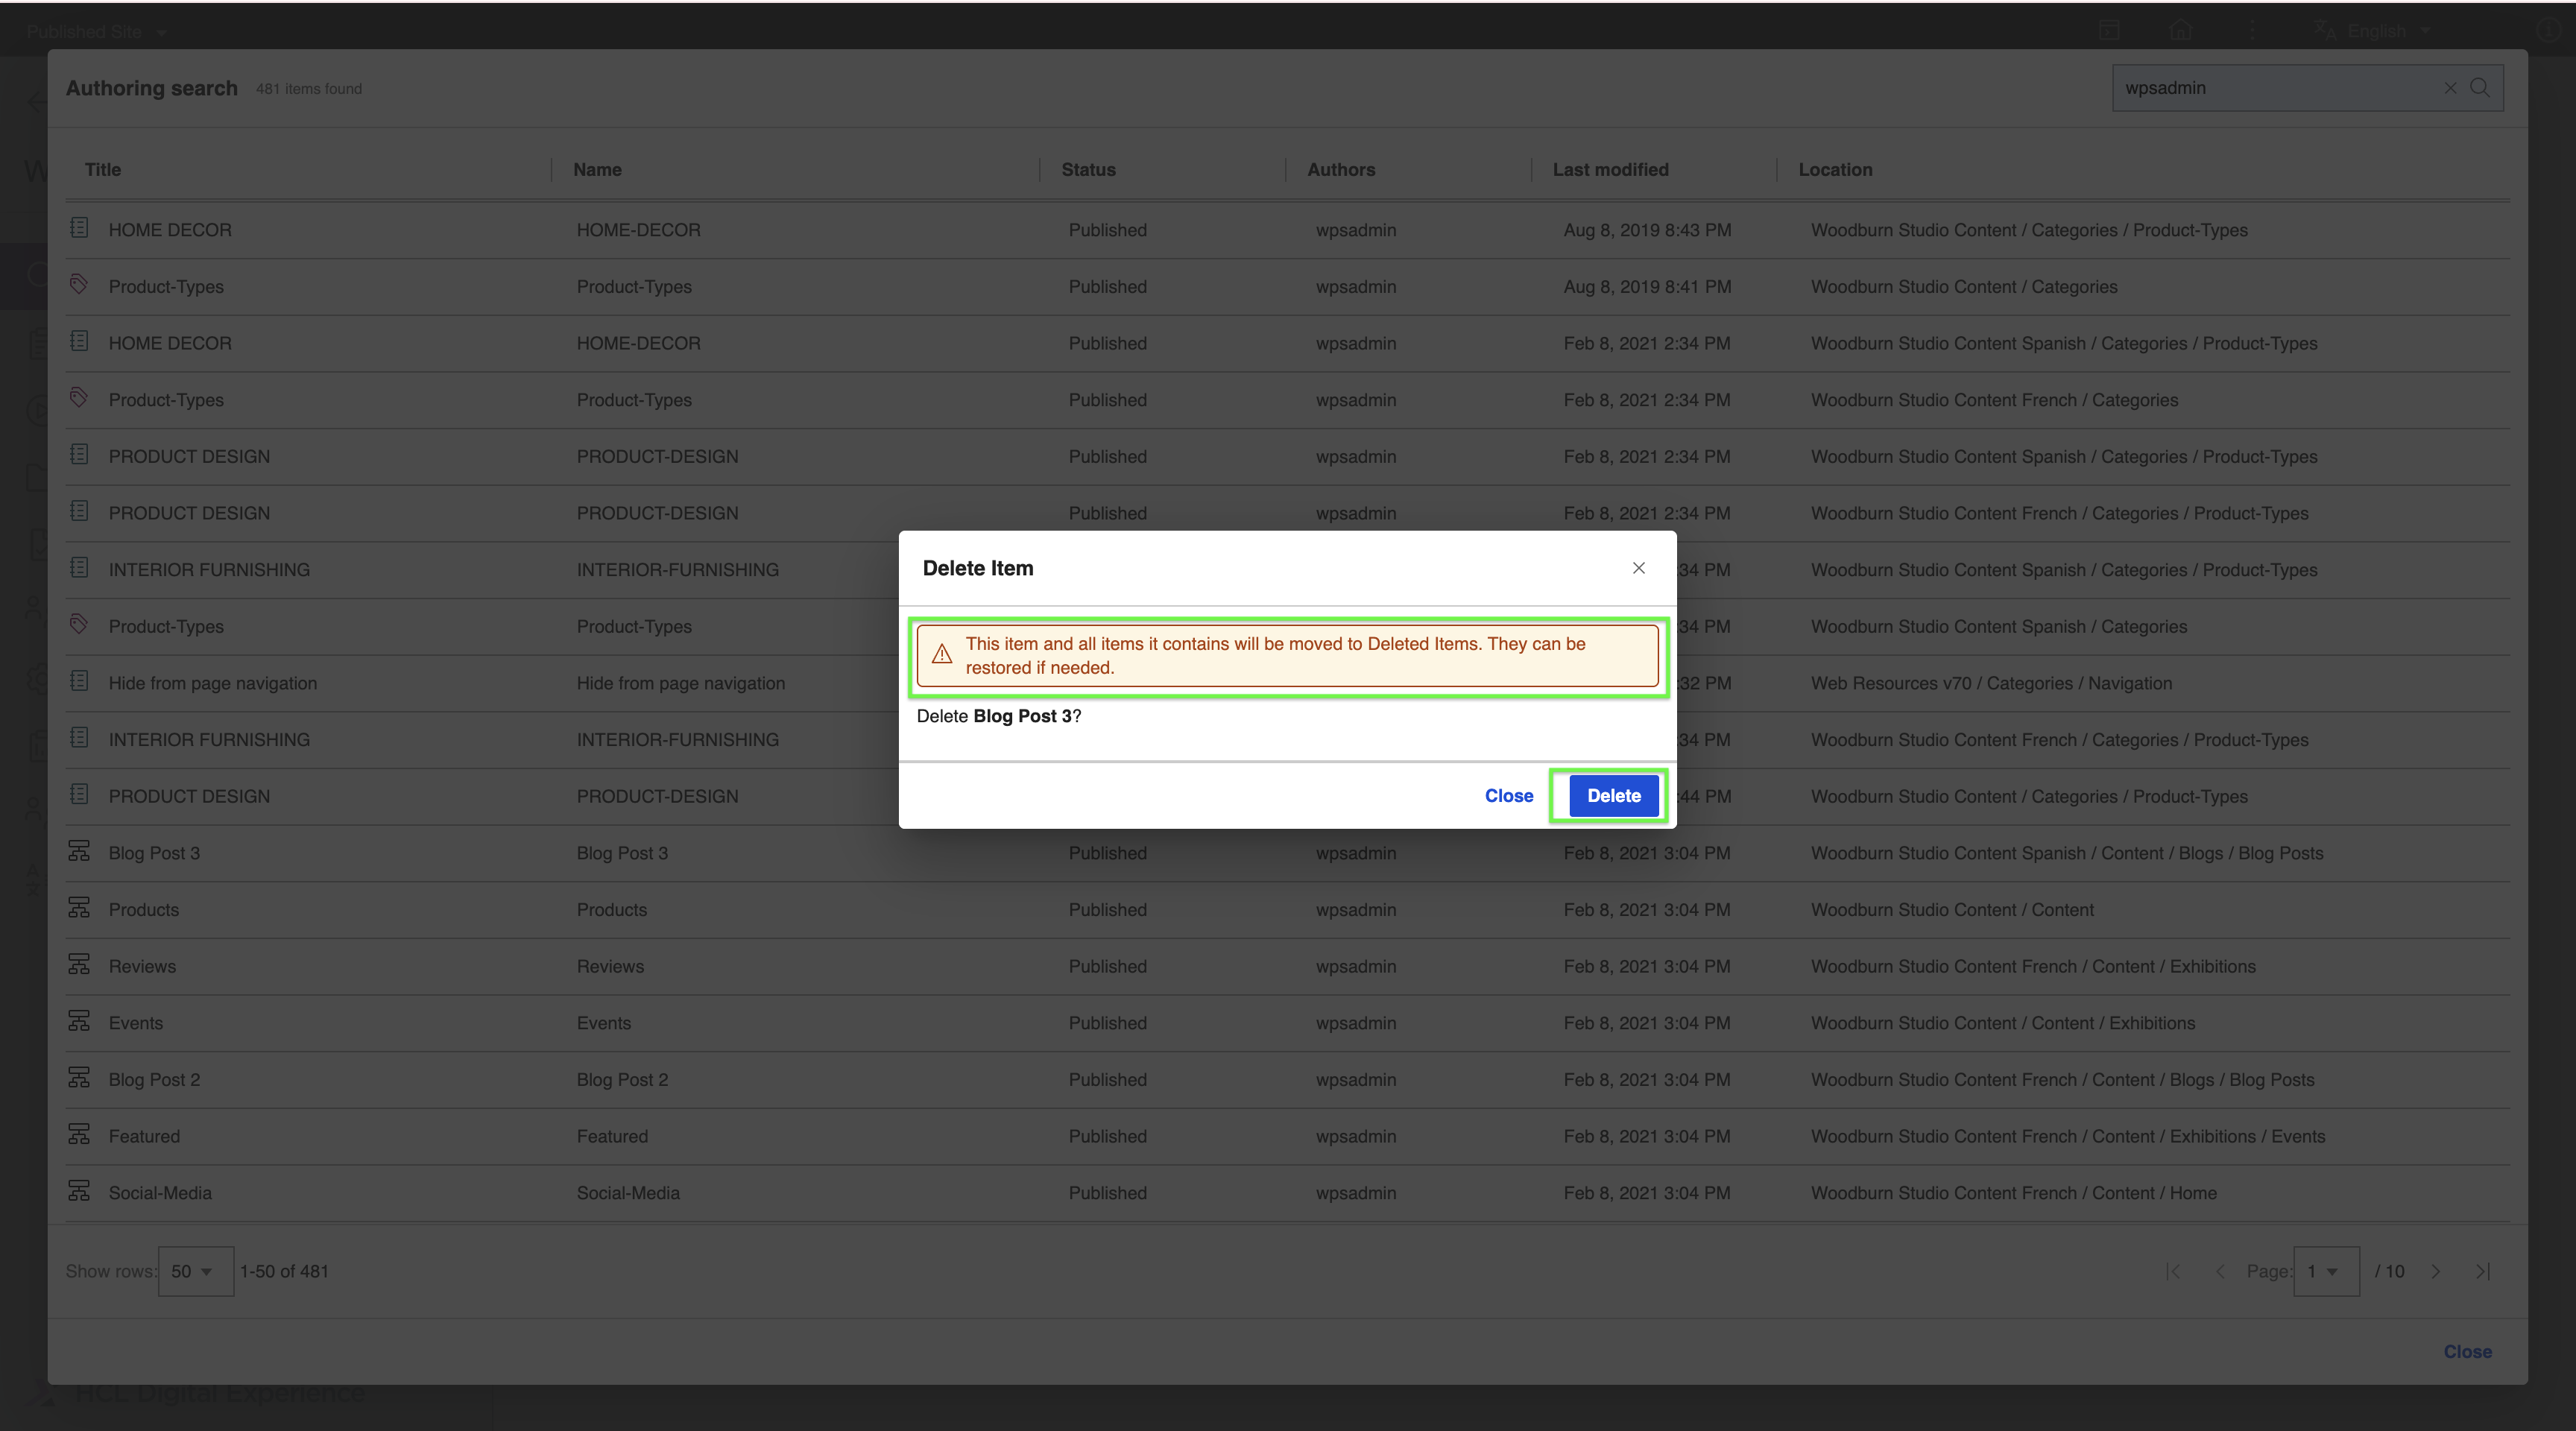
Warning for all other item types:
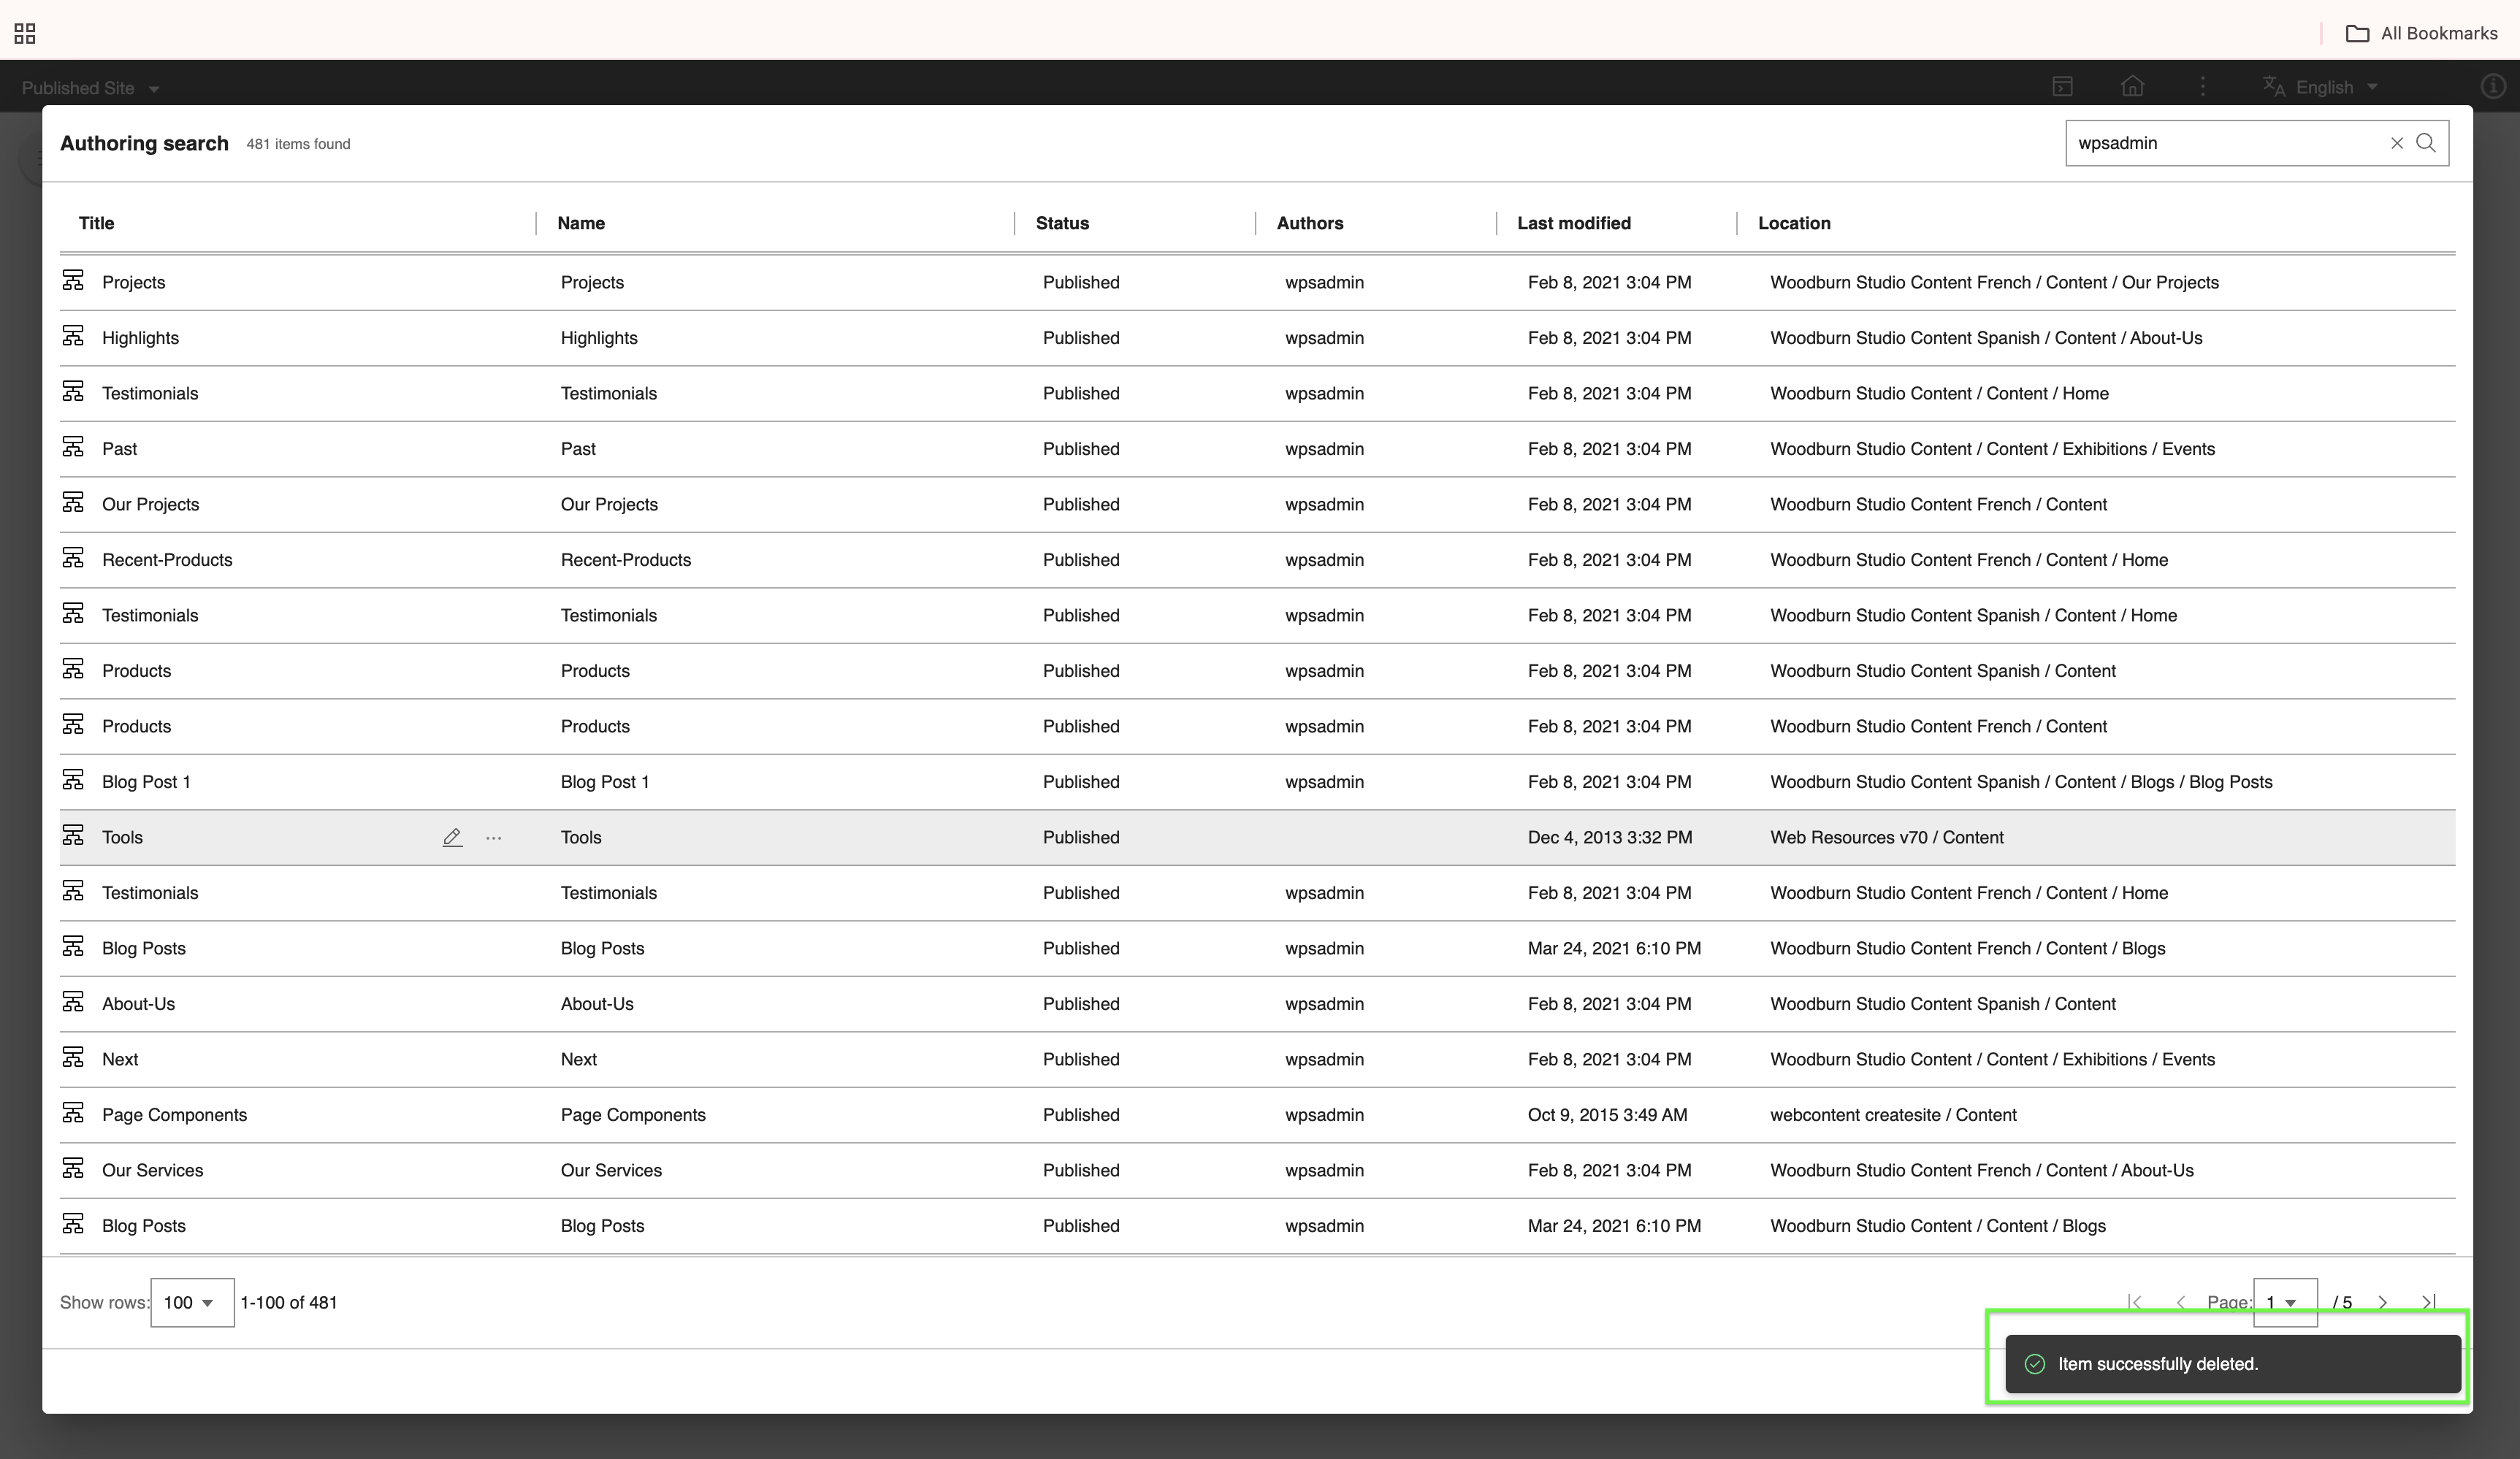
After confirming the deletion, a success message will be displayed:
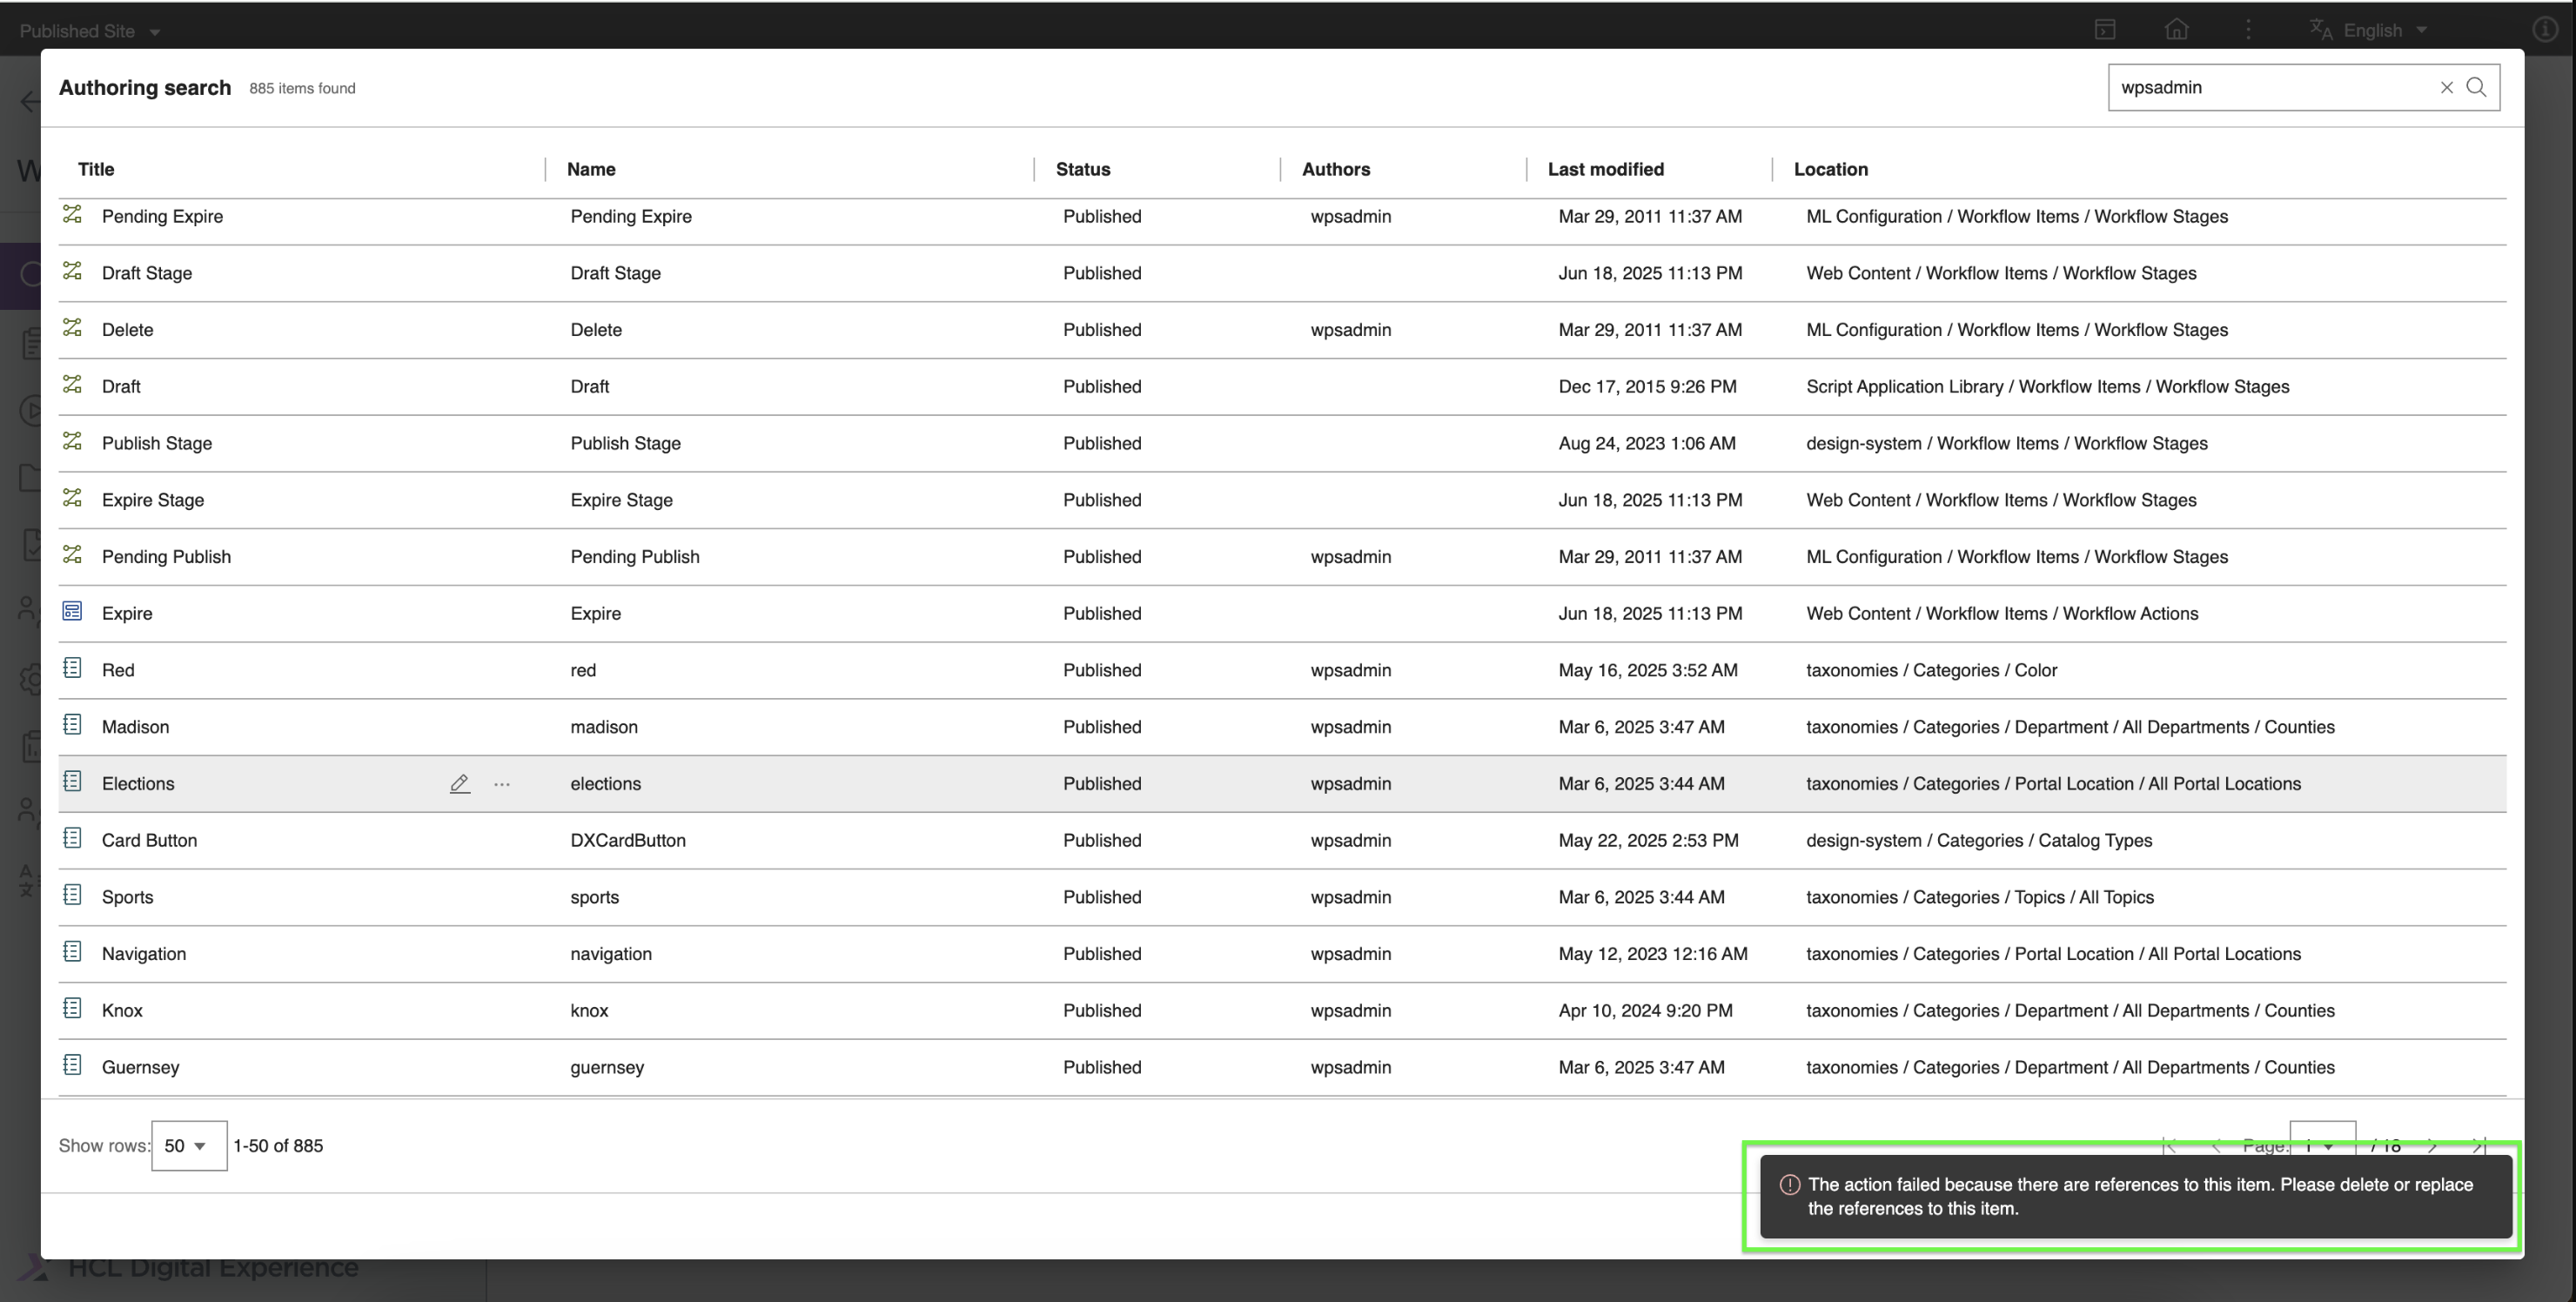
If the deletion failed, one of the following messages will be displayed:
-
Failed due to existing references to the item
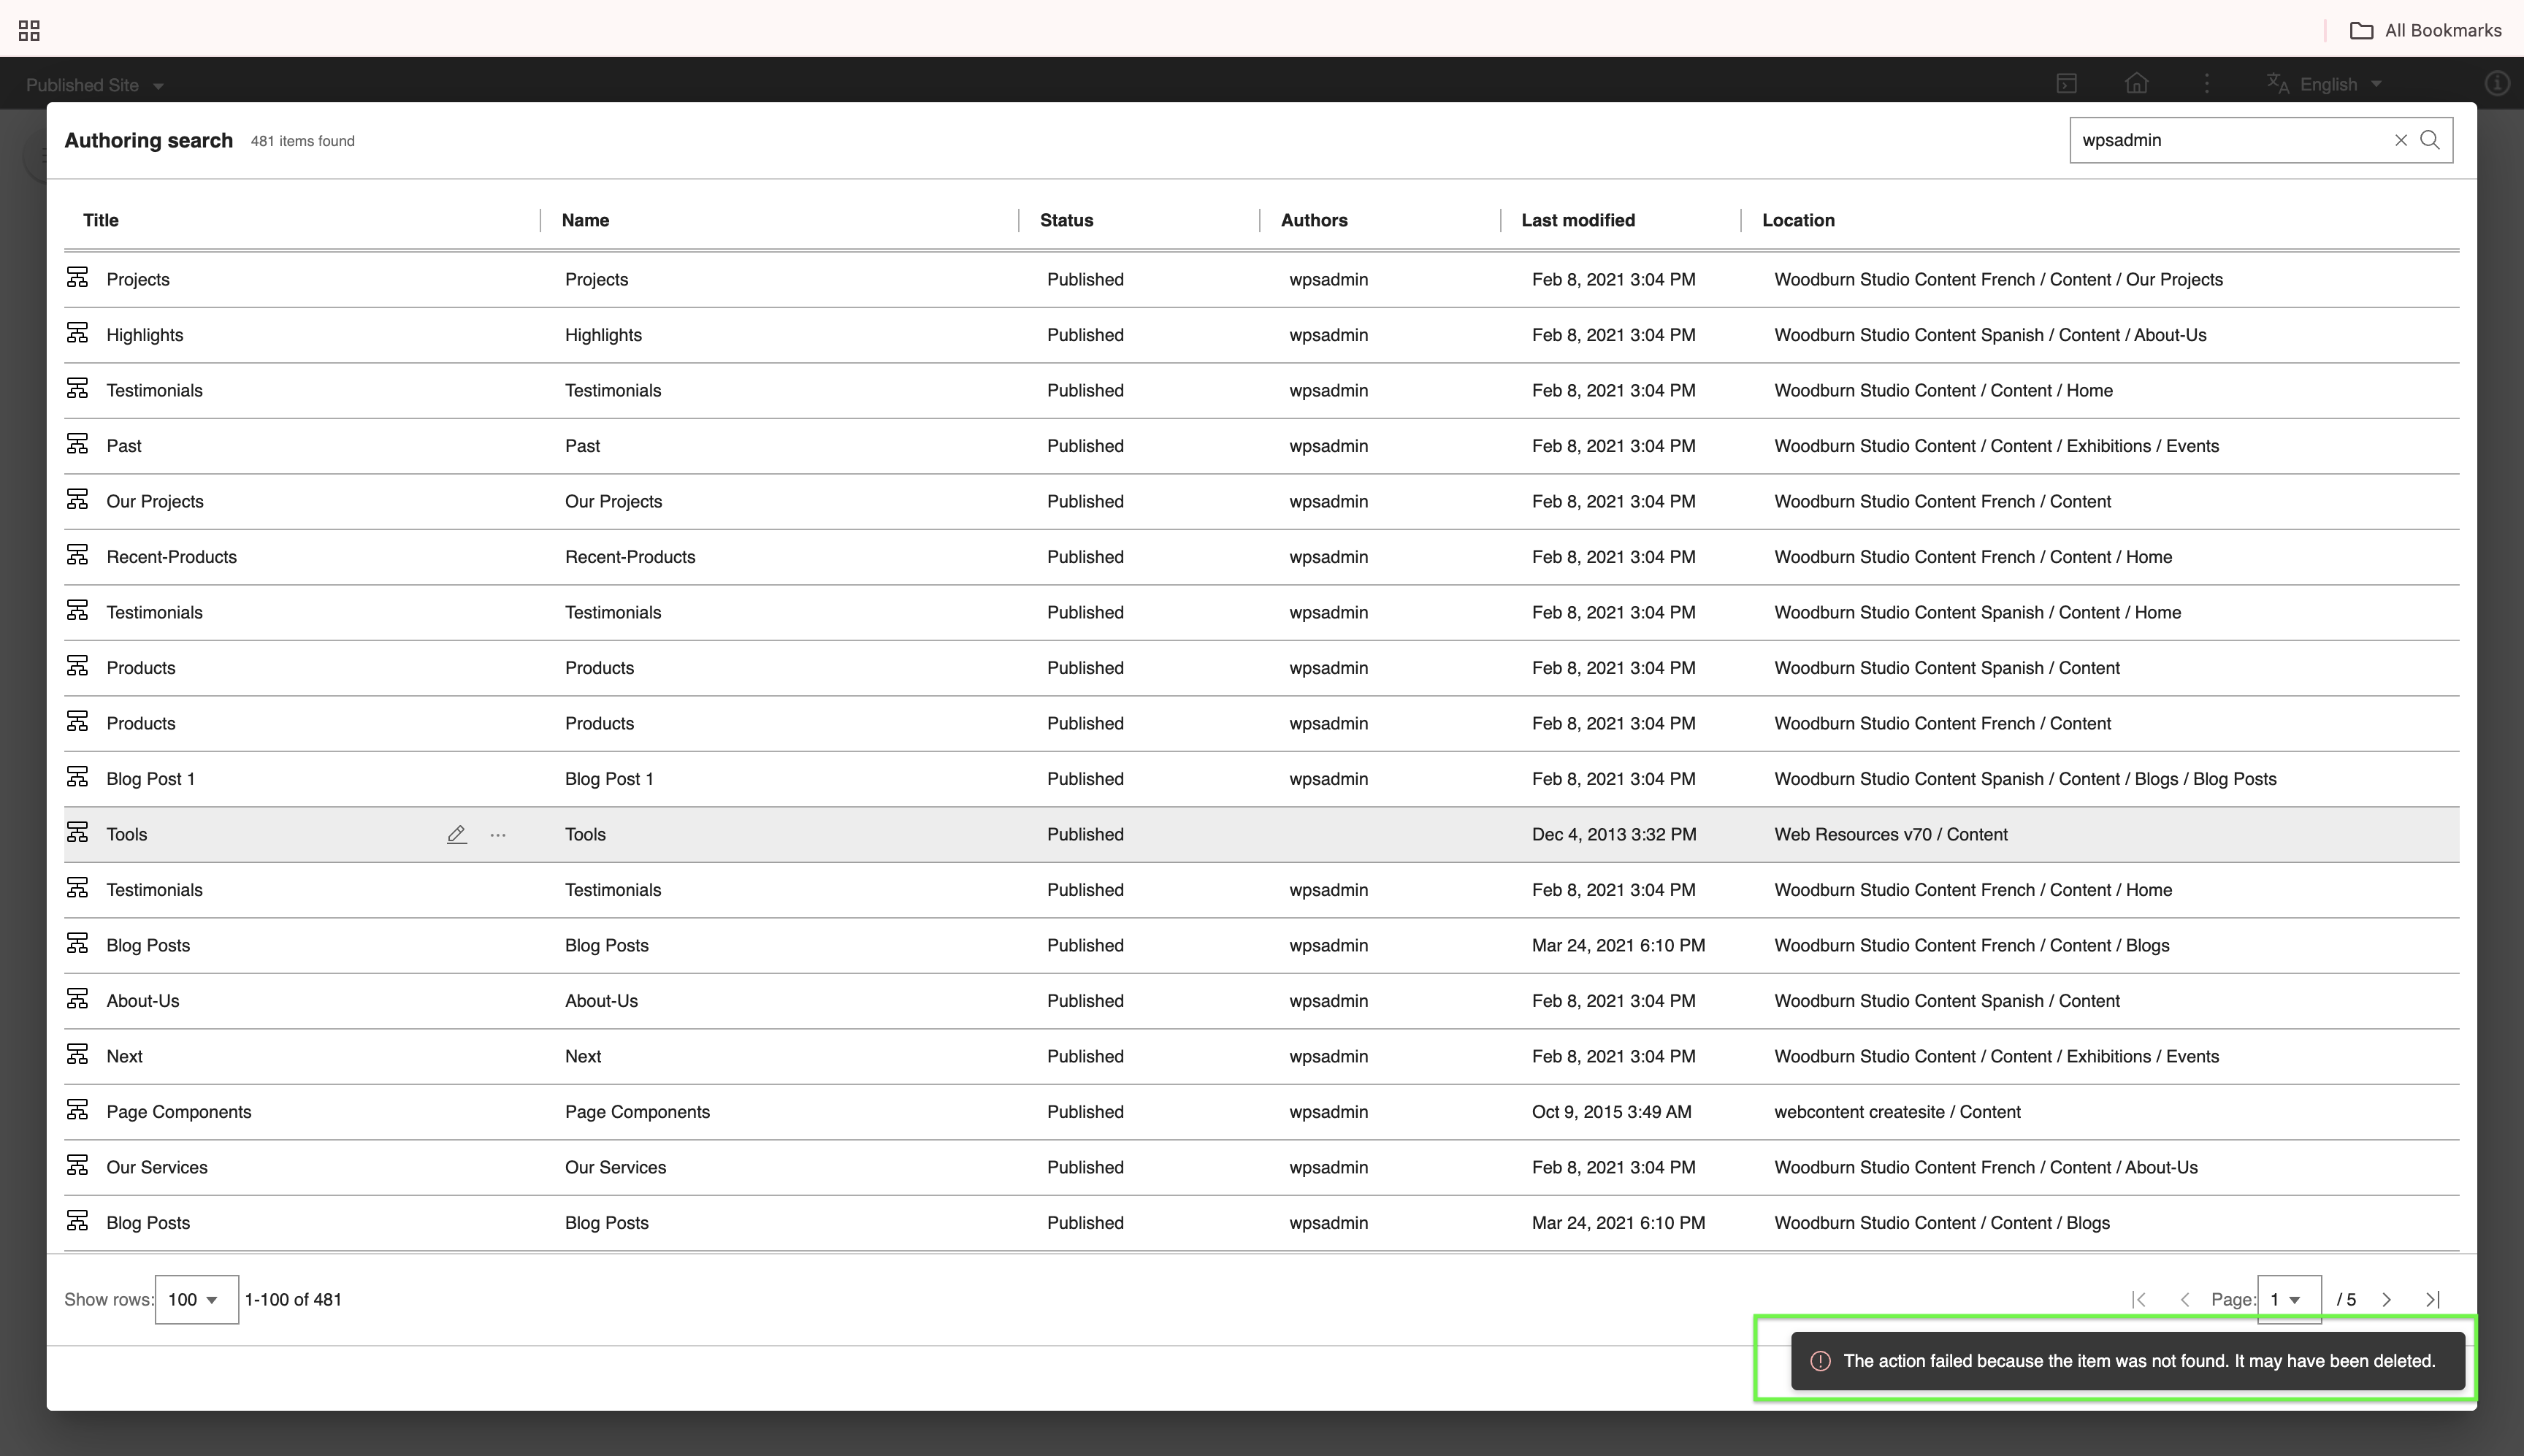
-
Failed due to non-existing item
-