Creating behaviors for stubs
You can create behaviors to expose utility or business logic for use within HCL DevOps Test Virtualization (Test Virtualization).
About this task
Before creating a behavior, do the following steps:
- Install an Eclipse IDE with the Plug-in Development Environment (PDE). For example, Eclipse for RCP and RAP Developers, which can be downloaded from http://www.eclipse.org/.
- Copy the
com.greenhat.tester.api_<Version Number>.jarfile from <Install_Directory>\plug-insto <Eclipse IDE Installation Directory>\plug-inson the target computer.
To create a new behavior for Test Virtualization, do the following steps:
Procedure
-
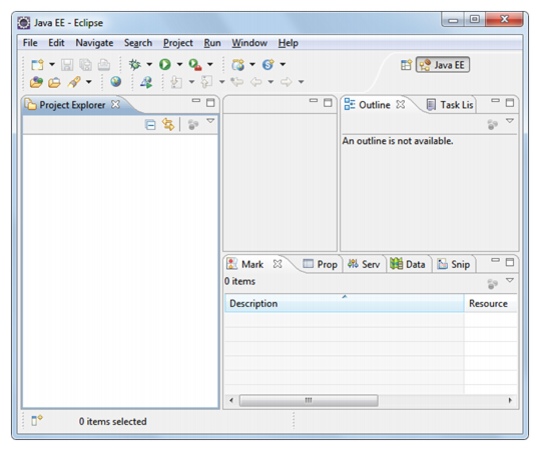
Open Eclipse.
The Eclipse application window is displayed.
-
Click .
The New Project wizard is displayed.
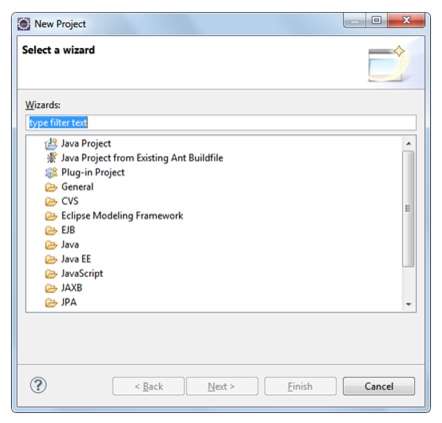
- Click Plug-in Project.
-
Click Next.
The first screen of the New Plug-in Project wizard is displayed.
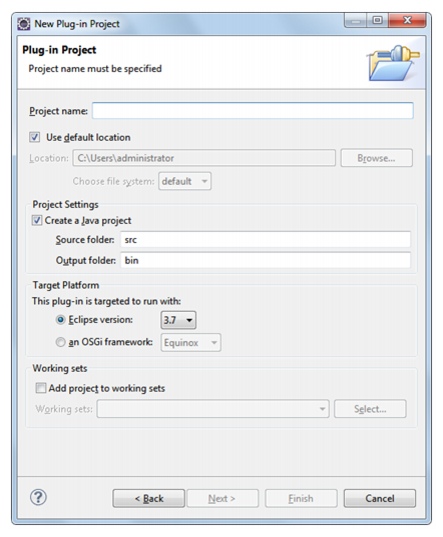
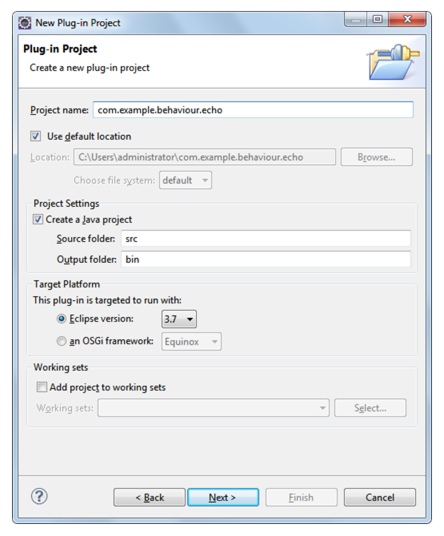
- In the Project name field, enter com.example.behaviour.echo.
- Select the Use default location check box.
- Select the Create a Java™ project check box.
- In the Source folder field, enter src.
- In the Output folder field, enter bin.
- Click the Eclipse version option button.
- In the Eclipse version list, select the appropriate platform version.
-
Clear the Add project to working sets check box.
-
Click Next.
The second screen of the New Plug-in Project wizard is displayed.
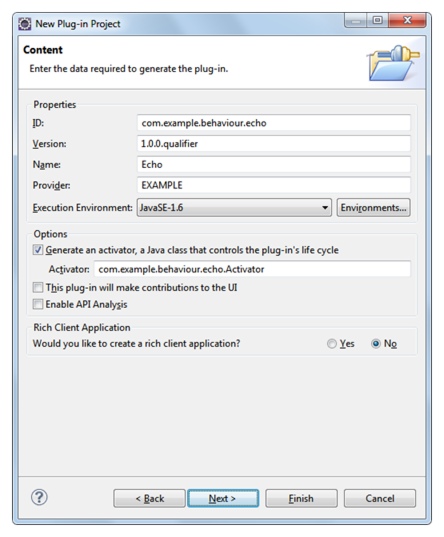
- In the ID field, enter com.example.behaviour.echo (if necessary).
- In the Version field, enter 1.0.0 qualifier (if necessary).
- In the Name field, enter DevOps Test Virtualization Behaviours - Echo (or an equivalent name).
- In the Provider field, enter IBM Corporation.
- In the Execution Environment field, click JavaSE-1.6.
- Under Options, clear all the check boxes.
- Under Rick Client Application, click the No option button.
-
Click Finish.
Note: If a message about switching to the Eclipse Plug-in Development perspective is displayed, click Yes.
The Manifest Editor for the plug-in is displayed.
-
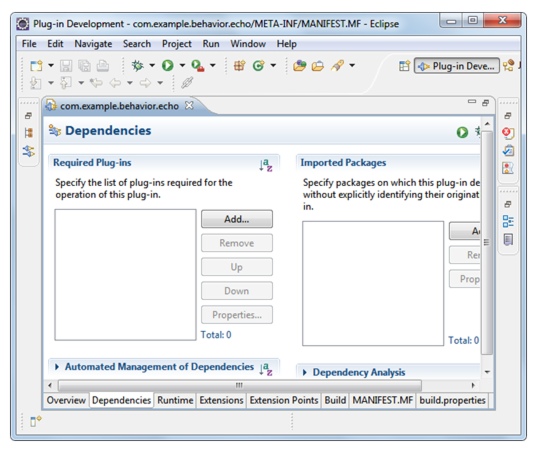
On the Manifest Editor window, click the Dependencies tab.
The Dependencies tab is displayed.
-
Optional: Maximize the Manifest Editor window.
-
Under Required Plug-ins, click Add.
The Plug-in Selection dialog is displayed.
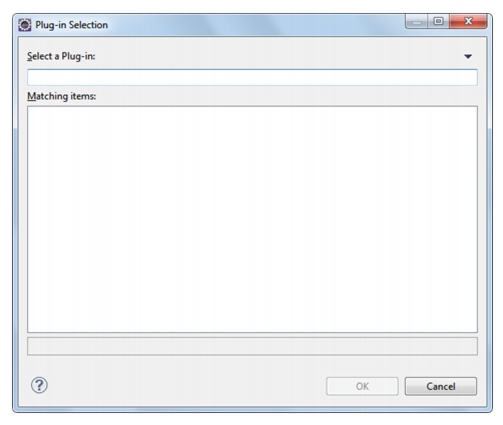
- In the Select a Plug-in field, enter at least one character of the JAR files name to prompt the dialog to filter the list of plug-ins under Matching Items.
- Click com.greenhat.tester.api (Version Number).
- Click OK.
-
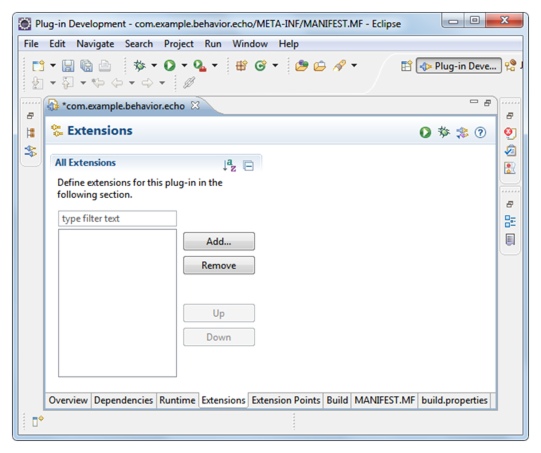
On the Manifest Editor window, click the Extensions tab.
The Extensions tab is displayed.
-
Under All Extensions, click Add.
The Extension Point Selection dialog is displayed.
- On the Extension Points tab, click com.greenhat.tester.api.behaviour.
-
Click Finish.
The new extension is displayed under All Extensions.
-
Under Extension Element Details, enter the details provided in the following table.
Field Description Suggested Value Name The name of the behavior. Echo BehaviourShort Name A short name that helps to identify the behavior. EBVersion This is used to determine the compatibility of persisted configuration. 1.0.0Description Description of the purpose and capabilities of the behavior. Contributes echo functionalityFactory Class This identifies the class within the selected plug-in that is capable of creating instances of the behavior at run time if BehaviourFactoryis implemented.com.example.behaviour.echo.EchoFactoryID Unique identifier for the behavior. com.example.behaviour.echo - Click .
- Define suitable interfaces for the behavior and its callback interface. (For information about this, refer to Interface definitions.)
-
Under Extension Element Details on the Extensions tab of the
Manifest Editor window, enter the name of the callback interface in the callbackClass
field.
For example:
com.example.behaviour.echo.EchoListener.Alternatively, click the fields Browse button to select the class.
-
In the behaviourClass field, enter the name of the behavior interface.
For example:
com.example.behaviour.echo.Echo.Alternatively, click the fields Browse button to select the class.
-
Declare the exposed function and event with their parameters, and the single configuration
parameter, within the
echobehavior element. -
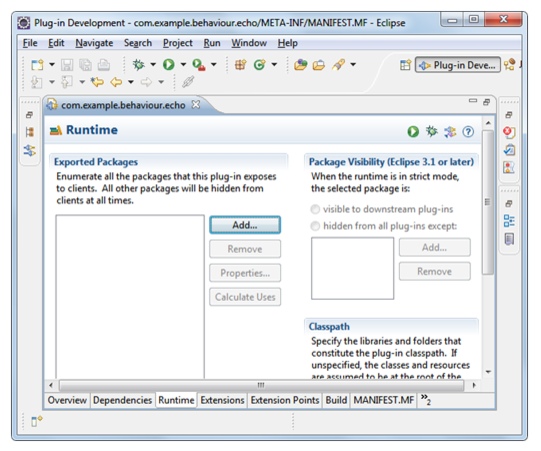
Click the Runtime tab.
The Runtime tab is displayed.
-
Ensure that the package containing the
EchoFactoryis exported from the bundle at run time. - Click .
-
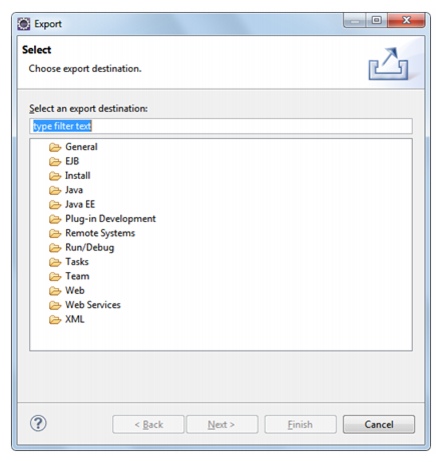
Click .
The Export wizard is displayed.
-
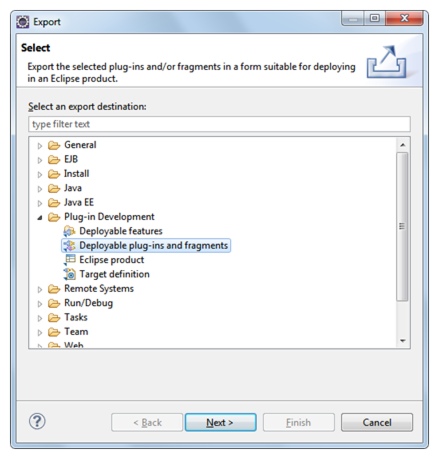
Click .
-
Click Next.
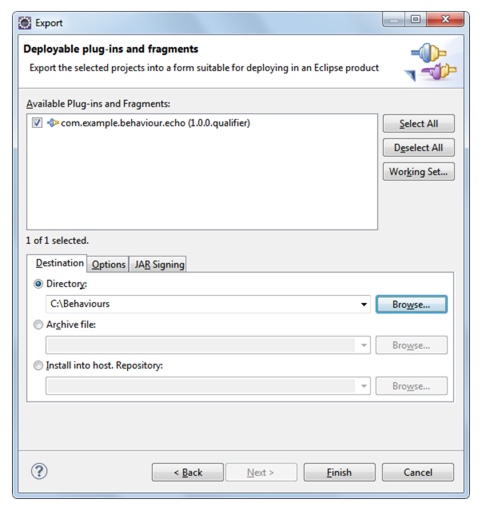
The second screen of the Export wizard is displayed.
- Under Available Plug-ins and Fragments, select the plug-ins check box.
- On the Destination tab, click the Directory option button.
-
In the Directory field, enter a directory path.
Alternatively, click the Browse button next to the Directory field and select the directory path.
-
Click Finish.
The plug-in is exported as a JAR file to a
plug-insfolder in the specified directory. The name of the JAR file includes the current date and time. -
Copy the JAR file to
<Install_Directory>
\plug-ins.This ensures that the next time when HCL DevOps Test Integrations and APIs (Test Integrations and APIs) is started, the
echobehavior will be available within the Stub Editor.