Adding .NET objects in messages
When your .exe or .dll file is added to HCL DevOps Test Integrations and APIs (Test Integrations and APIs), it can be applied as a schema to messages in applicable test actions.
Procedure
- Create a test in an operation that contains a reference to your JMS provider.
-
Add a Send Request action to the Test Steps phase of the test.
A Receive Reply action is also created.

- Double-click the Send Request action to open it for editing.
-
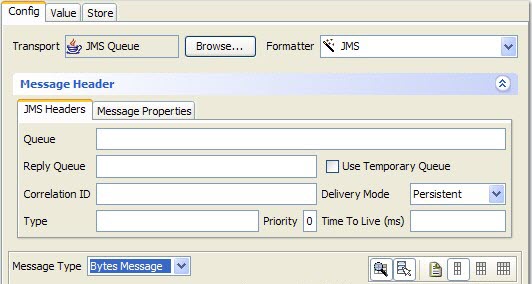
Select your JMS-based transport and formatter, and select Bytes Message
from the Message Type menu (above the message body).

- In the message area, right-click the data (ByteArray) element and select Schema from the menu.
- In the Schema Selector window, Schema Type field, click .
- In the pane below the Schema Type, select the schema and root to apply to the message.
- No Formatter Properties are used with .NET objects.
-
In the Content Options section, select or clear the following options as needed:
- Retain existing content
- Select this option to apply a schema or expand a field without losing the original data. If the attempt to use the original data fails, the data is displayed with red Xs. If you clear this option, data is cleared before the new schema is applied. In cases where the data is assumed to be retained, this option is not displayed.
- Include Text nodes
- Select this option to generate Text nodes with the message.
- Include optional nodes
- If the schema includes optional fields, select this option to add them to the message.
Before Test Integrations and APIs version 8.7, additional options were displayed when you applied a schema to a message:- Accept fields in any order
- Ignore missing fields in received message
- Ignore additional fields in received message
- Enable validation of time-based fields
These options can be set in the project preferences. Click .
-
The schema is applied to the original message, and the serializable classes that are defined in
the assembly file are displayed as message fields.

- The same steps can be carried out in the Receive Reply action to apply validation options.