Verifying Cache Service traffic
Note the following when deploying for high availability:
- In a Valkey HA set up, three Valkey servers are running (valkey-server-0, valkey-server-1, valkey-server-2). One server acts as the primary, and the other two act as replicas that mirror all data from the primary.
- During installation of Valkey HA, the pod running as valkey-server-0 assumes the
masterrole and valkey-server-1 and valkey-server-2 assume theslaverole. - In a failover scenario, either valkey-server-1 or valkey-server-2 can assume the
masterrole if the primary Valkey server becomes unavailable. - Because all Valkey servers are replicas of each other, you can connect to any running Valkey instance to see Valkey traffic flowing from Connections to the Homepage.
Validate Valkey Traffic
The following steps are to validate that traffic is flowing properly from HCL Connections™ to the Homepage.
-
Log in to a Kubernetes node and connect to your running Valkey pod.
Note
If you configured SSH tunnelling, validate that the SSH Tunnel is working before you connect to the running Valkey pod.
-
Log in to a Kubernetes node as a user with kubectl access.
-
Enter this command to connect to the Valkey pod:
kubectl exec -it -n connections valkey-server-0 -- bash
You will now be in the Valkey server container.
-
-
Subscribe to the
connections.eventschannel.To subscribe to the Valkey
connections.eventschannel, you must first connect and authenticate with the password (secret) set during bootstrap installation.-
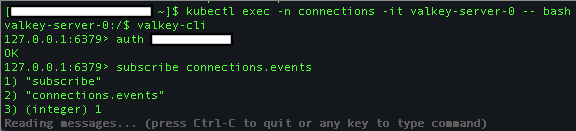
Connect to the Valkey server:
valkey-cli -
Authenticate with the server:
auth <valkey-password> -
Subscribe to the channel:
subscribe connections.events
For example:
-
-
Follow these steps to validate that events are populated in the connections.events channel.
-
Keep the channel from the previous step open, and browse to the Homepage of your Connections server.
-
Log in as a user with rights to create a community.
-
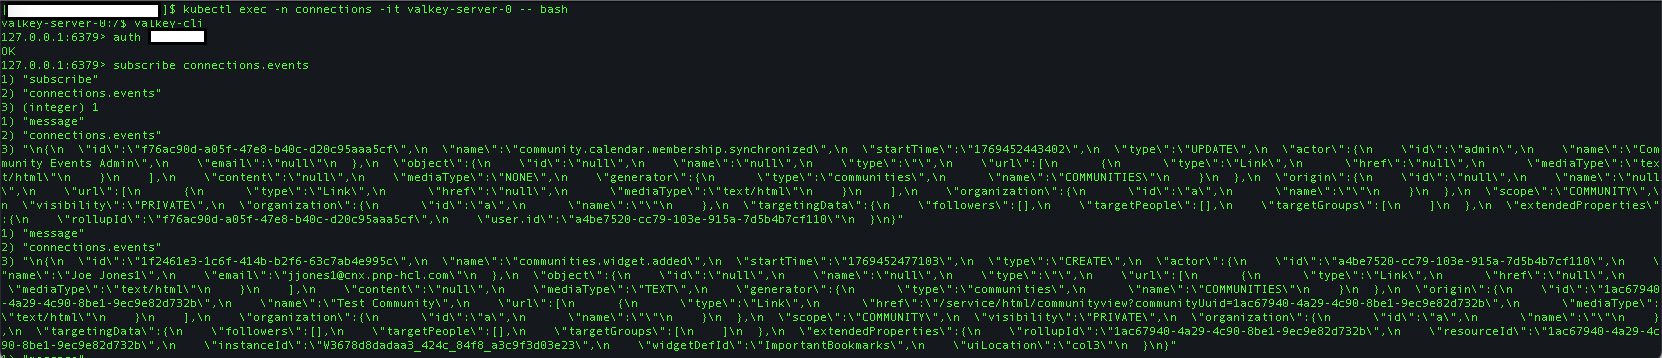
Create a community, then switch back to the Valkey pod. You should see events being posted in the channel.
For example:
-
Validate SSH Tunnels Are Working
-
Log on to each machine where you started the SSH Tunnel (eg. the WebSphere Application Server node).
-
Enter the following to show the ssh tunnel process:
ps aux | grep ssh -
Confirm that you see the ssh tunnel is running as a process (eg.
ssh -i keys_dir/ssh_key ...)
-
-
Follow these steps to use Telnet to the ssh tunnel and set a Valkey key value pair on the primary node.
-
If Telnet is not already installed, enter the following to install it.
sudo yum -y install telnet -
Telnet to localhost:
sudo telnet localhost 30379 -
Authenticate with the Valkey server:
auth <Valkey password> -
Set a Valkey key value. For example, set:
SET today FridayThe message
+OKdisplays to indicate that the value "Friday" was set for the key "today". -
Type the following to exit the Telnet session.
quit
-
-
Follow these steps to retrieve the value of the key set on your Valkey server:
Because all Valkey servers are replicas of each other, you can connect to any running Valkey instance to see Valkey traffic flowing from Connections to Homepage.
-
Log in to a Kubernetes node as a user with kubectl access.
-
Enter this command to connect to the running Valkey pod on the system:
kubectl exec -n connections -it valkey-server-0 -- bashYou will now be in the Valkey server container.
-
Enter the following commands to authenticate to Valkey and retrieve the key value set:
bash-4.3# valkey-cli
127.0.0.1:6379> AUTH <valkey-password>
OK
127.0.0.1:6379> GET today
"Friday"
-
-
You may run the test again with another key pair. The key pair test confirms that a value set using the SSH tunnel can be retrieved from the in-memory storage of the Valkey pod running on the primary node. This proves that the ssh tunnel is working as expected.
Troubleshooting
If Connections events do not appear in the connections.events channel when you create a community, follow these steps to resolve the issue:
-
Ensure that the Valkey pod is running:
-
Log in to a Kubernetes node as a user with kubectl access.
-
Enter this command to check the status of Valkey and HAProxy pods on the system:
-
kubectl get pods -n connections | grep -e valkey -e haproxy -
Confirm that the pods are showing a running status with readiness being 1/1. For example,
haproxy-7bbbc56b8c-9rxlj   1/1     Running     0               3h21m
haproxy-7bbbc56b8c-jz6tz   1/1     Running     0               3h21m
haproxy-7bbbc56b8c-n2khp   1/1     Running     0               3h21m
valkey-sentinel-0          1/1     Running     0               3h17m
valkey-sentinel-1          1/1     Running     0               3h18m
valkey-sentinel-2          1/1     Running     0               3h18m
valkey-server-0            1/1     Running     0               3h17m
valkey-server-1            1/1     Running     0               3h18m
valkey-server-2            1/1     Running     0               3h18m
-
-
If the valkey-server / valkey-sentinel pods are unable to run after a period of time (especially in HA set up), scale the StatefulSet down to 0 and scale back up again.
kubectl scale sts -n connections valkey-sentinel --replicas=0
kubectl scale sts -n connections valkey-server --replicas=0
(wait till all valkey pods are terminated)

kubectl scale sts -n connections valkey-server --replicas=3
kubectl scale sts -n connections valkey-sentinel --replicas=3
-
-
If applicable, ensure that the SSH Tunnel is configured properly. Review the steps in the procedure for validating that the tunnel is working.
-
If the Valkey pods have restarted due to a password change (in cache-service-secret), make sure the
configureCacheService.shscript described in Running the configuration script is run with the new password and appropriate applications are restarted. Component Pack pods should also be restarted to use the new password. -
Check the SystemErr logs on the Connections server. Look to see if the following exceptions are in the log:
    SystemErr     R Caused by: java.net.UnknownHostException: http://valkey_host_name

    [18/05/17 09:47:21:308 IST] 000001f0 SystemErr     R     at java.net.AbstractPlainSocketImpl.connect(AbstractPlainSocketImpl.java:214)

    [18/05/17 09:47:21:308 IST] 000001f0 SystemErr     R     at java.net.SocksSocketImpl.connect(SocksSocketImpl.java:403)

    [18/05/17 09:47:21:308 IST] 000001f0 SystemErr     R     at java.net.Socket.connect(Socket.java:666)

    [18/05/17 09:47:21:308 IST] 000001f0 SystemErr     R     at redis.clients.jedis.Connection.connect(Connection.java:184)

    [18/05/17 09:47:21:308 IST] 000001f0 SystemErr     R     ... 14 more
To resolve these errors, ensure when running the
configureCacheService.shscript that the setting for Valkey Hostname/IPAddress does not include http or https. -
Check the logs for valkey-server and valkey-sentinel pods for errors:
kubectl logs -n connections valkey-server-0
kubectl logs -n connections valkey-sentinel-0
Repeat for other Valkey pods. You may also need to check other Component Pack pods for Valkey related errors (eg. orient-web-client for Homepage).
Parent topic: Enabling and securing Cache Service traffic to Homepage