Deployment and configuration

This module provides the steps to deploy the BigFix ServiceNow Data Flow solution.

About this task

Before you deploy the Fixlet, please note the following pre-requisites:

  • read and write acces for CMDB_CI_COMPUTERS , SYS_CHOICE and CORE_COMPANY tables in ServiceNow
  • admin access for ServiceNow (not SOAP role admin access)

Procedure

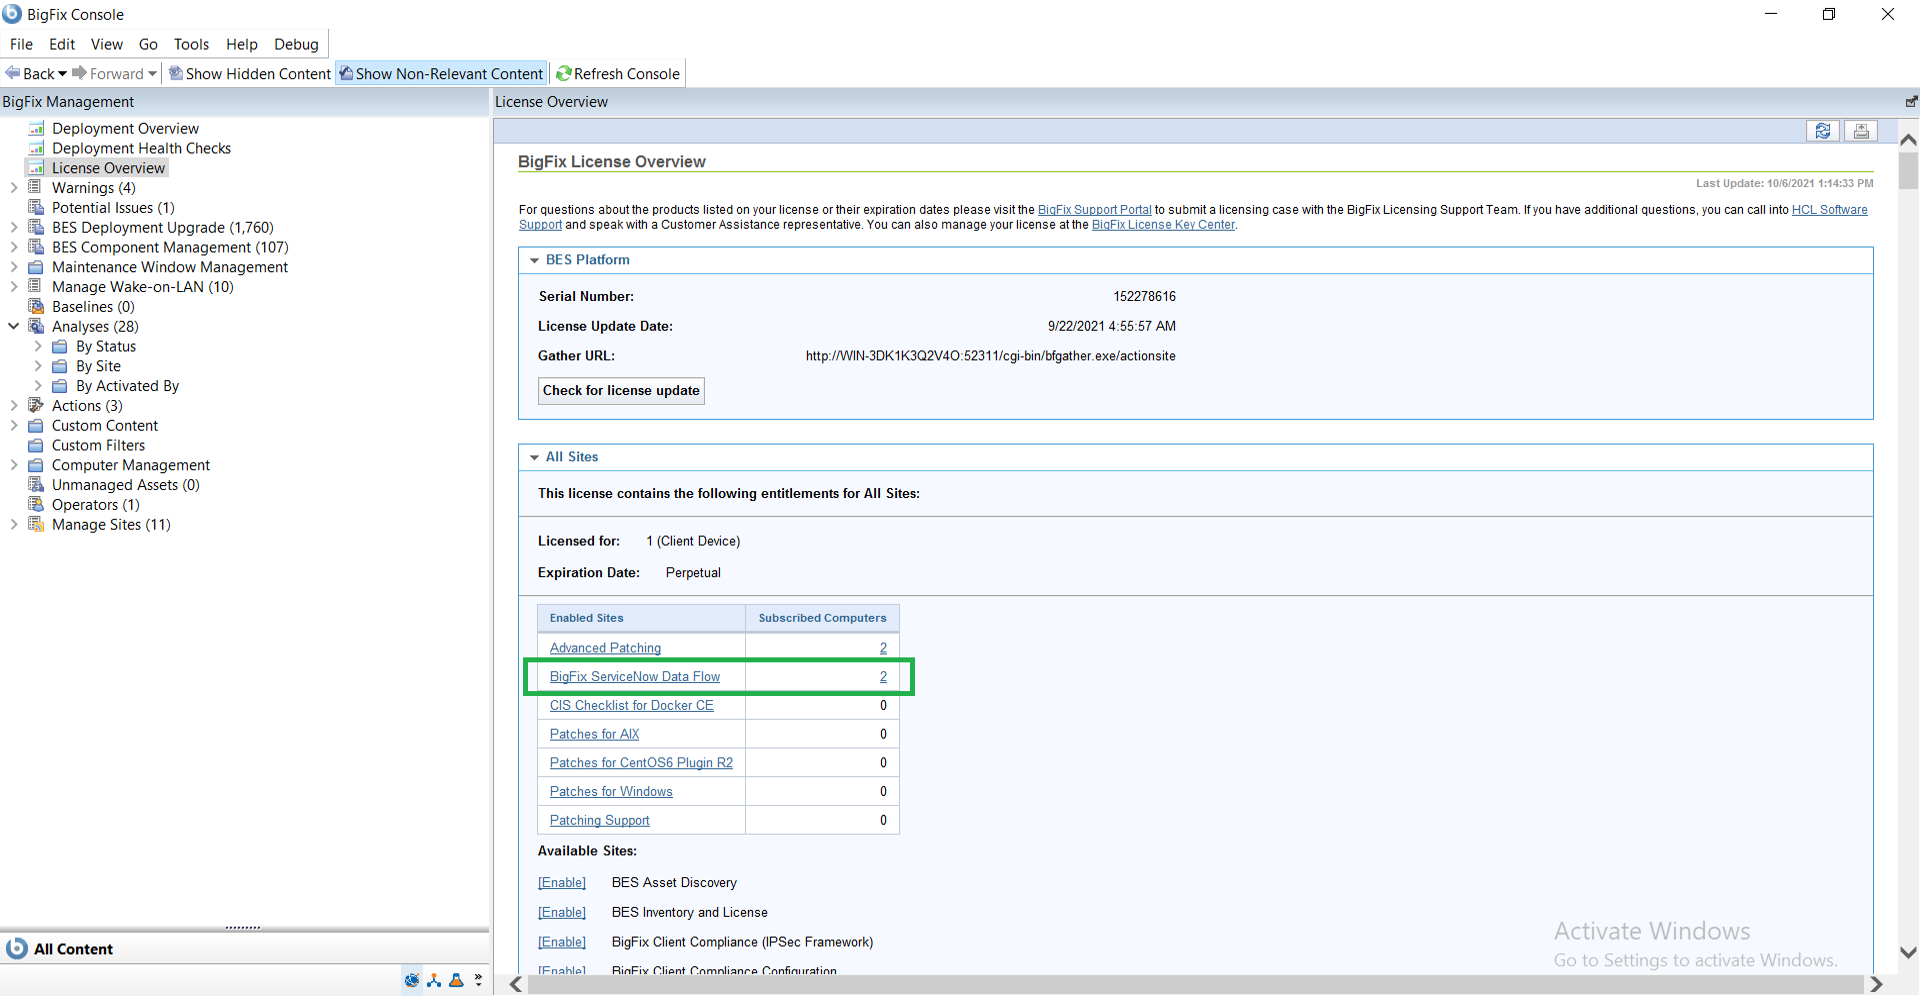
  1. Enable a content site.
    Navigate to BigFix License Overview Dashboard. In Compliance/Lifecycle panel, click Enable BigFix ServiceNow Data Flow Fixlet to gather the required content.

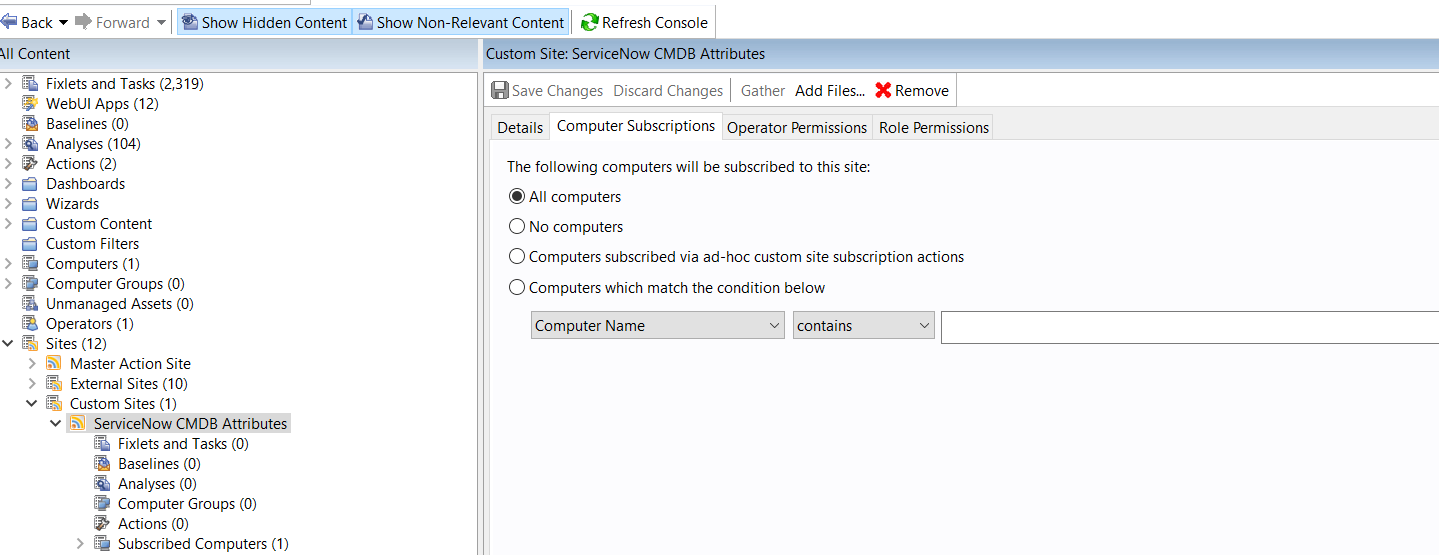
  2. Create a Custom Site.
    Go to Custom Sites and create a new site. Name it as ServiceNow CMDB Attributes and select All Computers in Computer Subscriptions.

  3. Deploy the solution to the target server.
    To deploy ServiceNow version 1.4 follow the steps in the Deploy BigFix ServiceNow Data Flow Service Fixlet.
    Note: Hardware analysis must be activated before the job run starts.
  4. To deploy ServiceNow version 1.1 follow the steps below:
    Select Install Dataflows task in BigFix ServiceNow Data Flow External Sites and click on Take Action. By default the installation location is C:\Program Files(x86)\BigFix Enterprise\Dataflow. Please do not change default installation location.

  5. Set up DataFlow configuration file.
    1. Navigate to Installation Location C:\Program Files (x86)\BigFix Enterprise\Dataflow and open Dataflow configuration file.
    2. Update Bigfix and ServiceNow connection string.

  6. Set up scheduler.
    You can schedule the ServiceNow Dataflow as per requiement.

    For more information on Scheduler, refer to the link.

  7. Start Dataflows.
    1. Go to the Bigfix ServiceNow Data Flow in the External Sites and select Fixlet and Tasks. Select Start Dataflows task and click on Take Action.
    2. In the Take Action dialog box, under Target choose Select Devices and select required computers in the Applicable Computers section and click OK. The Dataflow will start running in the windows service. To check if the service is running go to Windows → Run → services.msc.
  8. Set the credentials for BigFix and ServiceNow.
    1. Obtain the credentials for your BigFix and ServiceNow database.
    2. Navigate to the installation directory and run \Dataflows.exe --ProvideCredentials command.
    3. Enter password/secret key, as prompted.

      When successful, the message 'The credentials provided are encrypted successfully!' appears in the command prompt.

  9. Initialize the Schema.
    1. Navigate to the installation directory and run \Dataflows.exe --initializeschemas command.

      When successful, the message 'Schema Initialized Successfully!' appears in the command prompt. Initialize schema will perform the following:

      • verfiy the connection between ServiceNow and Bigfix
      • add the OS and Manufactor details from Bigfix to ServiceNow ( in sys_choice and core_company tables). This is performed as the names may vary from user to user
      • Ex: For OS windows different names can be win2012, w2012 or windows 2012 R2 server
      • "Hardware Attribute" analyses will be created under the Bigfix ServiceNow Dataflow External site
      • "ServiceNow Custom Properties" analyses will be created under the custom site ServiceNow CMDB Attributes
  10. Validate the configuration.

    Purpose: This step verifies the configuration provided from the previous steps.

    1. Navigate to the installation directory and run \Dataflows.exe -–ValidateConfiguration command.
      When successful, the message 'Configuration verified successfully!' appears in the command prompt.
      Note: If ServiceNow integration is not working as intended you can reset the environment using follwoing command: \Dataflows.exe --Reset.