Delta Analysis reports
The Delta Analysis report compares two sets of scan results and shows the difference in URLs and/or security issues that were discovered in them.
About this task
You select Base and Target scans, and AppScan® compares the two sets of results to let you review how the security situation has improved or deteriorated between time of the two scans.
You can compare the currently loaded scan with a saved scan, or you can compare two saved scans.
When comparing scans you will generally use the earlier scan as the Base scan. The Delta Analysis report will then indicate how the Target scan results differ from those of the Base scan.
Delta Analysis reports include the following sections:
|
Section Title |
Information Presented |
|---|---|
|
General Information |
Lists the names and locations of the Base and Target scans. |
|
Description |
Description of the information included in the scan. |
|
Issues per Host |
Table showing the number of High, Medium, Low, Informational and Total issues found in each scan. |
|
Application URLs |
(If included) Bar chart showing number of New/Removed/Remaining URLs, followed by a full list of each type. |
|
Security Issues |
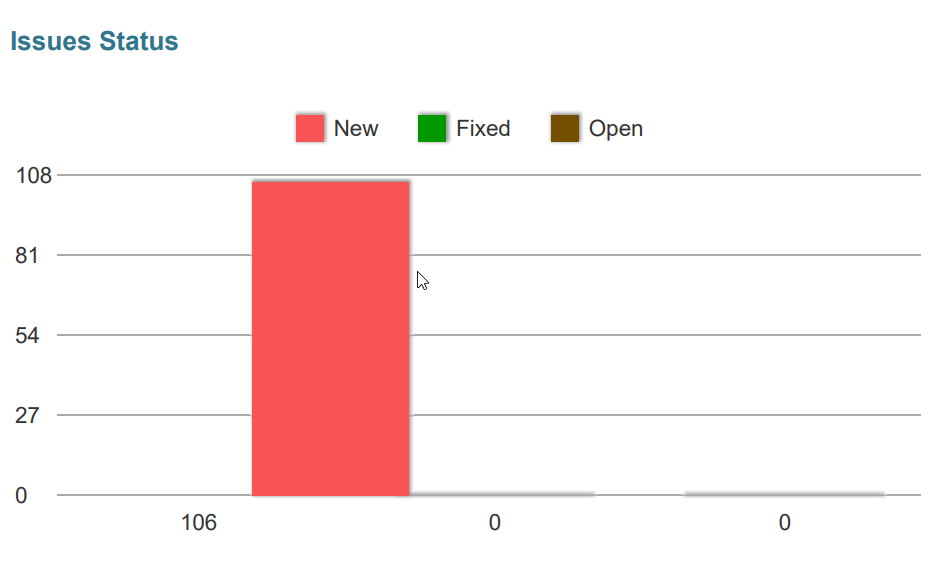
(If included) Bar chart of New/Fixed/Remaining Security Issues, followed by a bar chart showing the distribution of Severities in both scans (High/Medium/Low/Informational), followed by a full listing of all New/Fixed/Remaining issues. |
The figure below shows a sample from a Delta Analysis Report.

Procedure
- From the Dashboard, Data, or Issues view, click Create report > Delta analysis.
-
Select the Base scan (usually the earlier of the two scans being compared). In the Base
Scan area, do one of the following:
- Click the Current scan radio button
- Click the Saved scan radio button, and then browse to the location of the saved scan file.
-
Select the Target scan (usually the later of the two scans being compared). In the Target
Scan area, do one of the following:
- Click the Current scan radio button
- Click the Saved scan radio button, and then browse to the location of the saved scan file.
- If you want to control the appearance of the report, open the Customize report layout link. For more information, see Customizing the report layout.
-
Click Create and then click Save to save the
report to a file.
AppScan displays a status bar to show the progress of report creation.
-
Click Open report to view the report.
The report opens in a new tab for viewing.