About this task
Since AppScan®
Source
trace identifies
the FileInputStream.read method as a source producing
tainted data, you should create a validation or encoding routine to
eliminate this finding from future scans.
To create an input
validation routine for FileInputStream.read:
Procedure
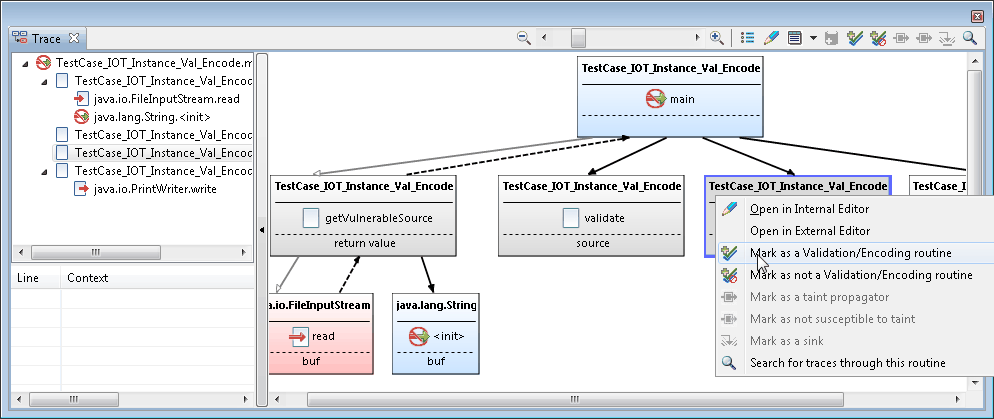
- In the Trace view call graph, select and right-click the
TestCase_IOT_Instance_Val_Encode.encode method.
- Select Mark as a Validation/Encoding routine in
the menu.

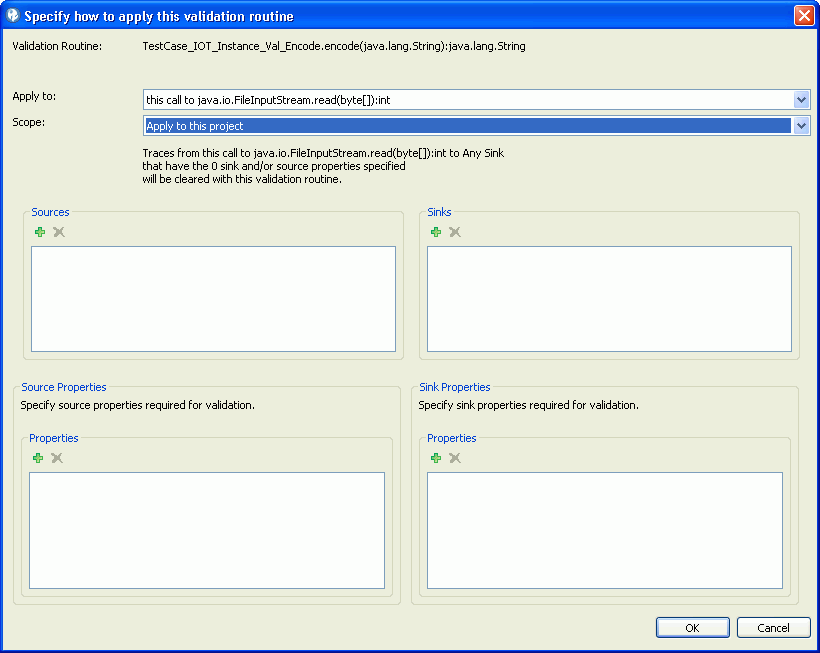
- If the
encode routine only applies for
this specific instance of calling FileInputStream.read,
select this call to java.io.FileInputStream.read in
the Specify how to apply this validation routine dialog box.

Typically, you would specify this call to java.io.FileInputStream.read because
the validate method is private to the class and tightly
associated with the code.
Select any call to java.io.FileInputStream.read to
apply the validation routine for any call to the read method.
When selecting this option, also select Apply to this project if
this is only valid for the current project or Apply to
all projects.
- Set up the routine to apply to all
read methods
of the FileInputStream class and to any sink with
a property of Technology.IO (such as the java.io.PrintWrite.write methods):
- Adding the
read methods as sources:
Although you could specify any call to java.io.FileInputStream.read(byte[]):int to
add java.io.FileInputStream.read(byte[]):int as a
source, we will instead add the sources individually. In the Specify
how to apply this validation routine dialog box, select java.io.FileInputStream.read(byte[]):int
not considered, all constraints specified below in the Apply
to menu. Then click the Sources section Add button.
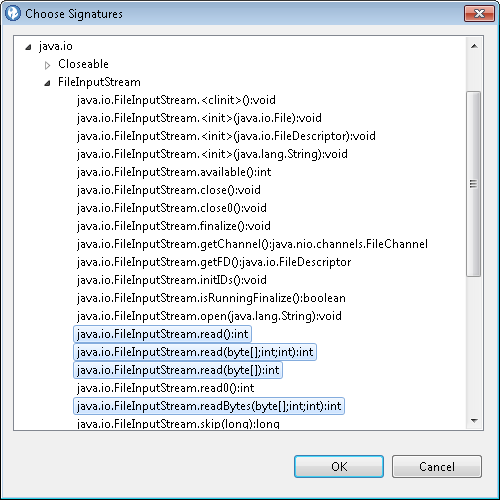
In the Choose Signatures dialog box, expand the java.io and
then FileInputStream sections. Multiselect the java.io.FileInputStream.read* nodes
and then click OK.
- Adding the sink property: Click the Sink
Properties section Add a VMAT property button.
In the Choose Properties dialog box, select the
Technology.IO property
and then click OK.
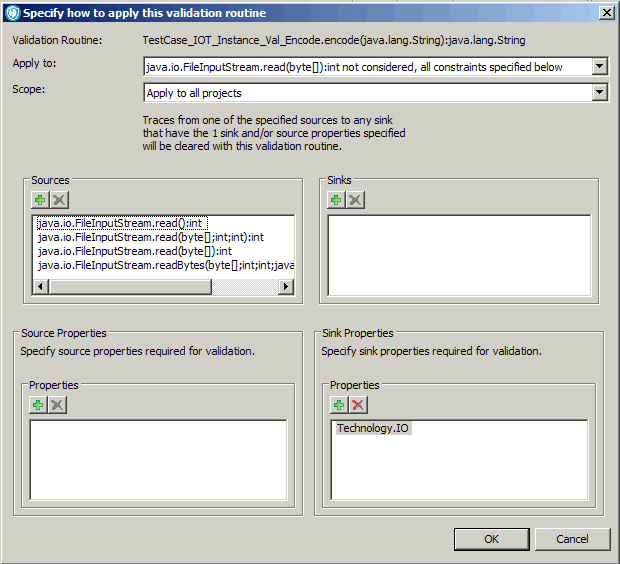
- When all settings are complete, the dialog box should
look similar to this:
- Click OK to add the validation routine
to the database.


