Building and deploying a custom NAR file
About this task
Procedure
-
Initiate a “Maven Build...” on the root bundle project. In the Project
Explorer, right-click on the root (commerce-search-custom-bundle) and select . (Note that there are two menu items, Maven
build and Maven build... Choose
Maven build....) The Edit
Configuration window opens.
Enter the command clean install -U -Denforcer.skip=true into the Goals textbox and click the Run button.
Note:- If you
encounter any missing dependencies for
dummy-commerce-search-processors,dummy-hcl-cache-coreordummy-cf-baseJAR files, see ../../tutorials/tutorial/../../search/refs/rsddependency.html. - Once the build is successful, the NAR files can be viewed in the
target subdirectory of the
commerce-custom-search-processors-narproject.

- If you
encounter any missing dependencies for
-
Copy the NAR file from the
commerce-custom-search-processors-narproject to the designated extension directory in the host server. Mount these files as a volume in the NiFi Docker container. Ignore the NAR files generated in projects other thancommerce-custom-search-processors-nar.Note: Here is an example of a command to create a NiFi docker container with the volume mounted on the extension directory:From Version 9.1.9.0 onwards, you must mount the NAR file that has been added to the /extensions folder instead of mounting the volume folder. -
Restart the NiFi docker container to apply the changes.
Note: Restart the NiFi docker container every time you add, remove or replace customized NAR files.
-
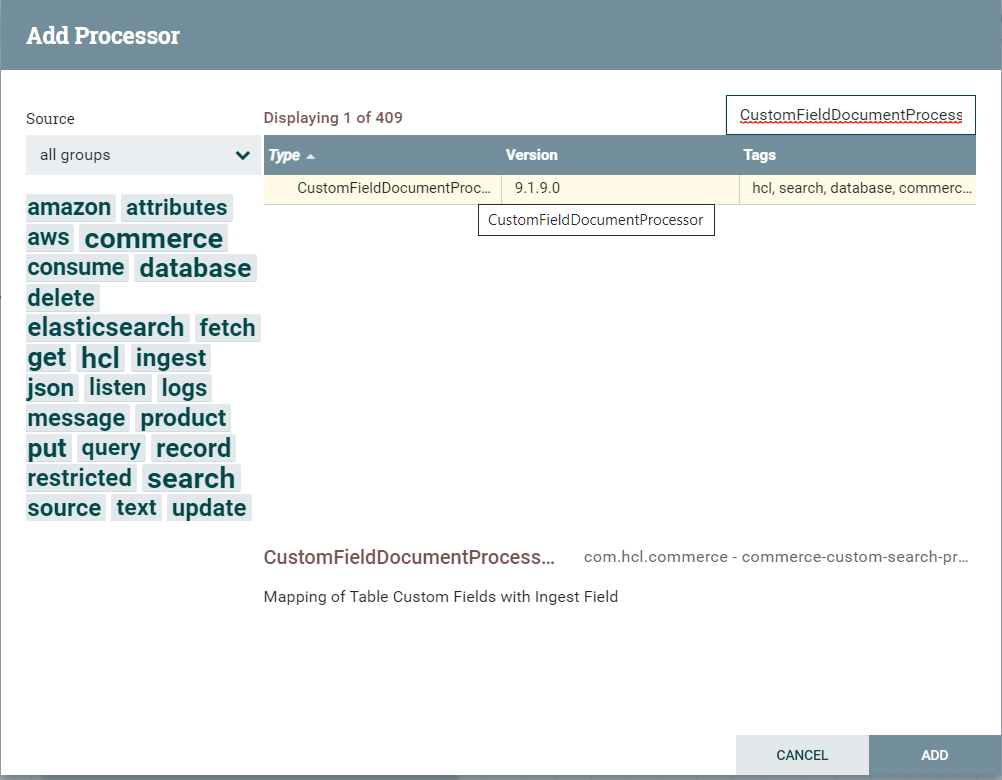
View the custom processor in Add processor on the Nifi
console.