Creating a Zone in WebUI
You can create a Geofence Zone in BigFix Modern Client Management (MCM) WebUI to define a virtual boundary around a specific geographic area. When devices enter or exit this zone, MDM policies or actions associated with that zone can be triggered automatically.
About this task
Procedure
-
Go to the Geofence Zones Page: In the BigFix WebUI, navigate to Apps
→ MCM → Admin → Geofencing → Manage Geofence Zones.
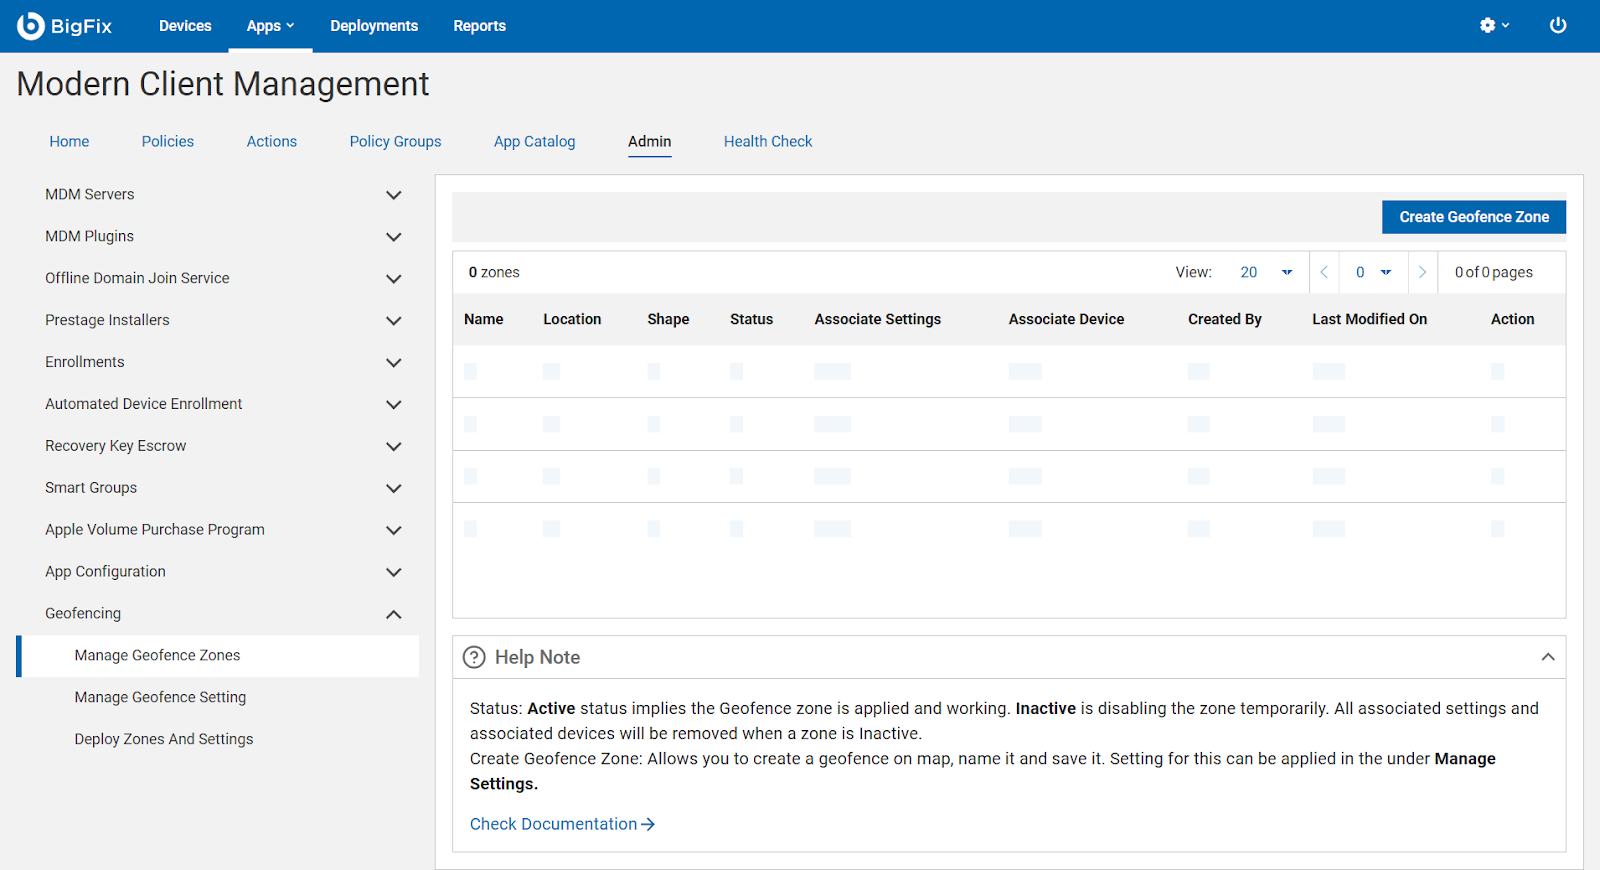
This page displays all existing zones with details such as Name, Location, Shape, Status, Associated Settings, Associated Devices, and Created By. -
Create a New Zone
- Click Create Geofence Zone in the top-right corner.
- A map interface opens where you can define your geofence area.
-
Add Location Coordinates and Radius
- Use the map search bar to locate your desired area.
- Choose your preferred zone shape:
- Circular zone: Click a location on the map and specify the radius (for example, 500 meters).
- Polygonal zone: Click multiple points to outline an irregular area.
- Ensure the coordinates accurately represent the intended coverage area.
- Name and Save the Zone. Enter a name that identifies the zone’s location or purpose (for example, “Bangalore Office Zone”).
- Optionally, add a description for context (such as “Covers main office campus area for Wi-Fi policy enforcement”).
- Review your configuration and click Save.
-
Activate the Zone
What to do next
- Configure zone-based policies under Manage Geofence Settings (for example, apply restrictions when a device leaves the office zone).
- Use Deploy Zones and Settings to apply these configurations to enrolled devices.
- Choose precise boundaries: Use a smaller radius (100–300 meters) for office or building-level zones and larger ones for campuses or regions.
- Use clear, descriptive names: Include the location and purpose (for example, “Pune Office – Security Zone”).
-
Avoid overlapping zones: Overlapping zones may cause conflicting triggers.
-
Test with pilot devices: Validate entry/exit triggers before wide rollout.
-
Keep coordinates updated: Revisit zone configurations if your physical office or boundaries change.
- Monitor zone activity: Use audit or policy reports to verify that devices respond correctly to zone-based rules.